When you purchase through links on our site, we may earn an affiliate commission. Here’s how it works.
How to Set Up a VPN on a Chromebook in 2025
Last updated June 26, 2022

In terms of setting up a VPN on your Chromebook, you now have more options than ever before. With that said, you're in luck if you have a relatively new Chrome OS device, as that means you can install an Android VPN app. However, your options don't stop there.
You can also manually set up a VPN on Chrome OS, which is an excellent option if you have an older Chromebook. Then, you can add a VPN extension to Chrome, helping you safeguard what you do in that specific Web browser only. Lastly, if you're a more advanced user, you can switch to using Linux VPN apps on your Chromebook.
Therefore, truly plenty of options overall. Let's help you decide which method of setting up a Chrome OS VPN suits you the best. Keep reading to learn more!
How to Set Up a VPN on a Chromebook
These are the 4 different methods to install a Chromebook VPN:
- Method #1: Use a Native Chrome OS / Android App
- Method #2: Set up a Chromebook VPN Manually
- Method #3: Use a Chrome VPN Extension
- Method #4: Switch to Using a Linux VPN App
Method #1: Use a Native Chrome OS / Android App
As mentioned above, modern Chromebooks (made in 2019 or later) now support Android apps. So, if you have access to Google's Play Store and Android apps, here's how to set up a VPN on your Chromebook:
1. Subscribe to a VPN that has a native Android app. Our recommendation is ExpressVPN. (You can also try it risk-free for 30 days.)
2. After subscribing to ExpressVPN, open the Play Store app on your Chromebook.
3. Search for "ExpressVPN" and then tap "Install."

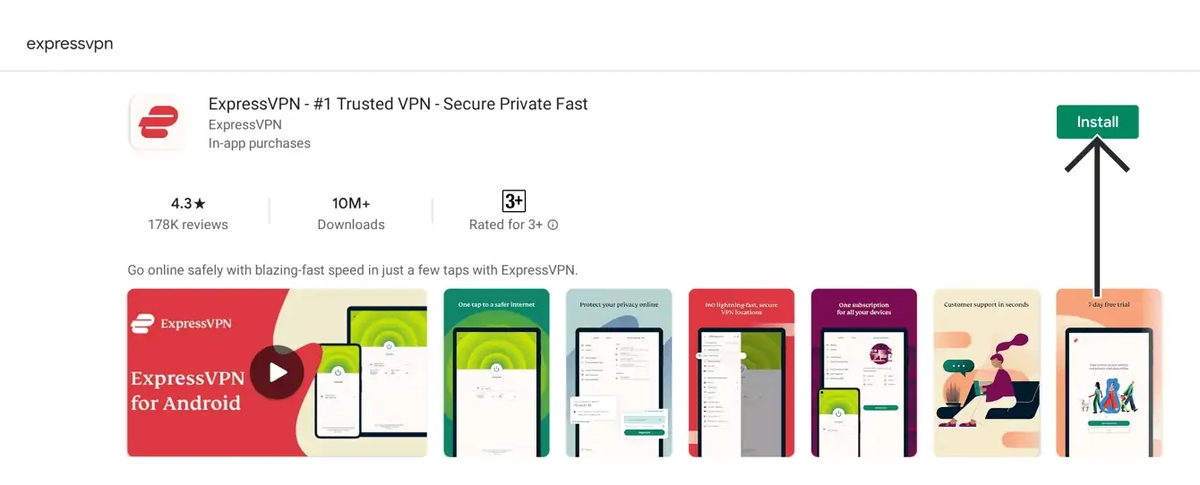
4. ExpressVPN will now download and install on Chrome OS. Launch the VPN app.
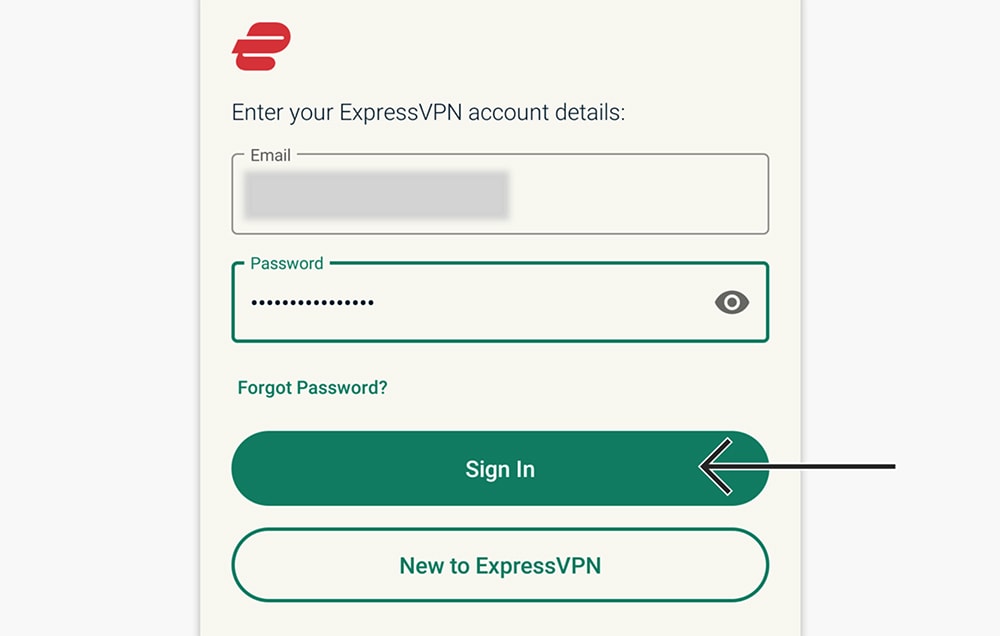
5. Tap "Sign In" and provide your credentials (email and password).
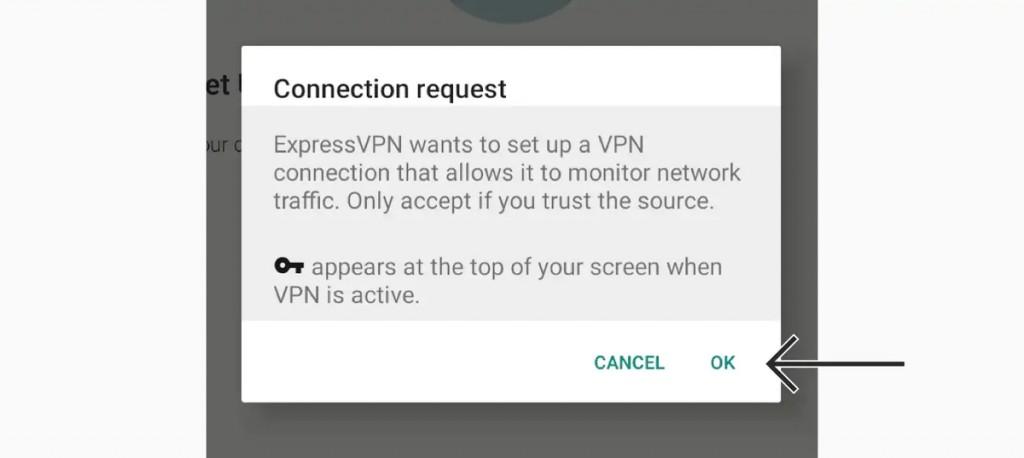
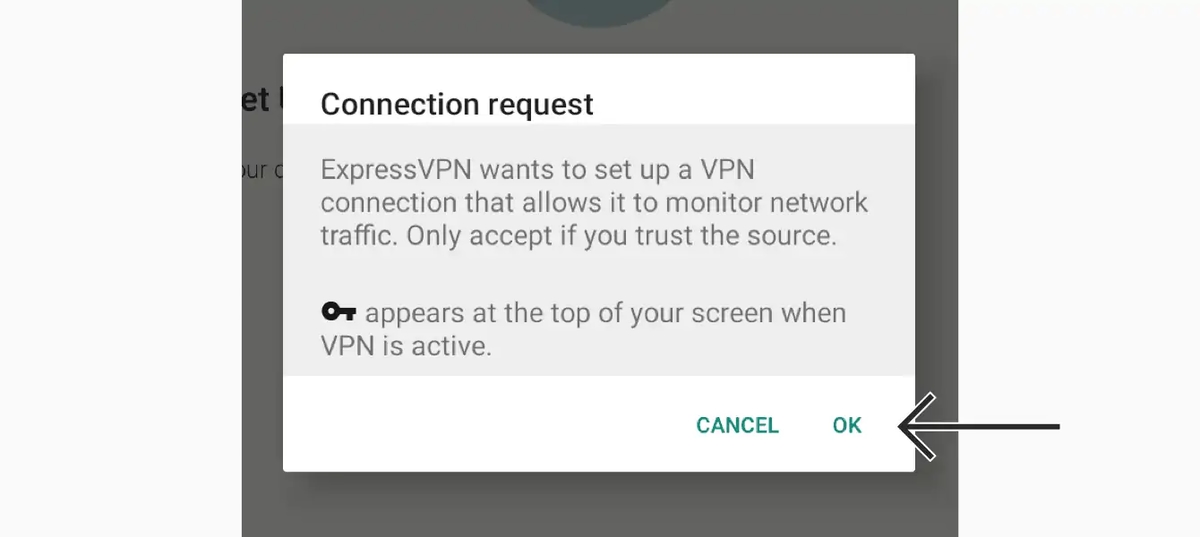
6. When asked for a connection request, tap "OK."
7. Finalize the initial setup. Once done, you will reach ExpressVPN's home screen.
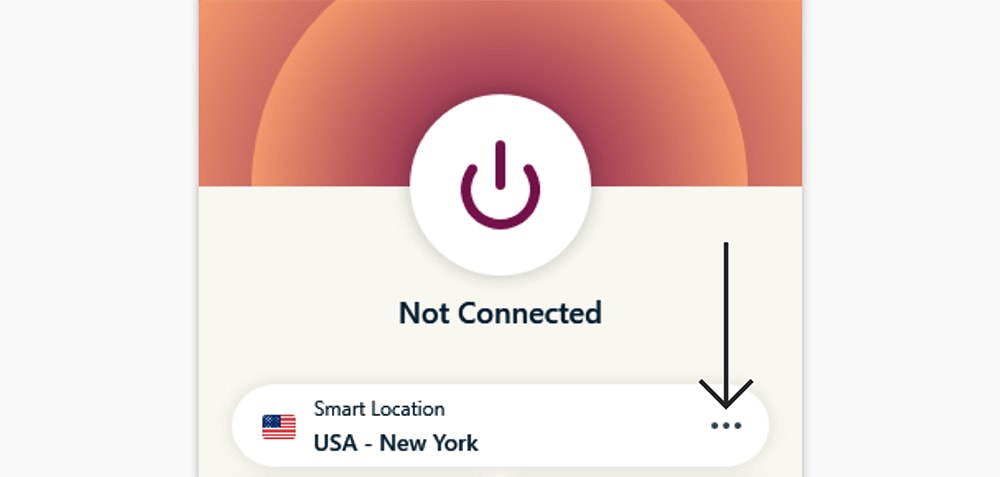
8. To connect to the nearest server, tap the circular ON/OFF switch.
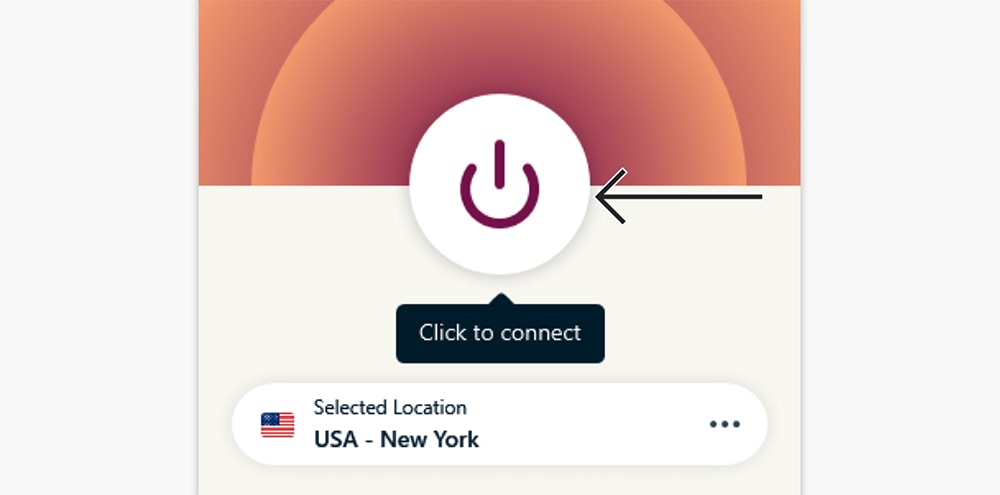
9. To pick a specific location, use the button below the ON/OFF switch.
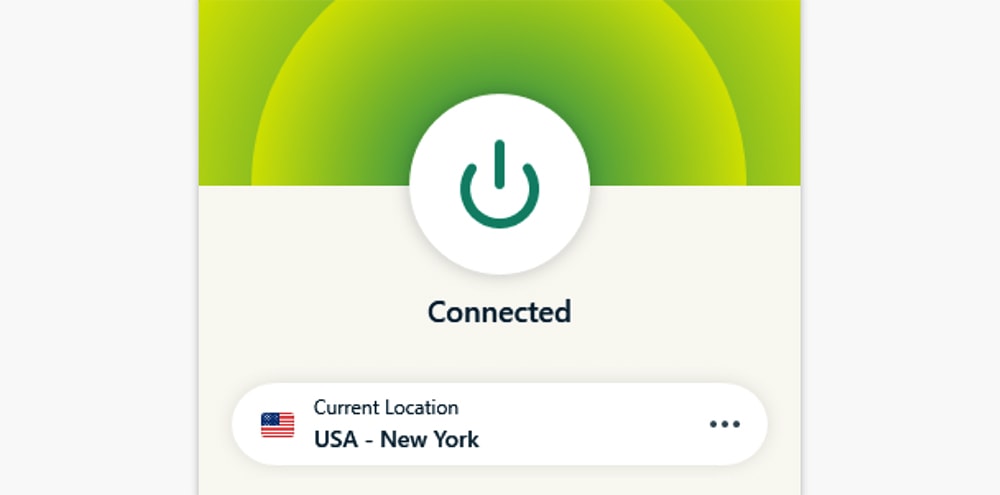
10. Once your VPN session becomes active, ExpressVPN's interface will turn green.
11. To disconnect, tap the ON/OFF switch again. ExpressVPN's interface will turn red.
That's it - you now have full access to ExpressVPN, letting you encrypt your data and safeguard your privacy. However, remember that any VPN will protect all your incoming and outgoing data – but only if you use Chrome OS version 64 or newer.
If you use an older Chrome OS version, only the apps downloaded from the Play Store will be protected. Therefore, update your Chromebook to the latest available Chrome OS version to receive full protection.
Method #2: Set up a Chromebook VPN Manually
To go through this installation method, you need a VPN that provides a list of server addresses and other required information. Also, your chosen VPN must support L2TP/IPsec. So, here's how to manually set up a VPN on your Chromebook.
1. Subscribe to a VPN that supports manual VPN configuration. You should go for ExpressVPN.
2. Once you subscribe, return to the home page of ExpressVPN's website.
3. Tap "My Account" and enter your credentials. You'll reach your online dashboard.

4. Select "Set Up Other Devices" and then pick "Manual Configuration."
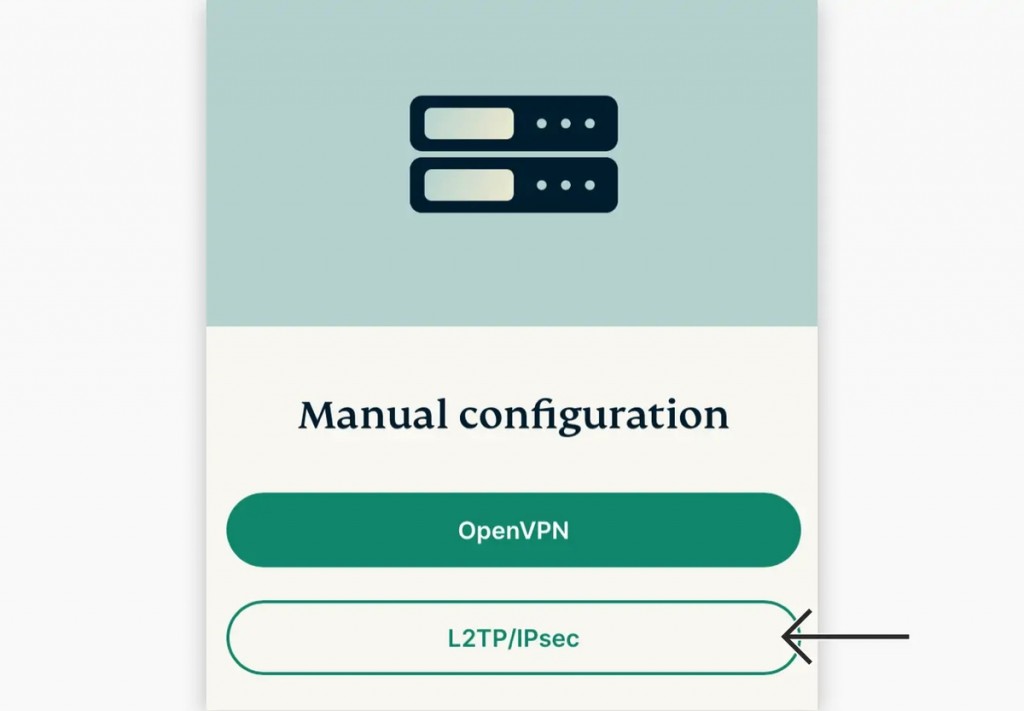
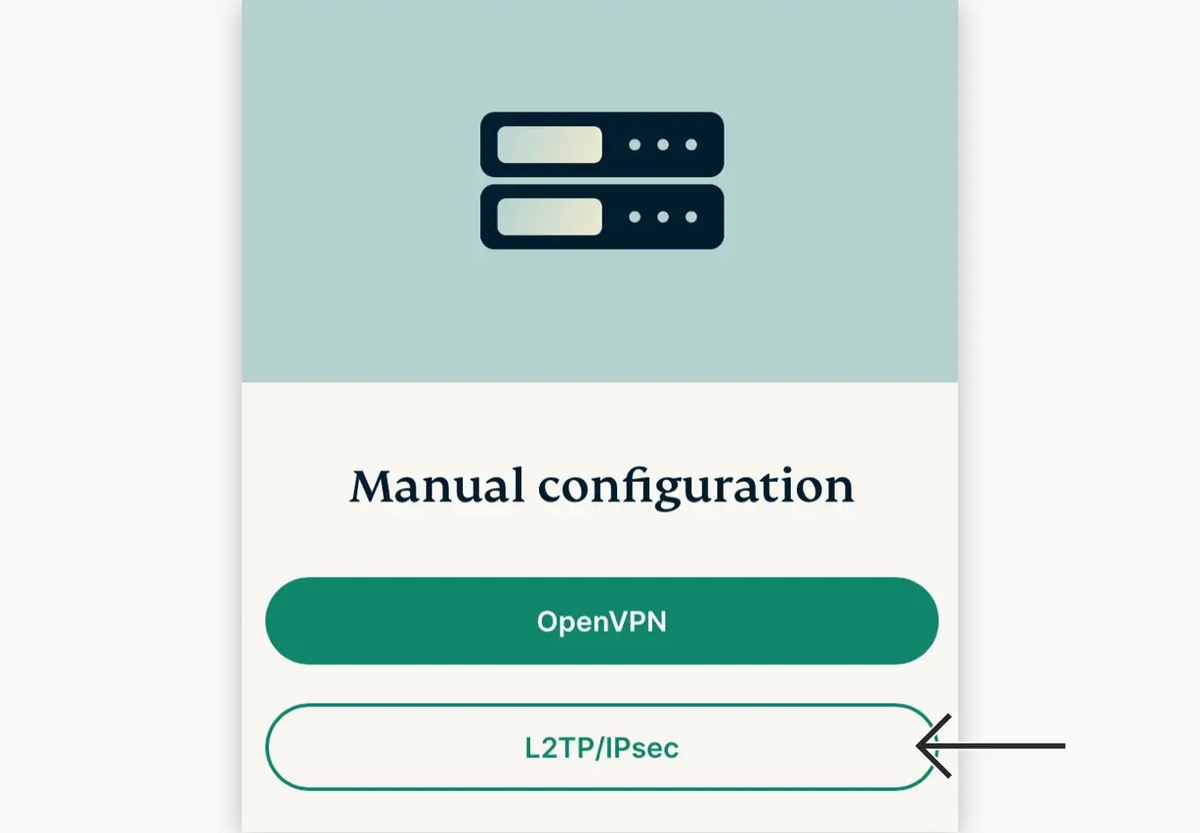
5. On the right, select the "L2TP/IPsec" tab.
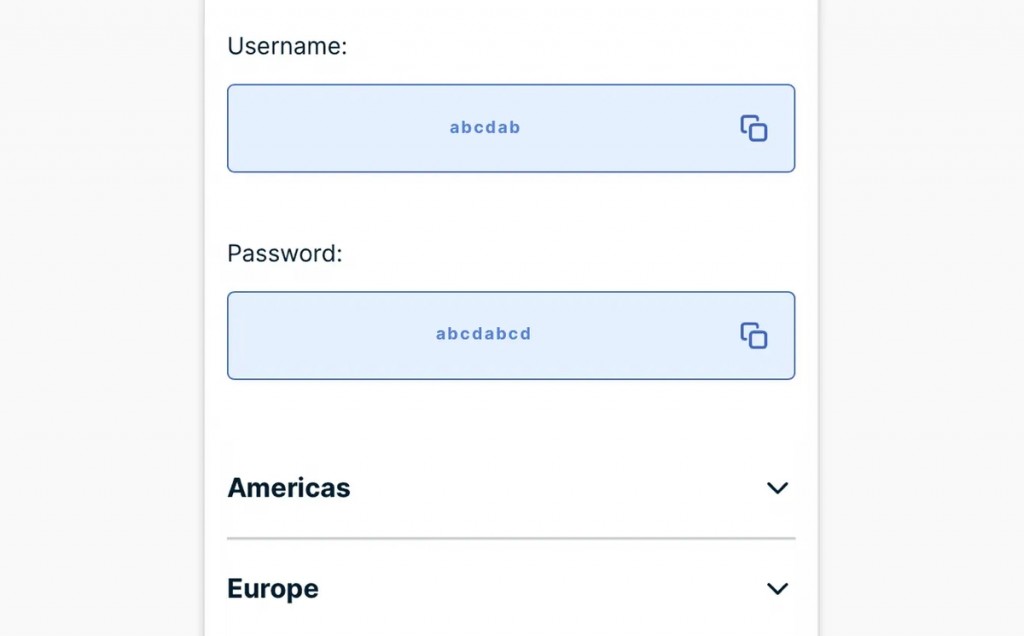
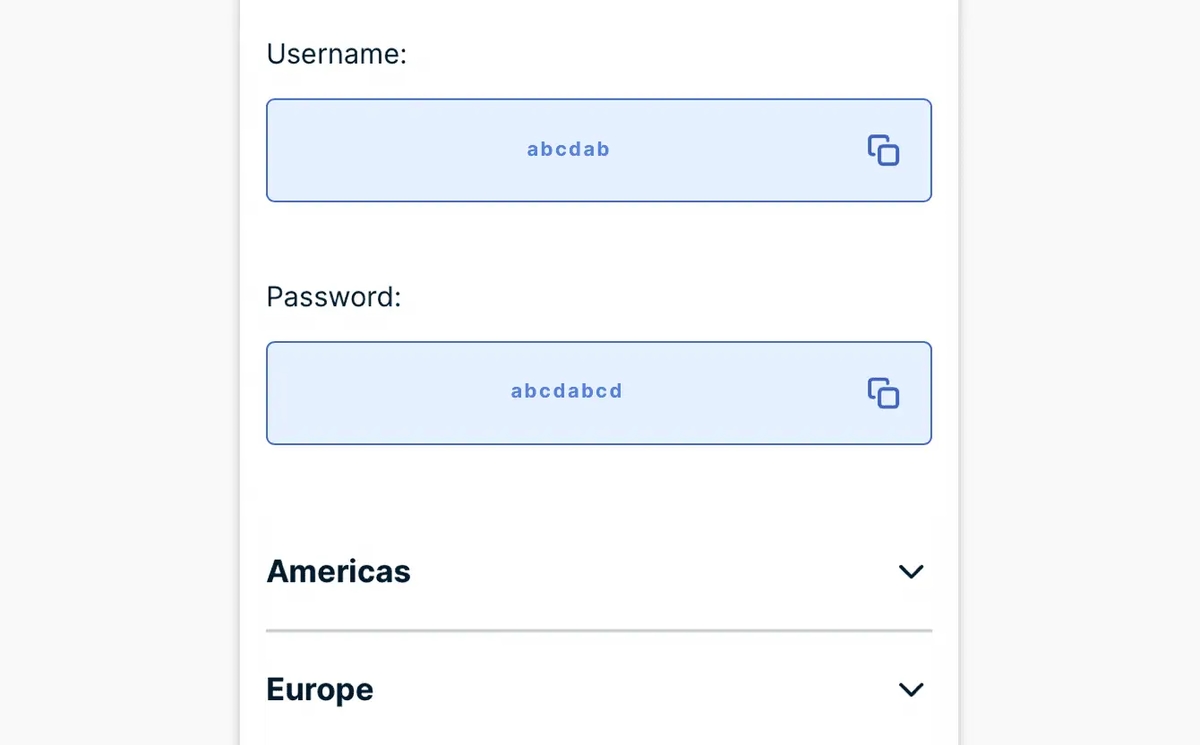
6. Note your username and password. Also, find a VPN location and its server address.
7. Visit your Chromebook's "Settings" app.
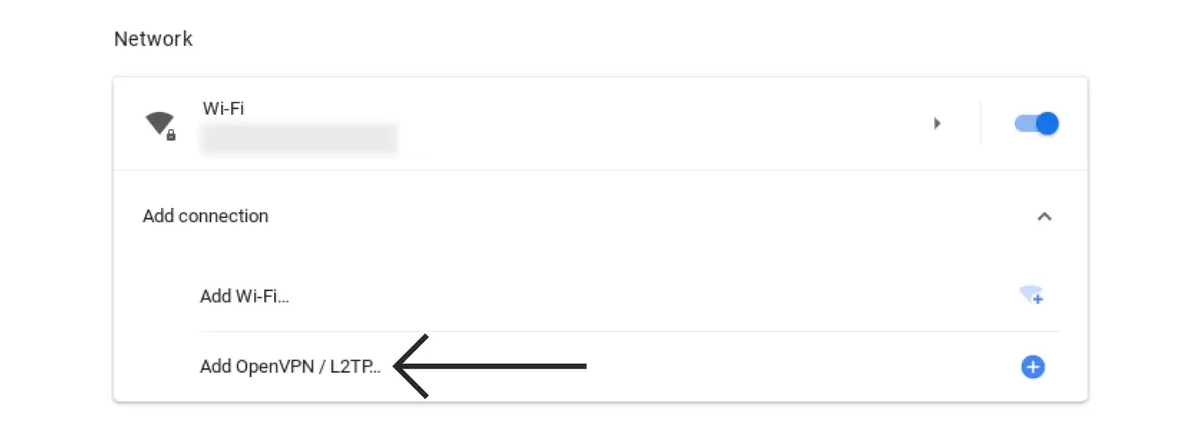
8. Then, navigate to Network > Add Connection > Add OpenVPN / L2TP.

9. The "Join VPN Network" screen will now appear. Enter the following information:
- Server Hostname: Paste the server address of your chosen VPN location.
- Service Name: Enter a recognizable and memorable name for your VPN connection.
- Provider Type: Select "L2TP/IPsec + Pre-Shared Key."
- Pre-Shared Key: Enter "12345678."
- Username: Enter your L2TP username (not your ExpressVPN username).
- Password: Enter your L2TP password (not your ExpressVPN password).
- Group Name: Leave this field blank.
- Save Identity and Password: Toggle this option if you want to save your settings.
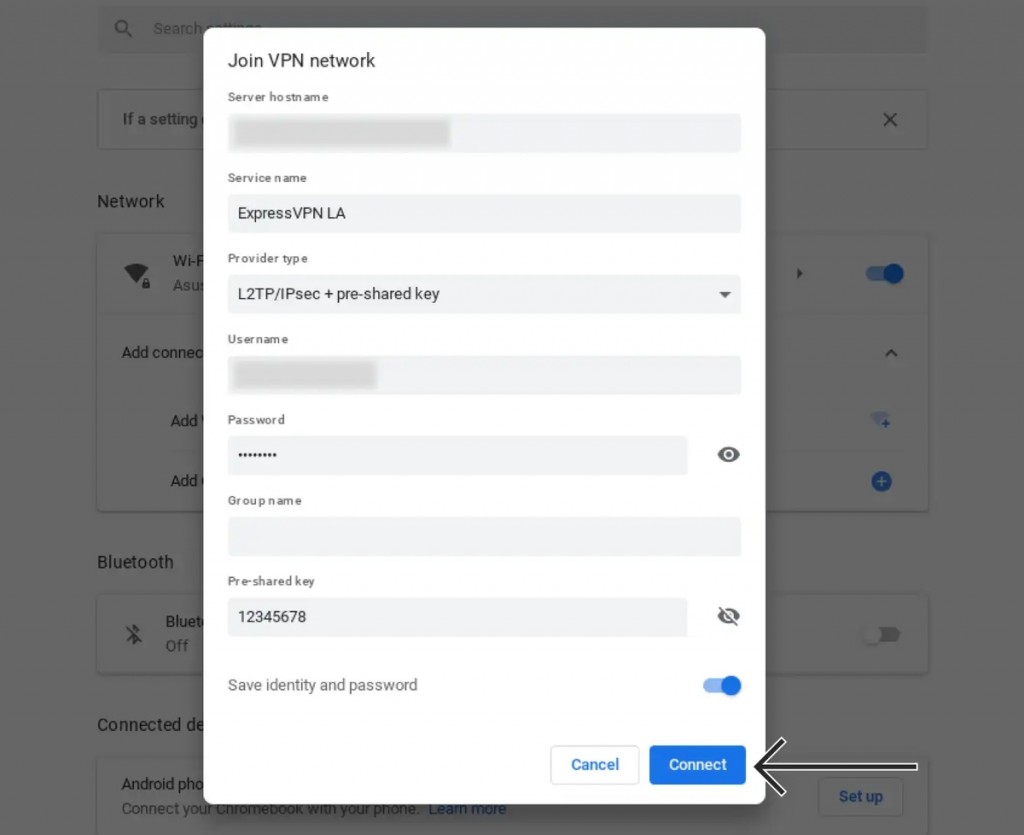

10. Tap "Connect" to initialize your VPN session and test your settings.
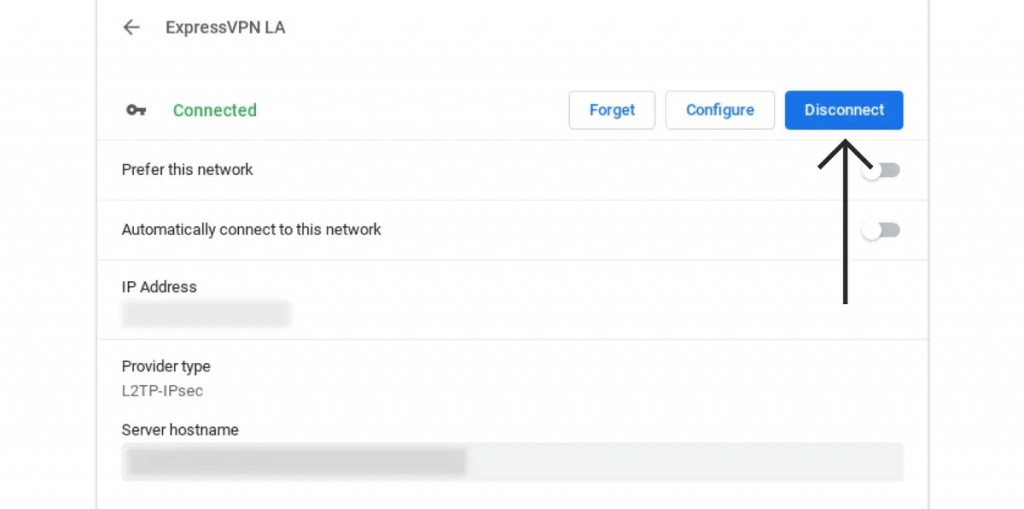
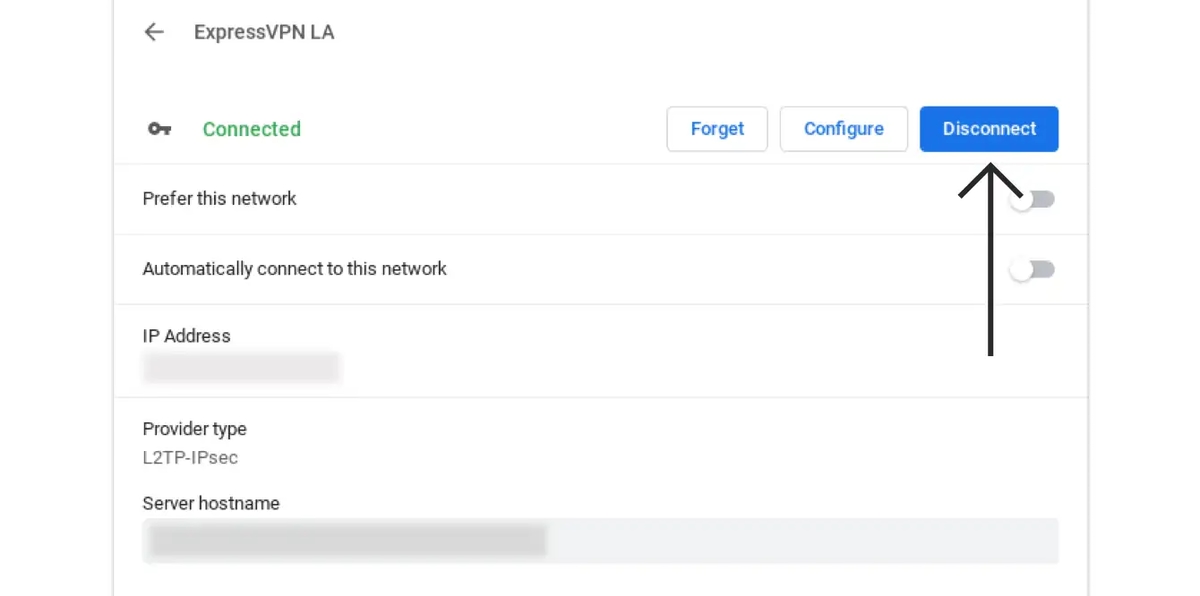
11. You should see a key icon next to your new VPN connection once you connect.
12. To disconnect, go to Network > VPN. Select your connection and pick "Disconnect."
13. You can also add more connections using additional VPN locations. That's it!
Method #3: Use a Chrome VPN Extension
Another way to set up a VPN on Chromebook is to use a Chrome extension. If you pick this route, know that your chosen VPN will protect everything you do inside the Chrome browser. So, your other apps will send and receive traffic without encryption.
If you're okay with that, here's how to install a Chrome OS VPN using an extension:
1. Subscribe to a VPN that has a reliable and robust VPN extension, such as NordVPN.
2. Open the Chrome browser and visit the Chrome Web Store.
3. Search for "NordVPN" and open the extension's overview.
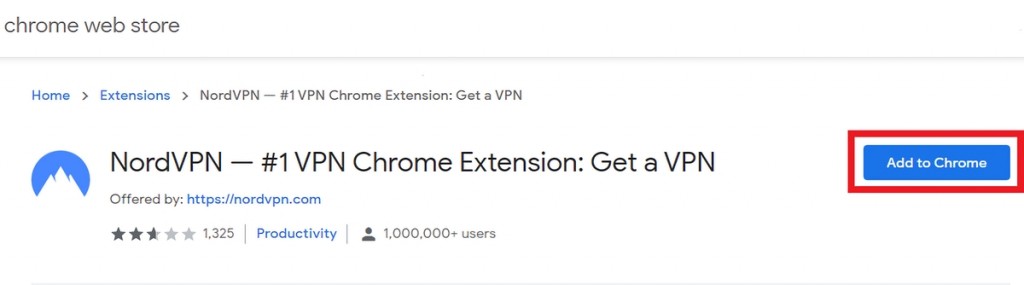

4. Install the VPN extension using the "Add to Chrome" button.
5. Confirm your decision by tapping on "Add Extension."

6. You'll now see a confirmation that NordVPN's extension is now installed.
7. To activate the extension, select its logo (in the top-right corner of Chrome).
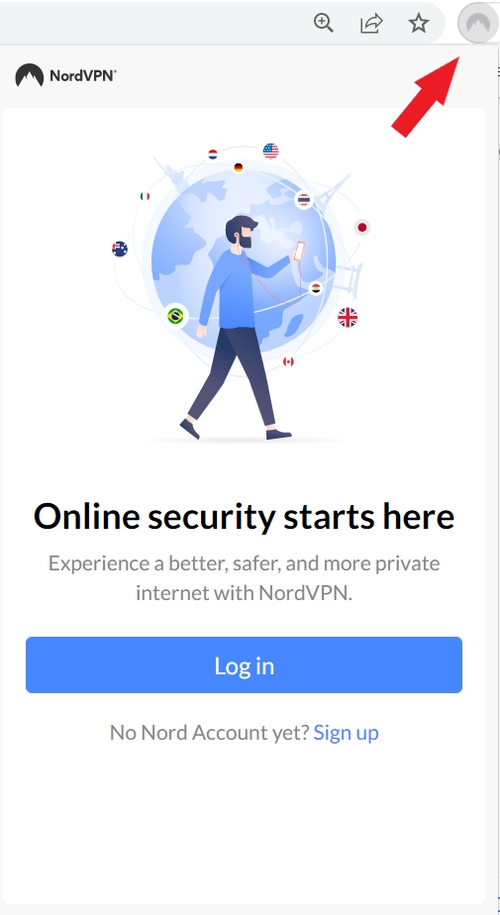
8. Select "Log In" and provide your NordVPN credentials.
9. You can now connect to any server and encrypt your incoming and outgoing data.
10. Finally, optimize NordVPN's extension by going to its settings (bottom-left corner).
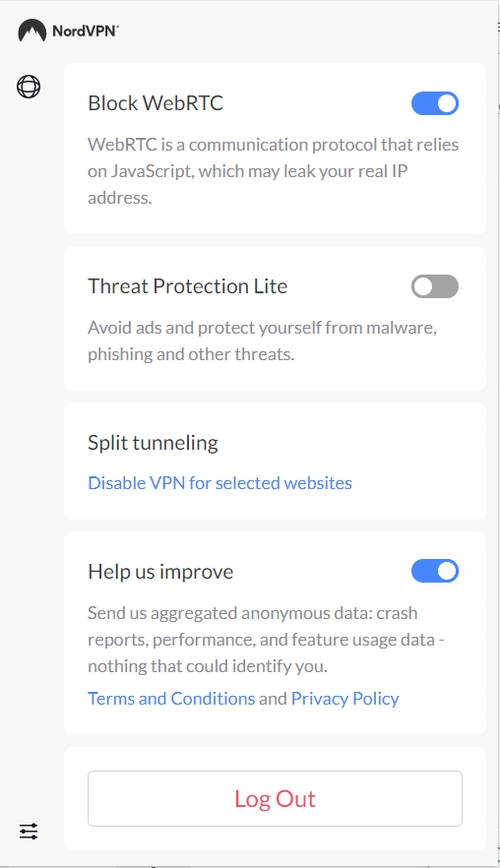
11. That's it! You can now have full access to NordVPN's extension for Chrome OS.
Method #4: Switch to Using a Linux VPN App
If you decide to use a Linux VPN app on your Chromebook, we recommend using a VPN that offers a native app for this operating system. Here's what you need to do:
1. Subscribe to a VPN that offers a Linux app that works on Chrome OS, such as ExpressVPN.
2. Ensure that you've enabled support for Linux on your Chromebook.
3. Use a Linux Web browser to access ExpressVPN's website. Then, select "My Account."
4. Access your ExpressVPN dashboard and click "Set Up Other Devices."
5. Pick "Linux" and then select your version of Linux (Ubuntu 32-bit or 64-bit, in most cases).
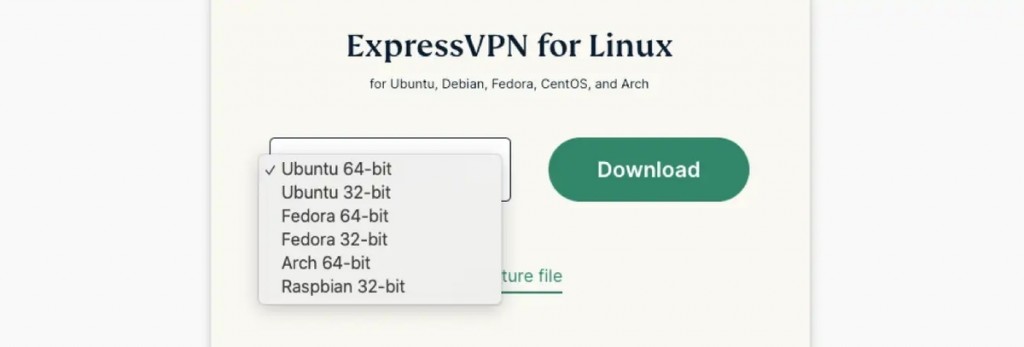
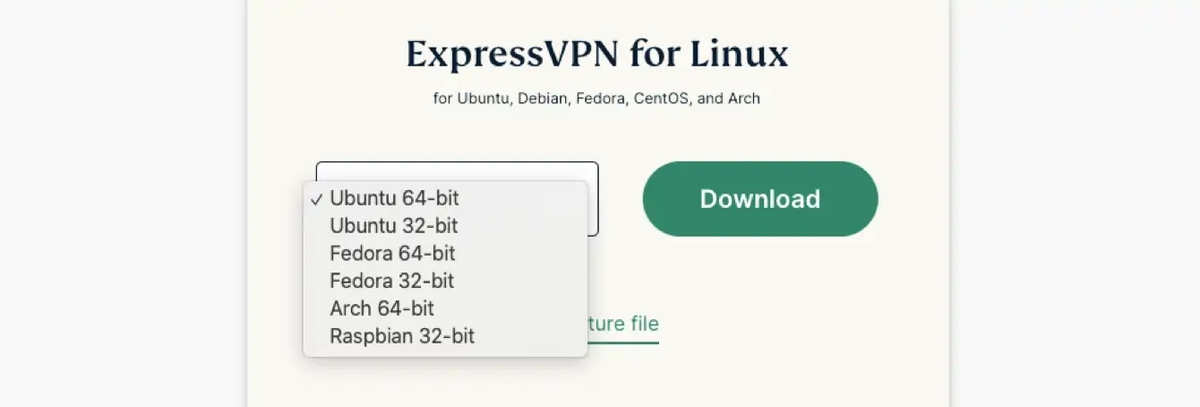
6. Download ExpressVPN's installation file for Linux.
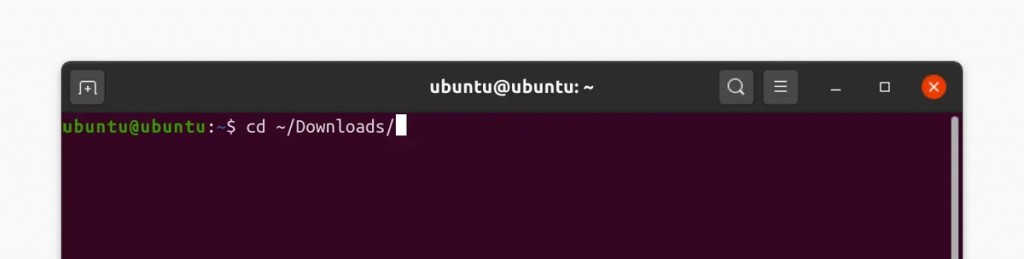
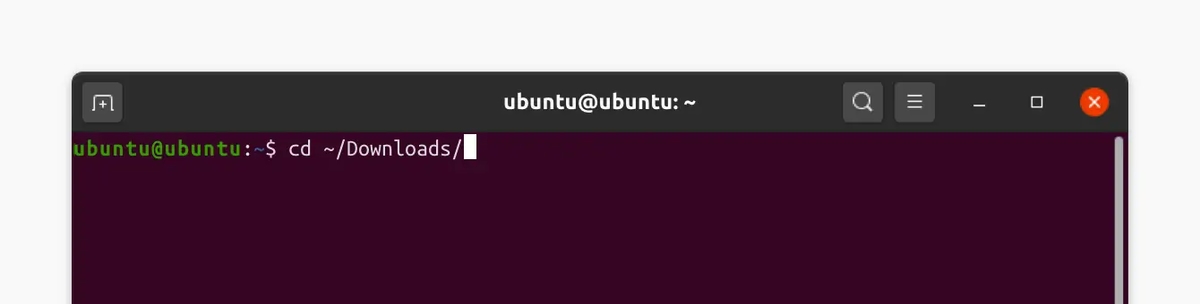
7. Open Linux's Terminal and find the folder where you’ve downloaded the installation file.
8. By default, you should use the "cd ~/Downloads/" command.
9. Then, open the installer file using the "sudo dpkg -i [INSTALLER NAME]" command.


10. Make sure to enter the file's name and its extension carefully.
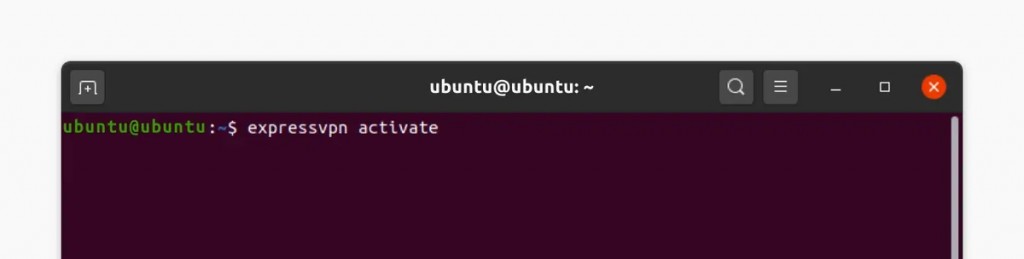
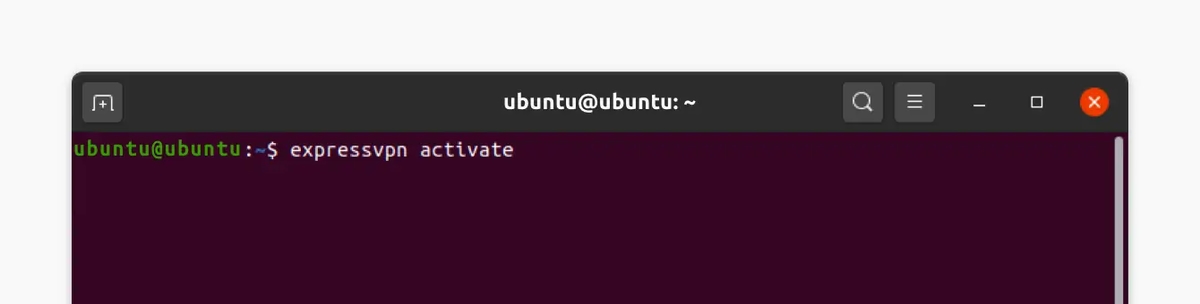
11. Then, type in "expressvpn activate" and hit Enter.
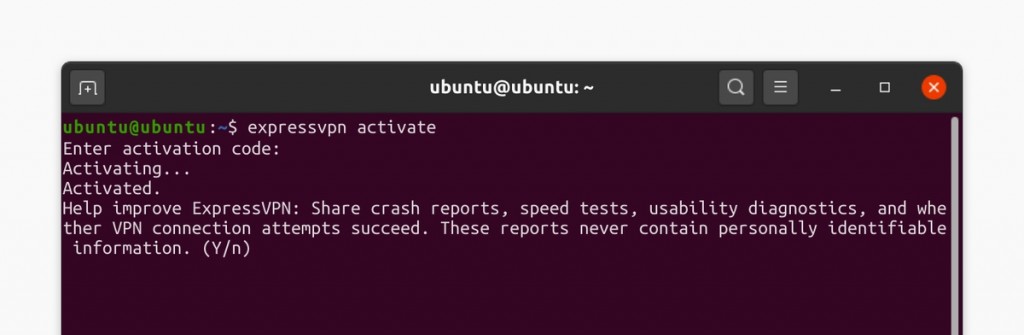
12. Return to your ExpressVPN dashboard, where you’ll see your unique activation code.
13. Paste it into Terminal and hit Enter to activate the VPN.
14. You’ll also be asked to share anonymous data for diagnostic purposes.

15. You've installed ExpressVPN, which means you can now start using the VPN.
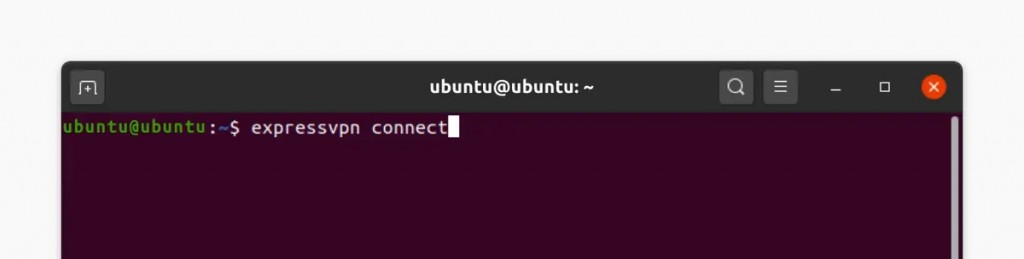
16. Use the "expressvpn connect" command to connect to the nearest server.

17. Use the "expressvpn list all" commands to list all ExpressVPN servers.
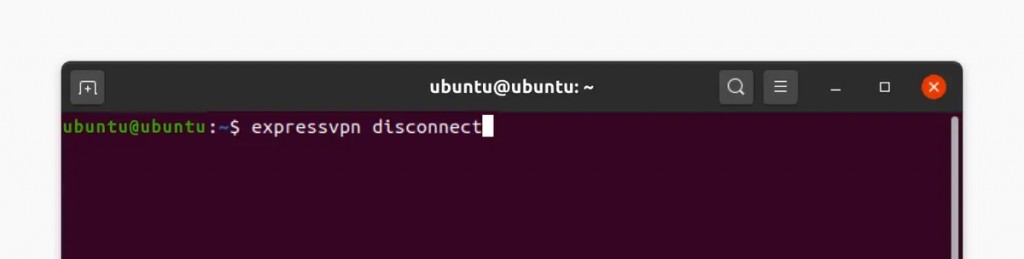
18. Go with "expressvpn disconnect" to disconnect and end your VPN session.

19. That's it! You can now interact with ExpressVPN using its native Linux app.
Final Thoughts
As you can see, setting up a VPN on your Chromebook can be done in more ways than one. So, proceed based on your level of knowledge regarding VPNs and Chrome OS. However, no matter which path you pick, you'll first need to subscribe to a quality Chrome OS VPN service.
We'll once again remind you that our #1 recommendation is ExpressVPN, which works flawlessly on Chrome OS and supports a wide range of installation methods. You can even try ExpressVPN risk-free for 30 days, which is why it's among the best VPNs for a Chromebook.
If you wish to extend your VPN coverage to other devices, consult our central guide on setting up a VPN - with more than 60 devices and platforms covered.
If you have any questions about setting up a VPN on your Chromebook, make sure to post your comment just below. With that said, we conclude our guide. Thank you for reading!
Related