When you purchase through links on our site, we may earn an affiliate commission. Here’s how it works.
How to Download and Install NordVPN on Chromebook
Last updated January 16, 2025

NordVPN makes it easy to install the VPN on a Chromebook in two main ways. You can either add the NordVPN extension to Chrome or use NordVPN's Android app on your Chromebook. That said, remember that there are significant differences between the two available methods.
When using the Chrome extension, only the traffic related to your browser is encrypted and secured, allowing you to unblock sites on your school Chromebook. However, when you use its Android app on your Chromebook, your entire Web activity across all apps on the device will be secured, so you'll unblock sites and individual apps.
This article will teach you how to download and install NordVPN on a Chromebook with step-by-step instructions for multiple methods.
How to Download and Install NordVPN on Chromebook
To install NordVPN on a Chromebook, you can download its native app or Chrome extension. Also, you can install NordVPN on a router and connect your Chromebook to the VPN-enabled Wi-Fi network to fully secure it. However, for that method to work, you need a VPN-ready router (your ISP-issued router likely won't work). So, we recommend going with the Android app first. If that's not possible, feel free to use the Chrome add-on.
Method #1: Use NordVPN's Native Android App
By using NordVPN's Android app, you will secure your Chromebook's incoming and outgoing traffic. As such, this is the preferred way to set up NordVPN on a Chromebook, done in the following way:
1. Subscribe to NordVPN using your Chromebook and any Web browser.
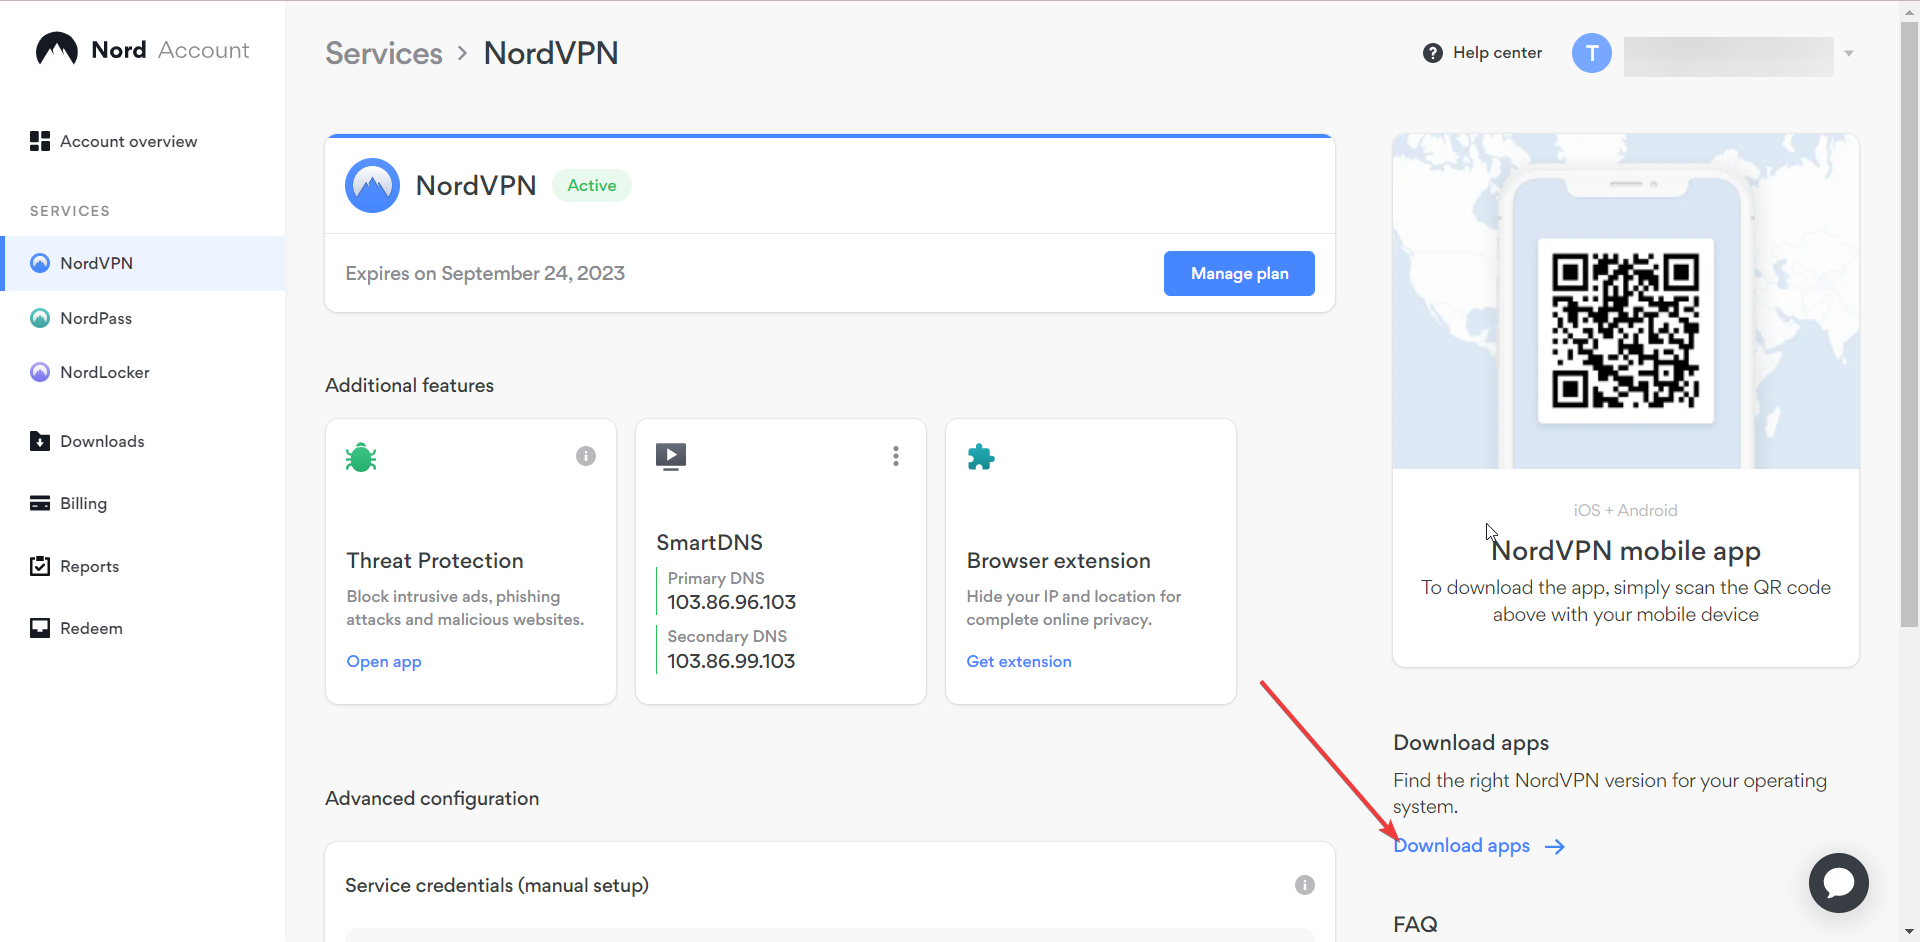
2. Access your Nord account dashboard.
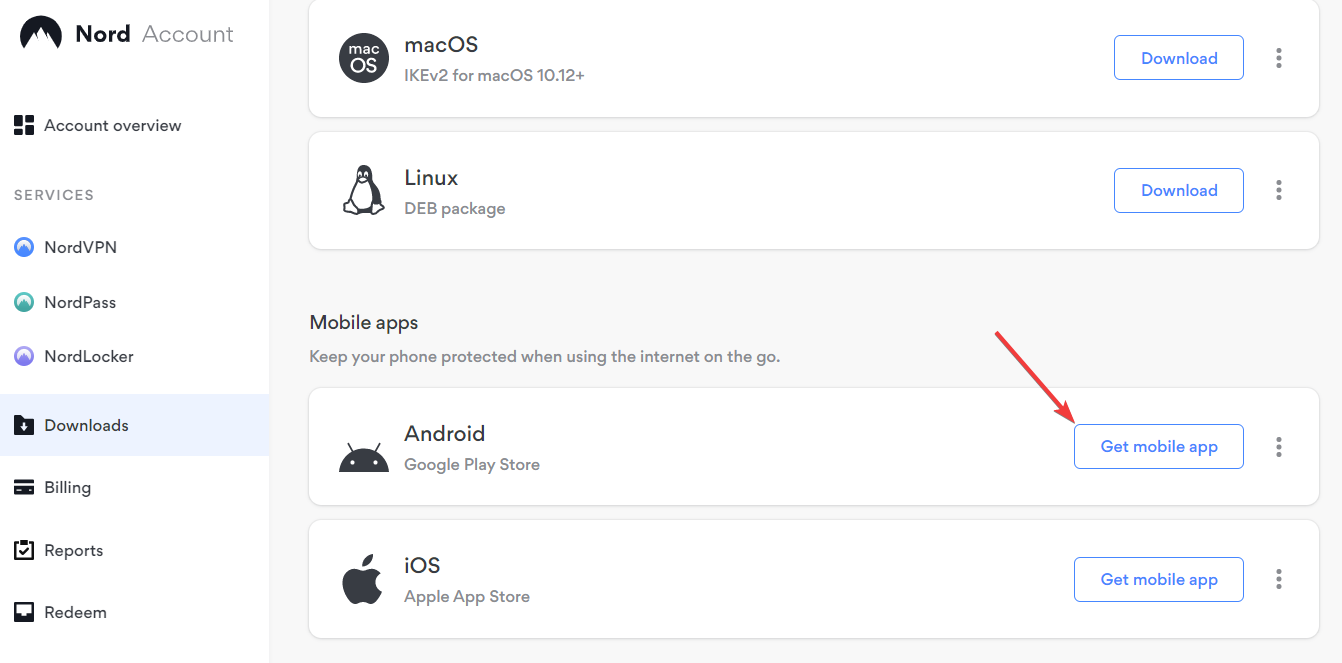
3. Navigate to 'NordVPN' > 'Download apps.'

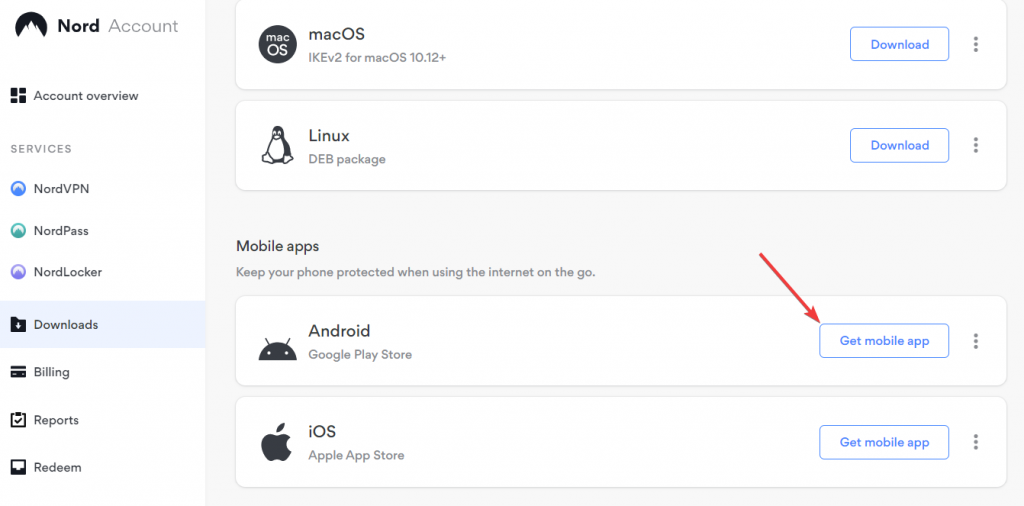
4. Click the "Download" button next to "Android" and save the setup package.
5. Install the VPN app on your Chromebook and launch the NordVPN app.
6. Next, select "Log In" and enter your credentials to gain full access to the app.
7. Connect to a suitable server location according to your requirements.
8. Close NordVPN (it will continue running in the background) and start browsing the Web securely.
Method #2: Use NordVPN's Chrome Extension
Another way to set up this VPN on a Chromebook is to use the NordVPN Chrome extension. However, keep in mind that you'll protect your Chrome-related traffic only. Do the following:
1. Get a NordVPN subscription using Chrome on your Chromebook.
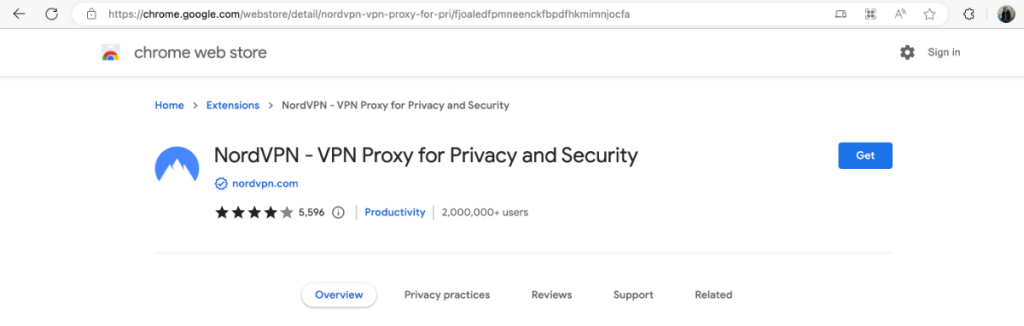
2. Next, visit NordVPN's listing on the Chrome Web Store.
3. Click on 'Get' and confirm when asked if you're sure that you want to add NordVPN to your Chrome.

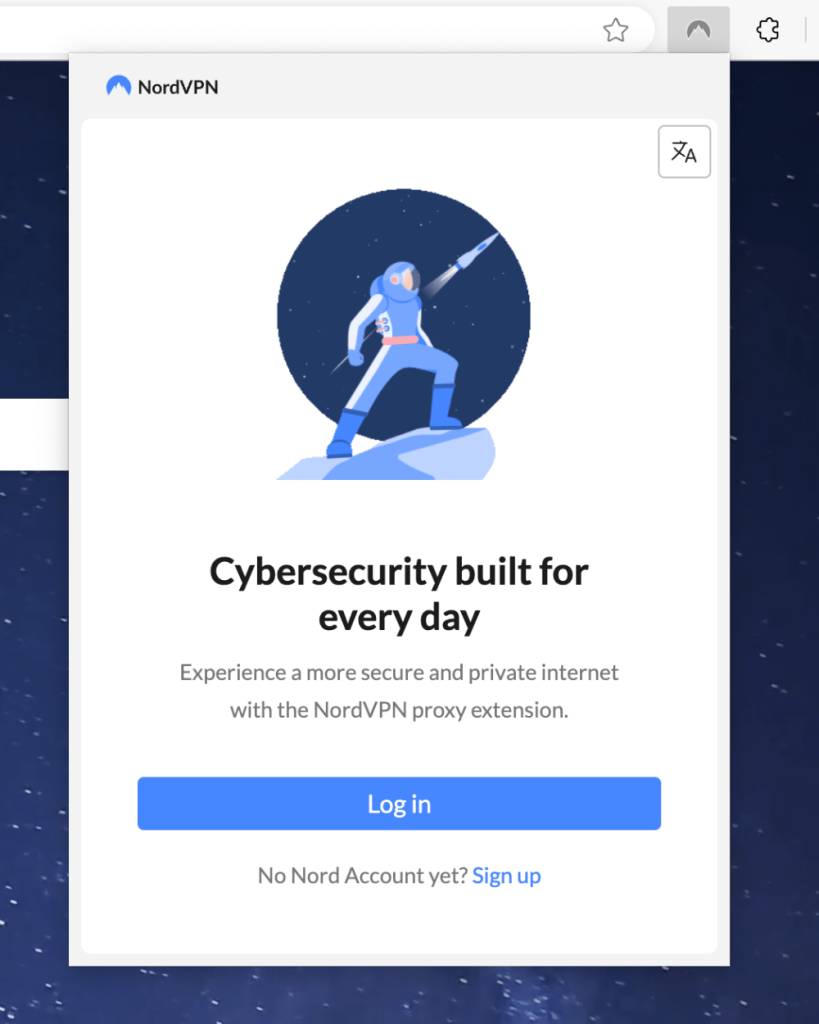
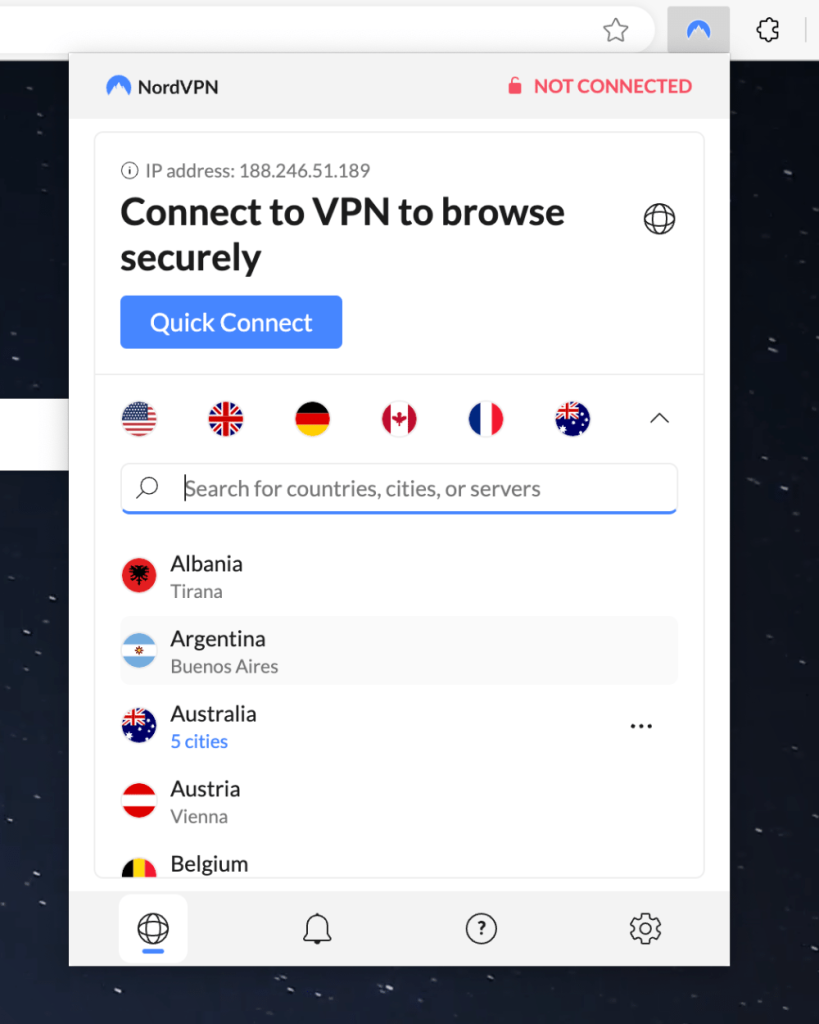
4. Launch the extension by clicking on its icon (top-right corner).
5. Click 'Log In' and enter your username and password.

6. Click 'Quick Connect' to allow the VPN to connect you to the closest VPN server available.
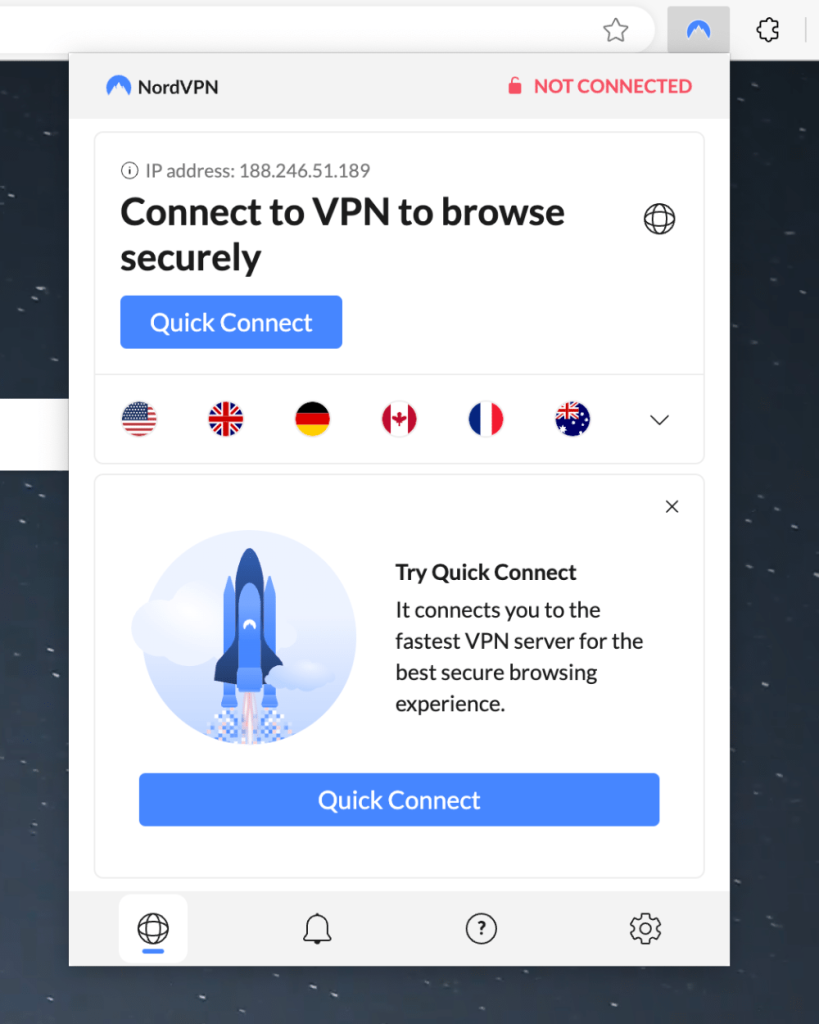

7. To pick a custom server, click the drop-down arrow and choose your preferred server location.

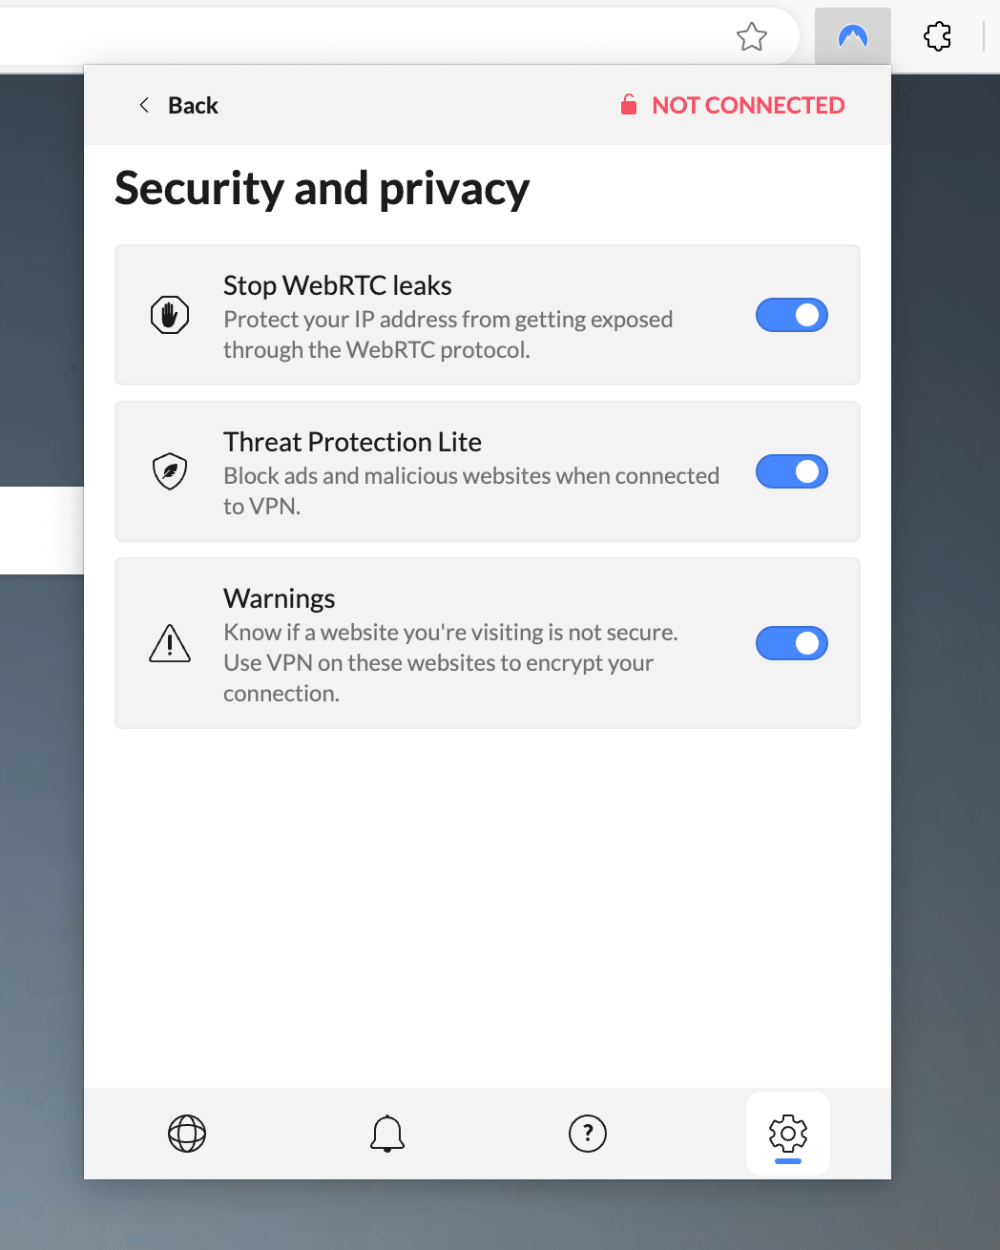
8. To find its additional security settings, click the cogwheel icon > 'Security and Privacy.'
9. Enable the following security options:
- Stop WebRTC leaks
- Threat Protection Lite
- Warnings

Final Thoughts
As you can see, installing NordVPN on a Chromebook takes only a couple of minutes. That said, we highly recommend using the Android VPN app, as it fully secures all your device's incoming and outgoing traffic. NordVPN's native Android app also gives you several additional security features not present in its Chrome extension, including multiple VPN protocols, a kill switch, and more.
Also, make sure to protect your other devices, as even a single exposed device can put your data in danger. That said, you can download and install NordVPN on various devices. Don't forget that we're talking about one of the best Chromebook VPNs right now, so make sure to utilize its data protection, anti-malware, and Dark Web monitor on your non-ChromeOS devices as well.
That’s all we've prepared for you. If you have further queries or technical issues with getting started with NordVPN, feel free to comment below. Thanks for reading!
Related