When you purchase through links on our site, we may earn an affiliate commission. Here’s how it works.
How to Set Up a VPN on Mac in 2025
Last updated May 11, 2024

If you're worried that getting started with VPNs on macOS is hard, rest assured that you're in for an easy procedure. In this article, we'll do our best to provide up-to-date guides, giving you a clear idea of how to set up a VPN on a Mac and safeguard your privacy in the best way possible.
More precisely, we'll explain 3 options. You can use an official macOS VPN app, configure a VPN manually, or rely on third-party apps for specific protocols. Each of those methods has its benefits and downsides, so we'll make sure to explain all there is to know.
With that said, let's jump right in, shall we?
How to Set Up a VPN on Mac
Without further ado, here are the 3 best and easiest methods to install any VPN on your Mac:
- Method #1: Set Up a VPN on Mac Using a Native App
- Method #2: Set up a VPN on Mac Manually
- Method #3: Set Up a VPN on Mac Using Tunnelblick
Method #1: Set Up a VPN on Mac Using a Native App
The easiest way to install a VPN on your Mac is by using your VPN's native app. In other words, you'll need to turn to your VPN's website, where you'll find native software for your platform. You will need to do the following:
1. Pick a VPN that offers a native macOS app. We highly recommend ExpressVPN. (You can try it risk-free for 30 days.)
2. Once you subscribe, go back to ExpressVPN's site. Select 'My Account.'

3. Provide your credentials, and you'll access your ExpressVPN account dashboard.
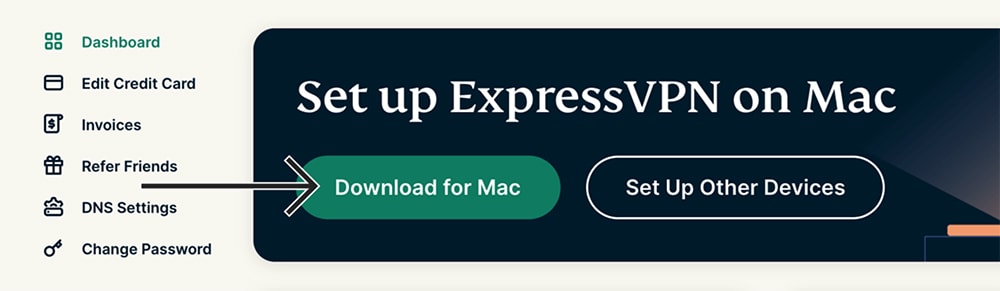
4. You should see a banner at the top. Click 'Download for Mac.'
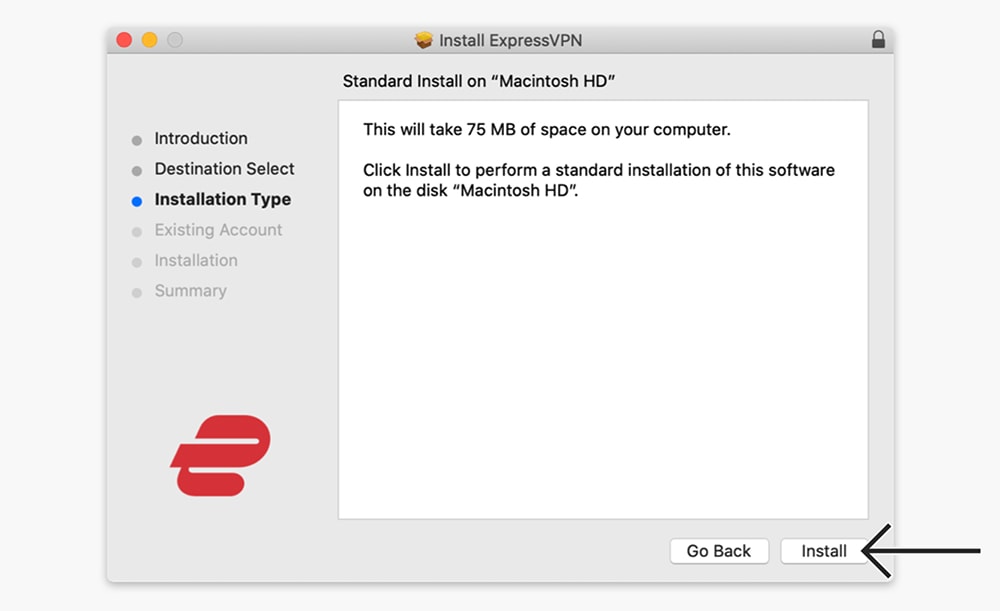
5. Double-click on the installation file you just downloaded. Install ExpressVPN.
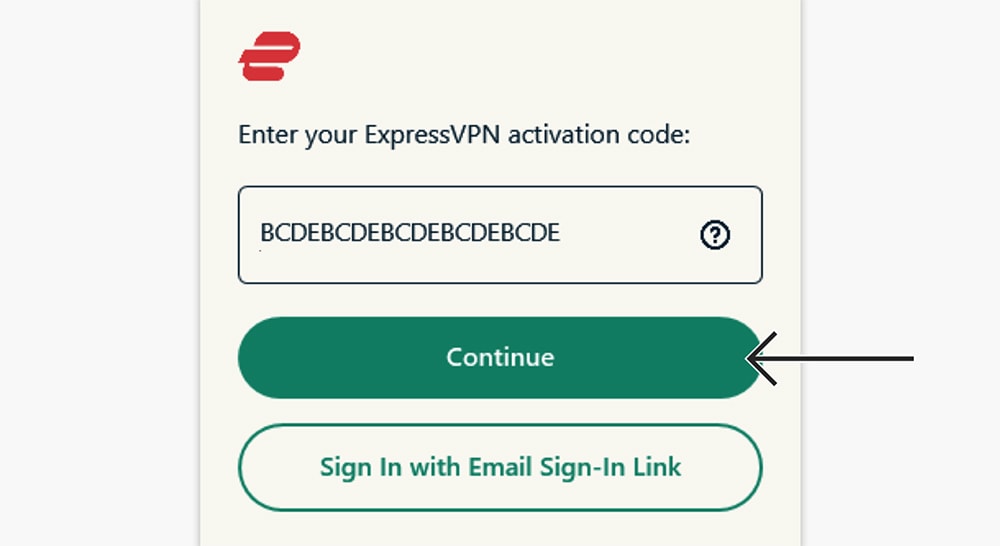
6. Open the ExpressVPN app and pick 'Sign In.'
7. Log in to your account. You can use your ExpressVPN activation code for that purpose.
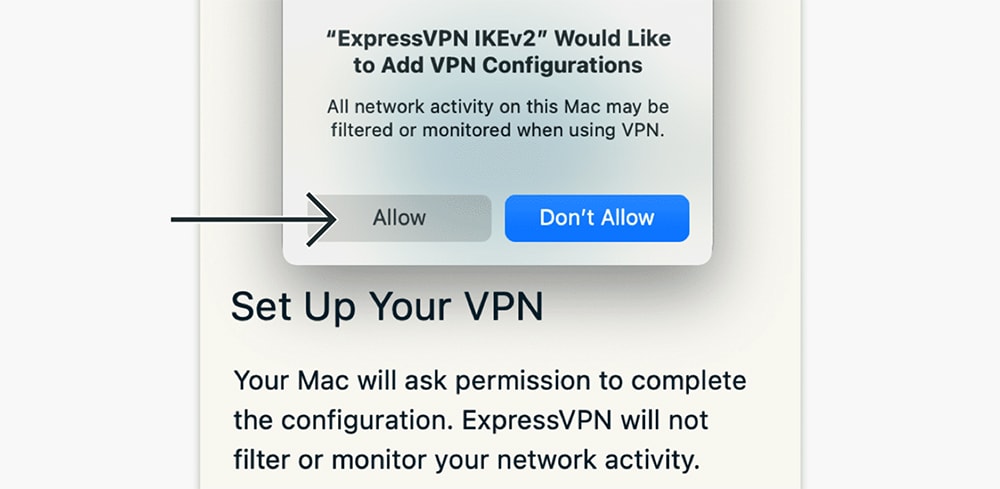
8. You'll be asked to add a VPN configuration to macOS. Click 'Allow.'
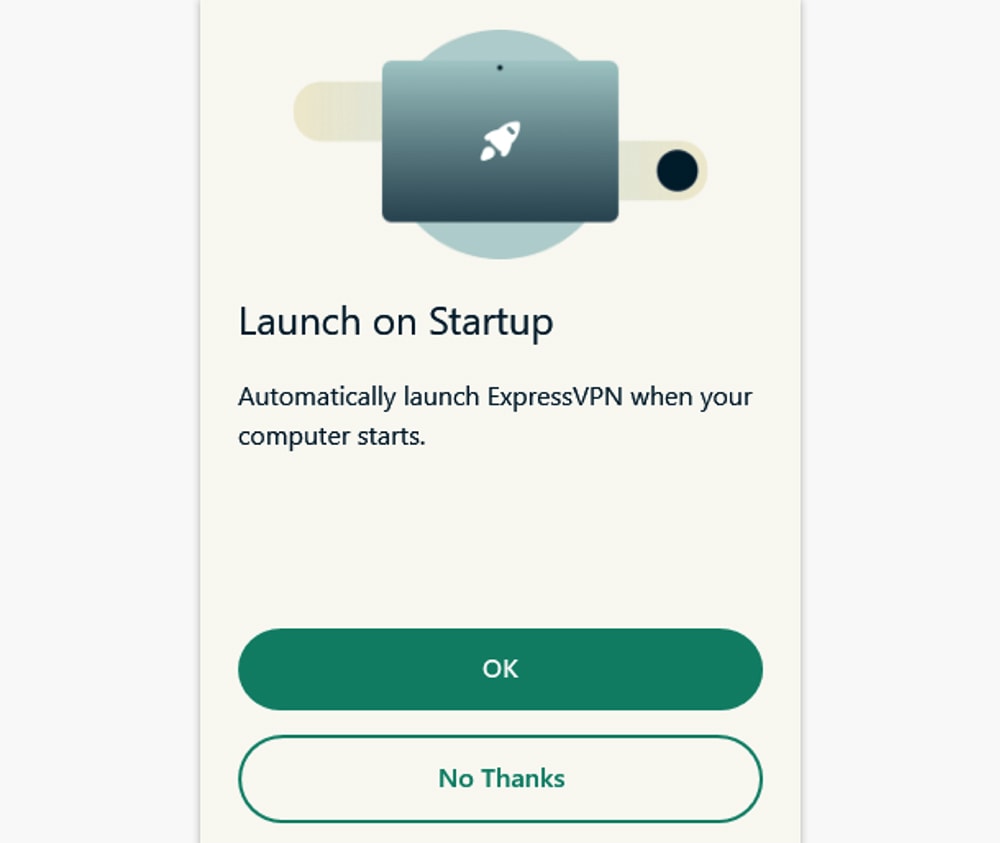
9. Decide if you want to allow ExpressVPN on launch on system startup.
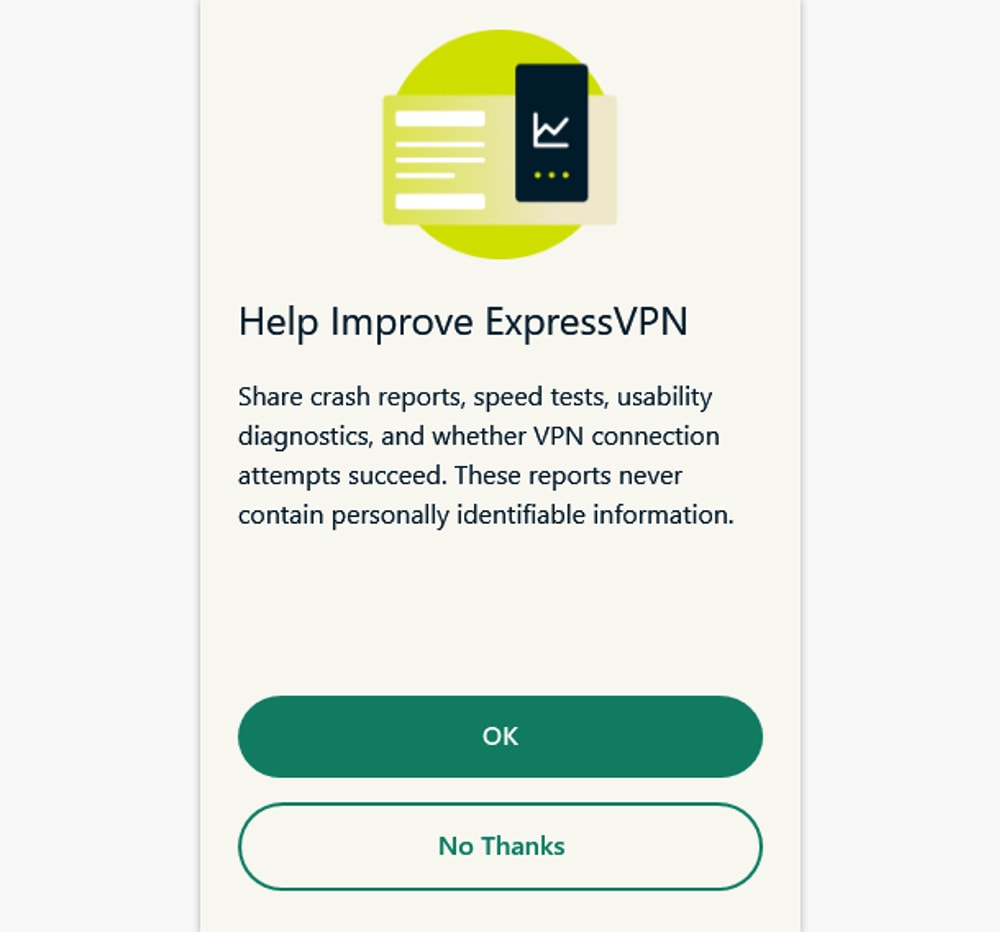
10. Decide if you want to send anonymous data to ExpressVPN.
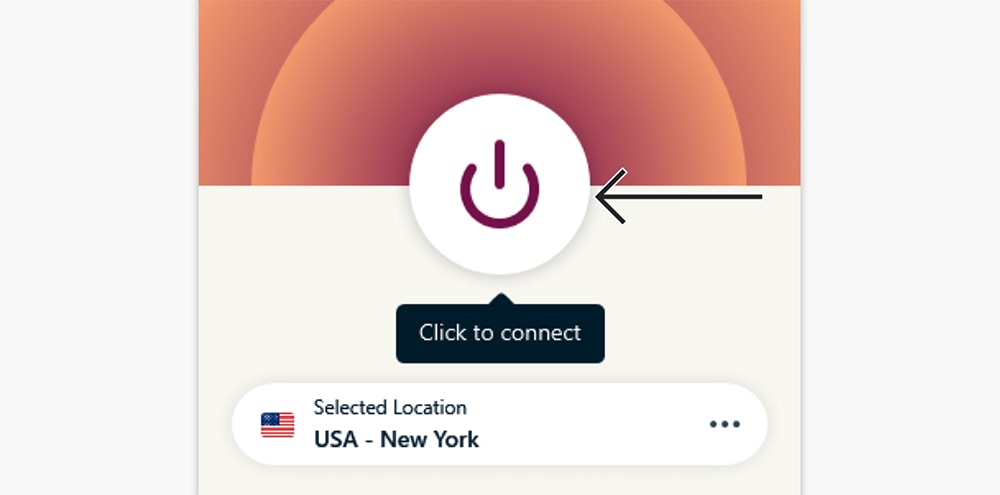
11. At this moment, you should be looking at ExpressVPN's home screen.
12. Use the ON/OFF button to connect to the nearest VPN server.
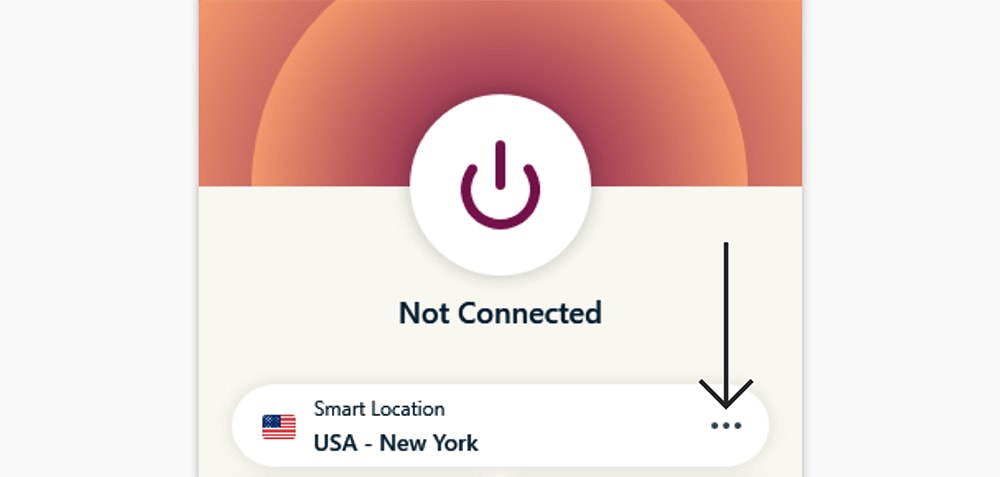
13. Use the button below the ON/OFF switch to pick another server manually.
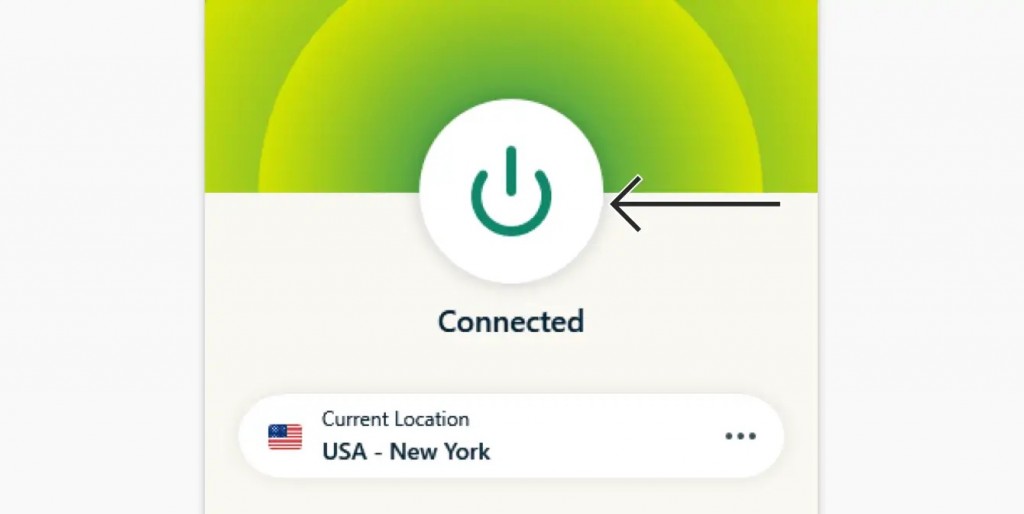
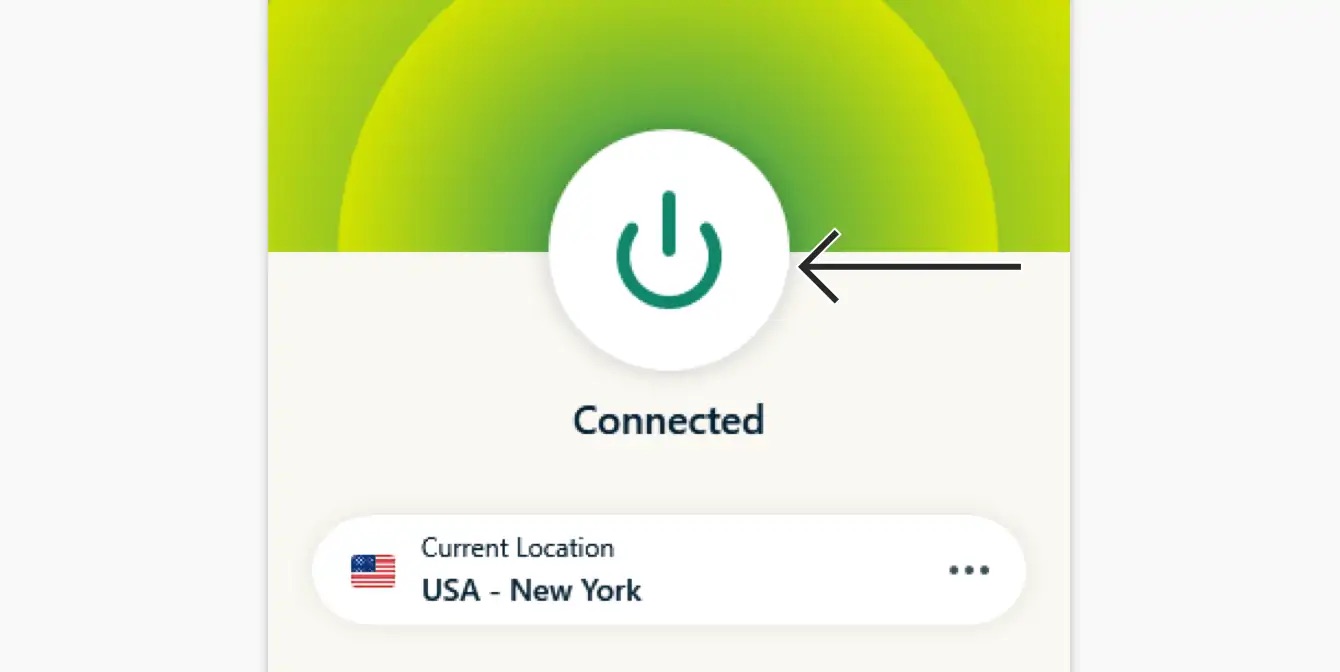
14. Lastly, use the ON/OFF switch to disconnect at any moment. That's it!
Method #2: Set up a VPN on Mac Manually
You can configure a VPN manually if you don't want to install another app on your Mac. Keep in mind that your VPN needs to supply you with certain information, like its server addresses, so you'll need a VPN that supports that kind of configuration.
1. Get a VPN that supports manual configuration on macOS, such as ExpressVPN.
2. Return to ExpressVPN's site and click 'My Account.' Access your online dashboard.
3. Click 'Set Up Other Devices' at the top. Then, pick 'Manual Configuration.'
4. Pick the 'L2TP/IPSec' tab on the right-hand side.
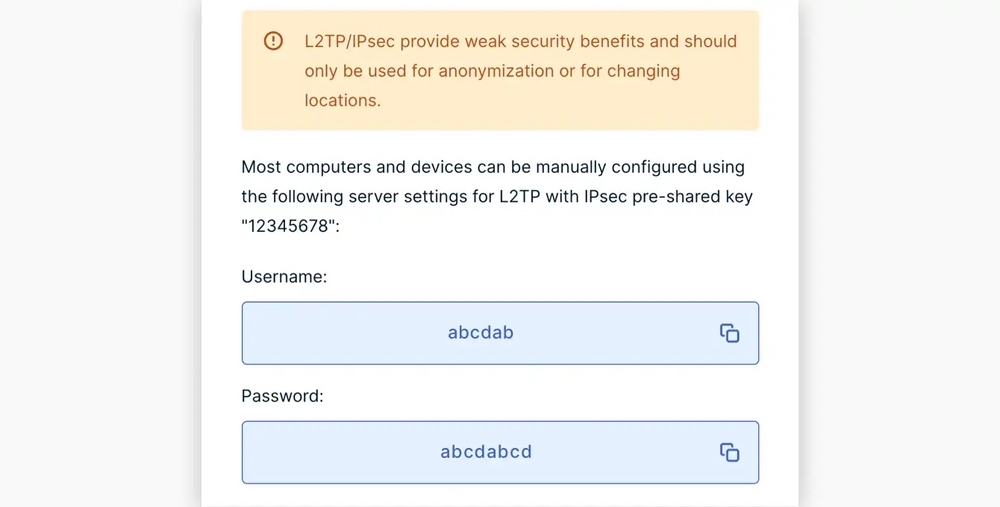
5. You'll now find your L2TP username and password. So, leave that page open.
6. Just below, find a server and note its server address.
7. Now, go to System Preferences > Network and click on the '+' sign in the bottom-left corner.
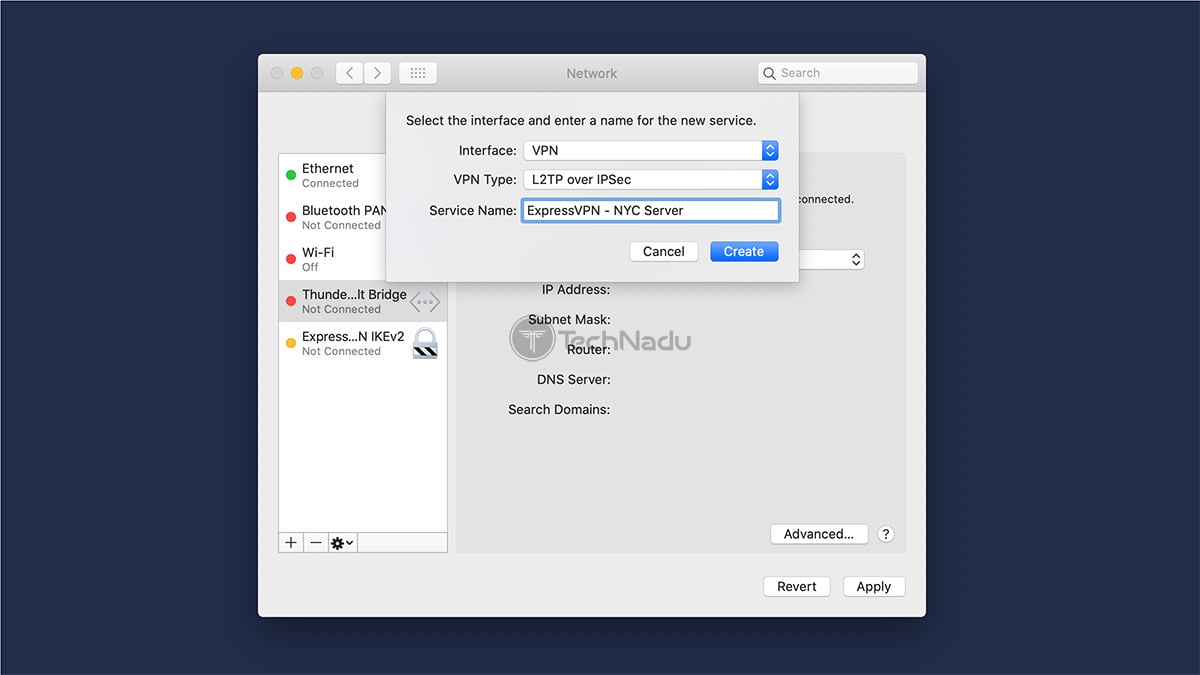
8. Pick 'VPN' for the interface type and 'L2TP over IPSec' for the VPN type.
9. Give a name to your VPN connection, but make sure to keep it easy to memorize.
10. Return to the ExpressVPN page you're keeping open in the background.
11. Input any server address and your account name (your L2TP username).
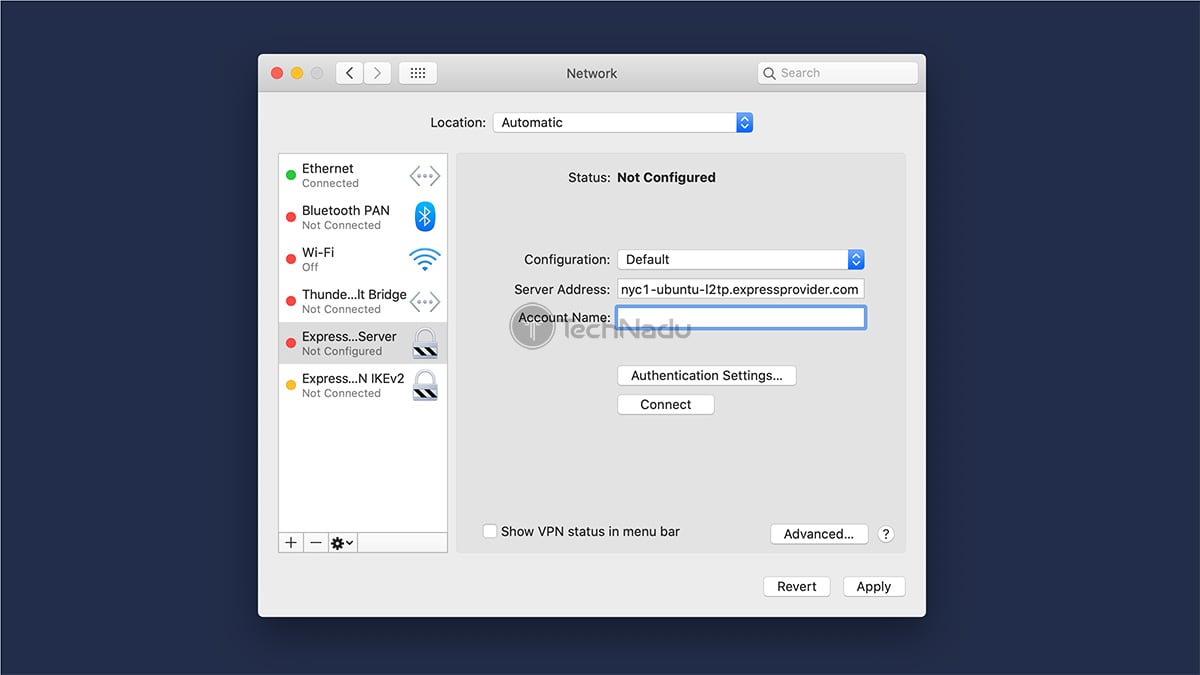
12. Select 'Authentication Settings' to proceed.
13. In the 'Password' field, you need to enter your L2TP password.
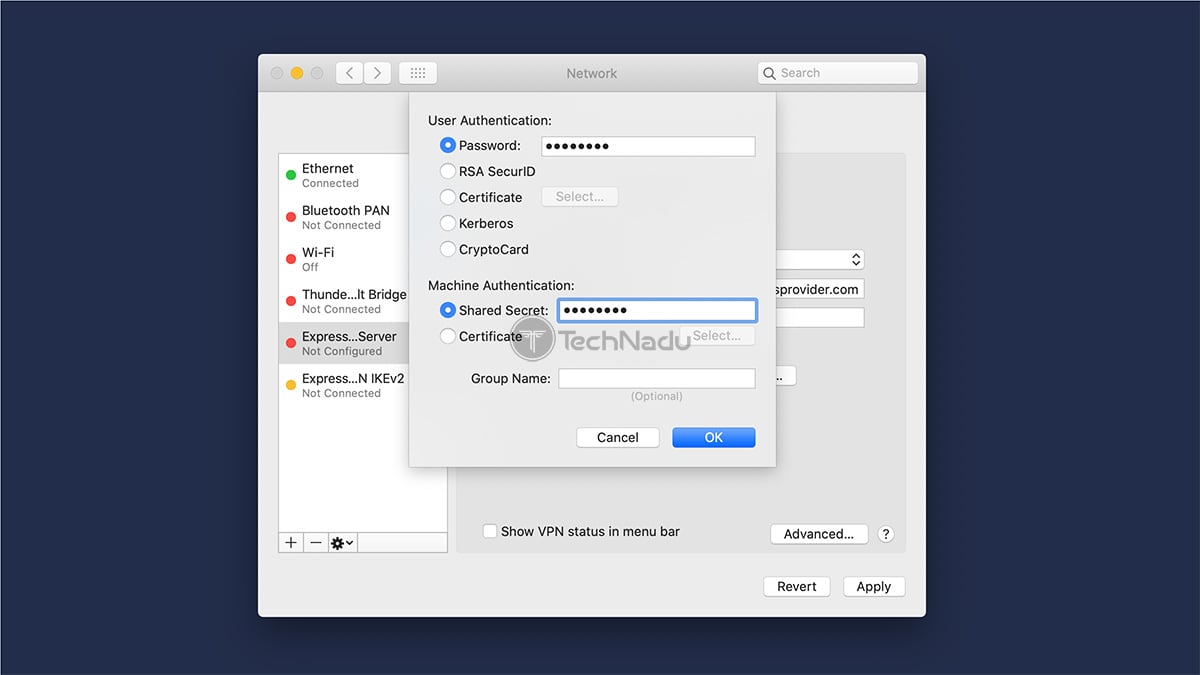
14. And also, enter '12345678' in the 'Shared Secret' field.
15. Click on 'OK' to dismiss the screen you're seeing at the moment.
16. Then, click on 'Advanced' - found in the bottom-right corner.

17. Make sure to check the box for 'Send all traffic over VPN connection' to avoid any leaks.
18. Also, check the box next to 'Show VPN status in menu bar.'
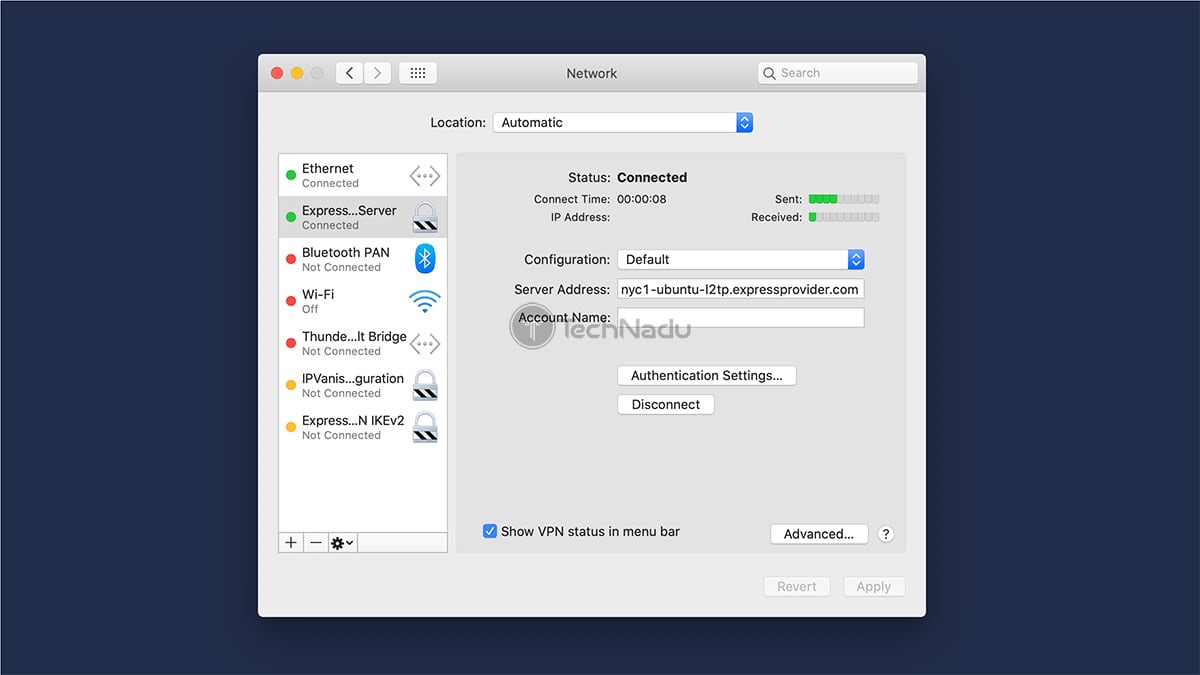
That's it! You're now free to use your newly created VPN connection. This can be done by going to System Preferences > Network or clicking on the newly created menu bar icon. Repeat the same procedure to disconnect once you no longer need your VPN.
Method #3: Set Up a VPN on Mac Using Tunnelblick
If you need the OpenVPN protocol only and don't wish to use a dedicated VPN app, you can use a third-party app for this purpose. Here's how to set up a VPN on your Mac using connections that rely on OpenVPN only.
1. Subscribe to a VPN that lists its OVPN files. Our recommendation is to pick ExpressVPN.
2. Return to ExpressVPN's home page and select 'My Account.'
3. Provide your credentials to access your ExpressVPN online dashboard.
4. Navigate to 'Set Up Other Devices.' Then, pick 'Manual Configuration.'
5. Pick the 'OpenVPN' tab on the right-hand side.
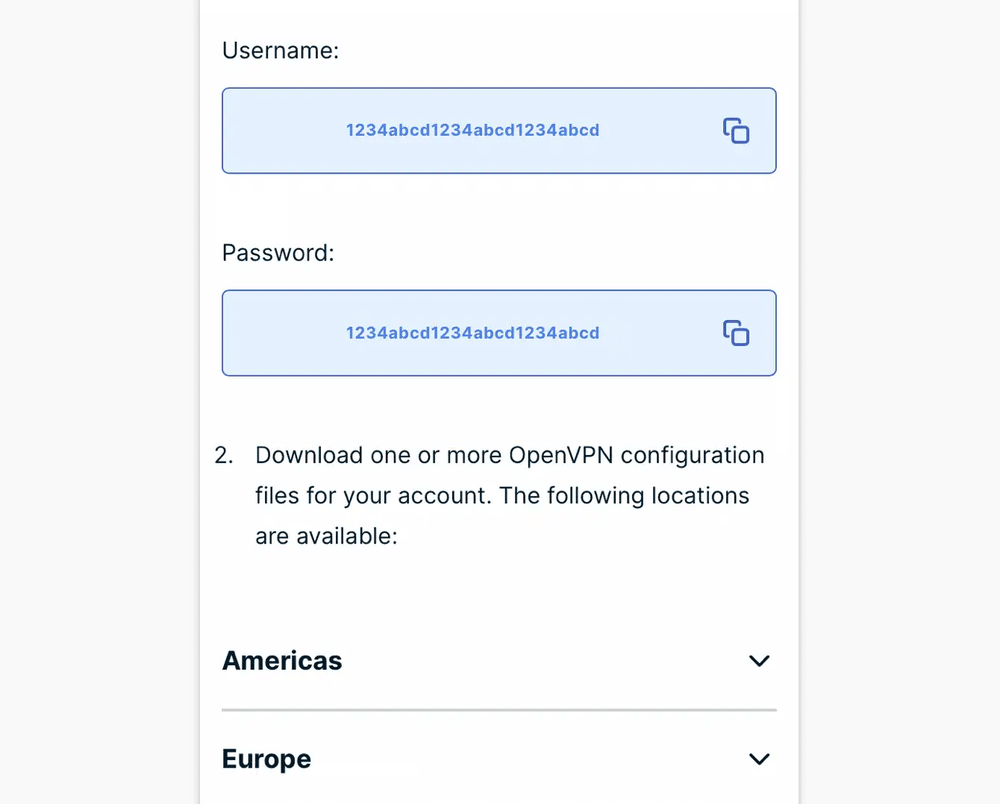
6. Make a note of your OpenVPN username and password. You'll need those soon enough.
7. Just below, pick a VPN server and download its OVPN file to your Mac.
8. You'll need an OVPN client for your Mac. We recommend using Tunnelblick.
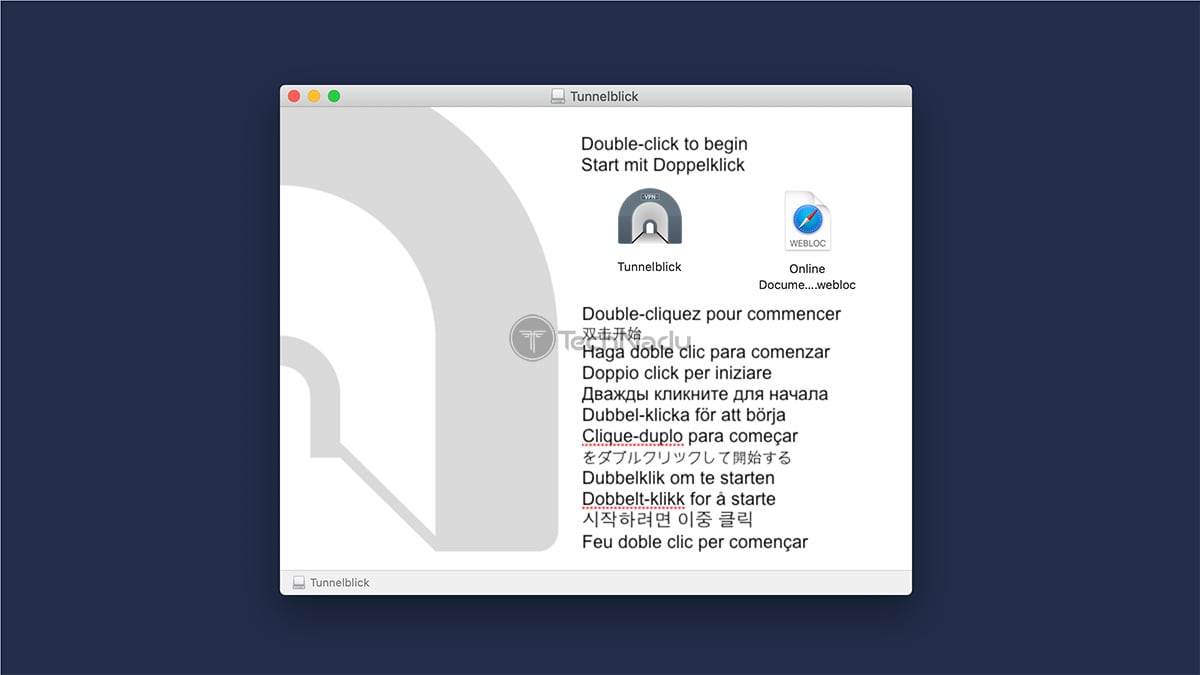
9. Launch Tunnelblick and pick 'I Have Configuration Files.'
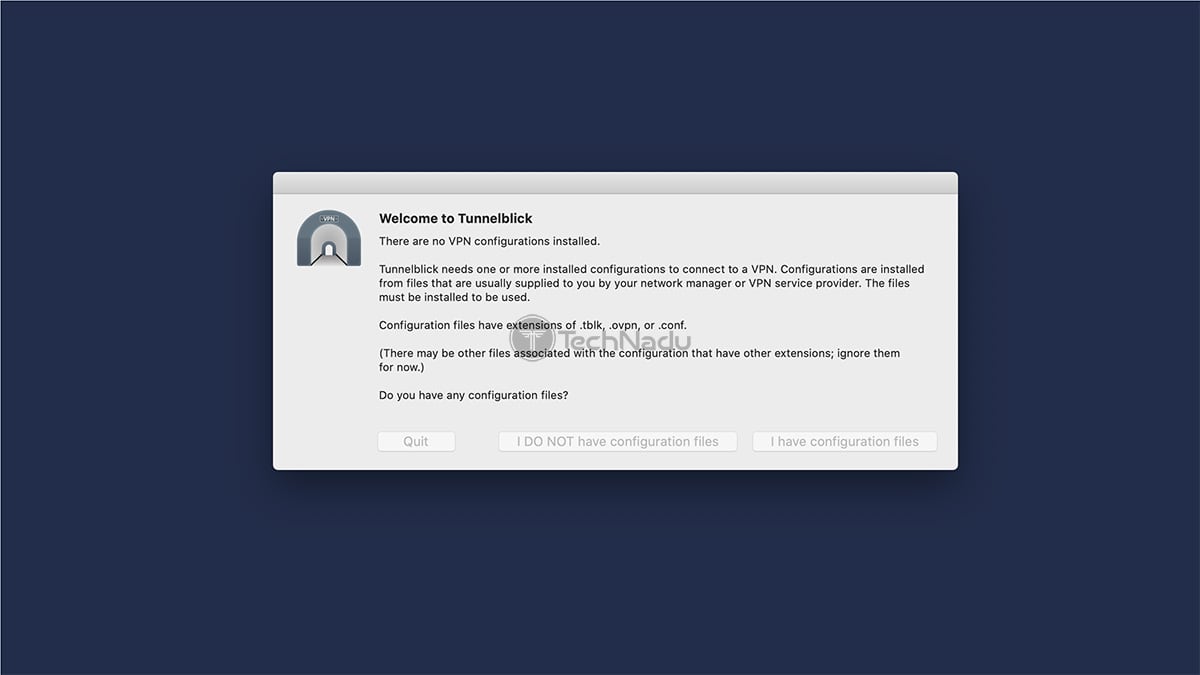
10. Drag and drop your OVPN file on the left side of Tunnelblick's interface.
11. The application will now ask for your OpenVPN username and password.
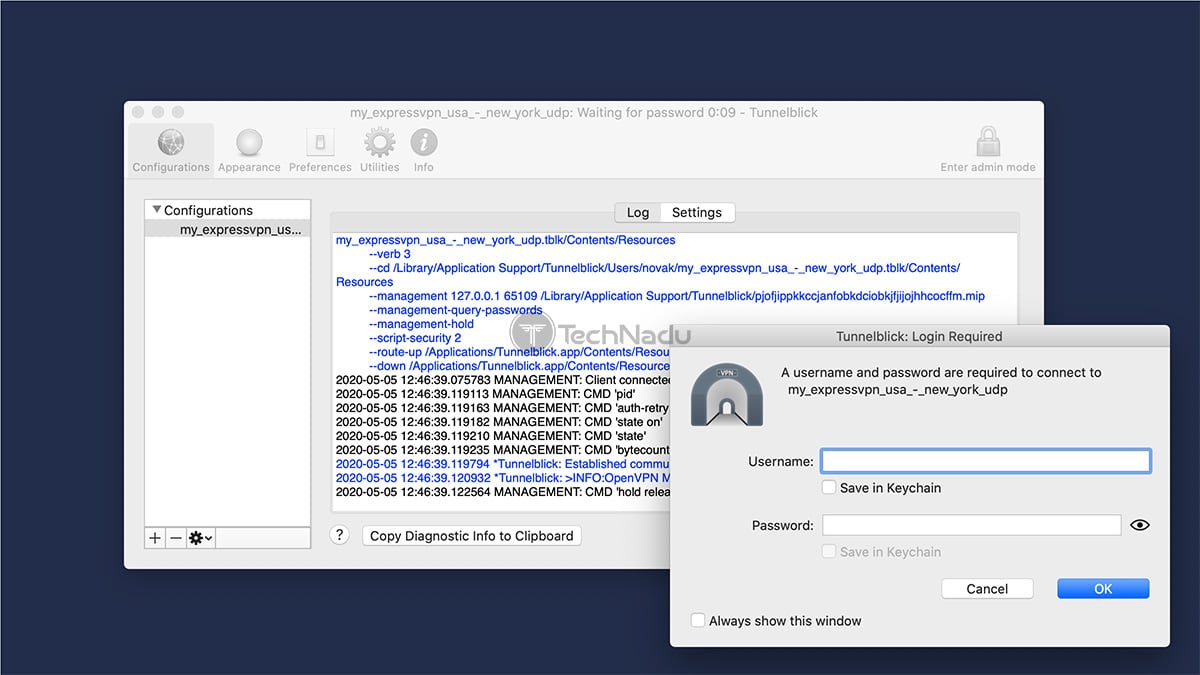
12. Finally, you can use this same interface to connect to your newly added server.
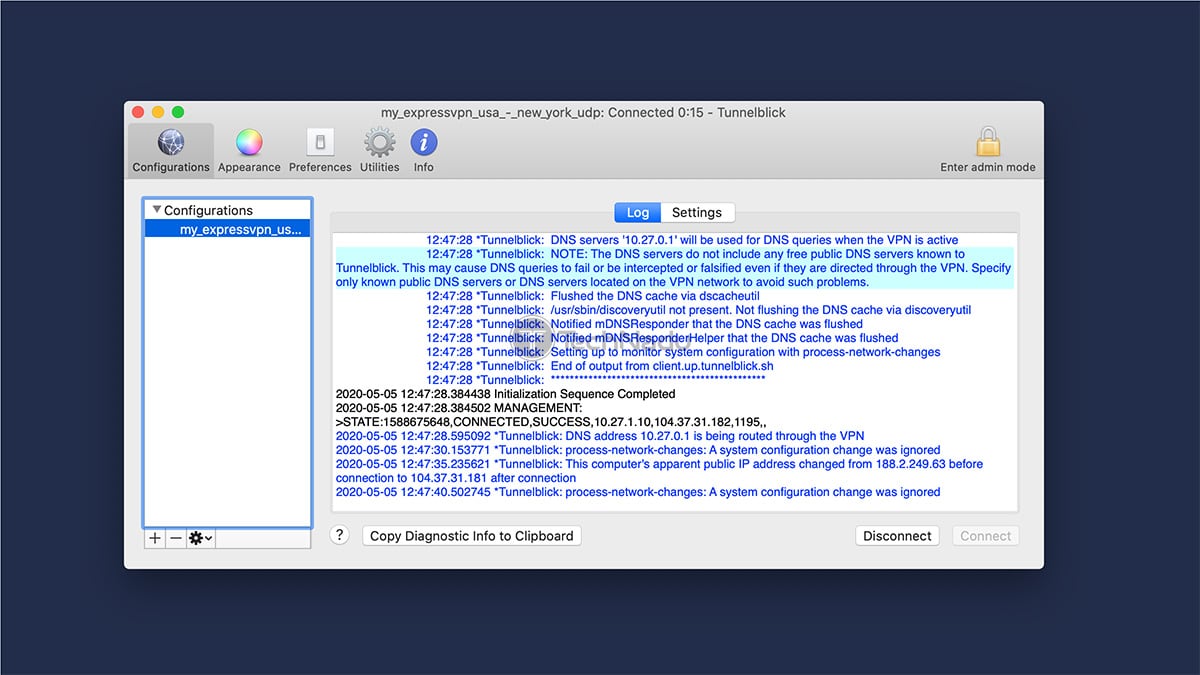
Repeat the procedure explained above to add multiple servers. That means you'll need to return to ExpressVPN's site, pick another OVPN file, and then add it to Tunnelblick. Feel free to rename your connections based on your chosen servers' location, making it easy to discern them.
Final Thoughts
As you can see, there are multiple ways to set up a VPN on a Mac. If you want the easiest route, pick a VPN with native macOS software. That way, you can start using a VPN in under a minute while getting access to all its protocols and security features.
Also, know that our strong recommendation is to pick ExpressVPN. Based on our extensive tests, that's the best VPN for macOS you'll find today. You can even try ExpressVPN risk-free for 30 days, which means it comes as a risk-free purchase.
Lastly, remember to protect your other devices as well. With that said, you'll want to check our central guide on how to set up a VPN (covering 60+ platforms and devices).
You've reached the end of our guide on how to set up a VPN on a Mac. If you have any questions, let us know via the comments section below. Thank you for reading!
Related