
How to Create a Media Library in Kodi
Last updated September 17, 2021

So, you have installed Kodi and now you’re ready to create your media library. If you are an inexperienced user, you might be intimidated by Kodi’s interface. However, there is nothing to be worried about. Kodi is an incredibly simple application – if you have the right guide at your disposal.
We'd like to say that we wrote this guide for Kodi 18 & 19 users. However, the way you create a Kodi library hasn't dramatically changed over the years. This means that the following guide can be used across different Kodi versions and various platforms.
So, here's how to create a library in Kodi, in 4 simple steps.
Step 1: Prepare Your Media Collection for Importing
What you need to know is that Kodi doesn’t actually copy your media files to its media library. Instead, it simply shows different directories on your computer and their contents.
If you have three movies in a folder, for example, all you need to do is tell Kodi where that movie folder is located. Kodi will pull those three movies and download metadata and posters. If you delete one of these three movies, Kodi will recognize this and remove that movie from its library. In other words, you won’t have duplicates on your hard drive.
As you can see, preparing your media collection is crucial. We recommend you to organize your collection into folders. Create one folder for each of the content categories you plan to import. For example, create a folder named ‘Movies’ and put all your movies into this folder. You can organize TV shows by having one folder for each TV show – and this applies to music as well.
Finally, make sure to place those files somewhere you can easily find them. For example, store them on the hard drive instead of on your desktop. You are about to see why we’re saying this.
Step 2: Add Videos to Kodi
No matter if you want to import movies or TV shows, these are all video files for Kodi – at first. This is because you need to create a media source, and then tell Kodi if that source contains movies or some other types of videos.
To find more about this process, we recommend reading our guide to importing videos to Kodi. This is where you’ll find step-by-step installation instructions.
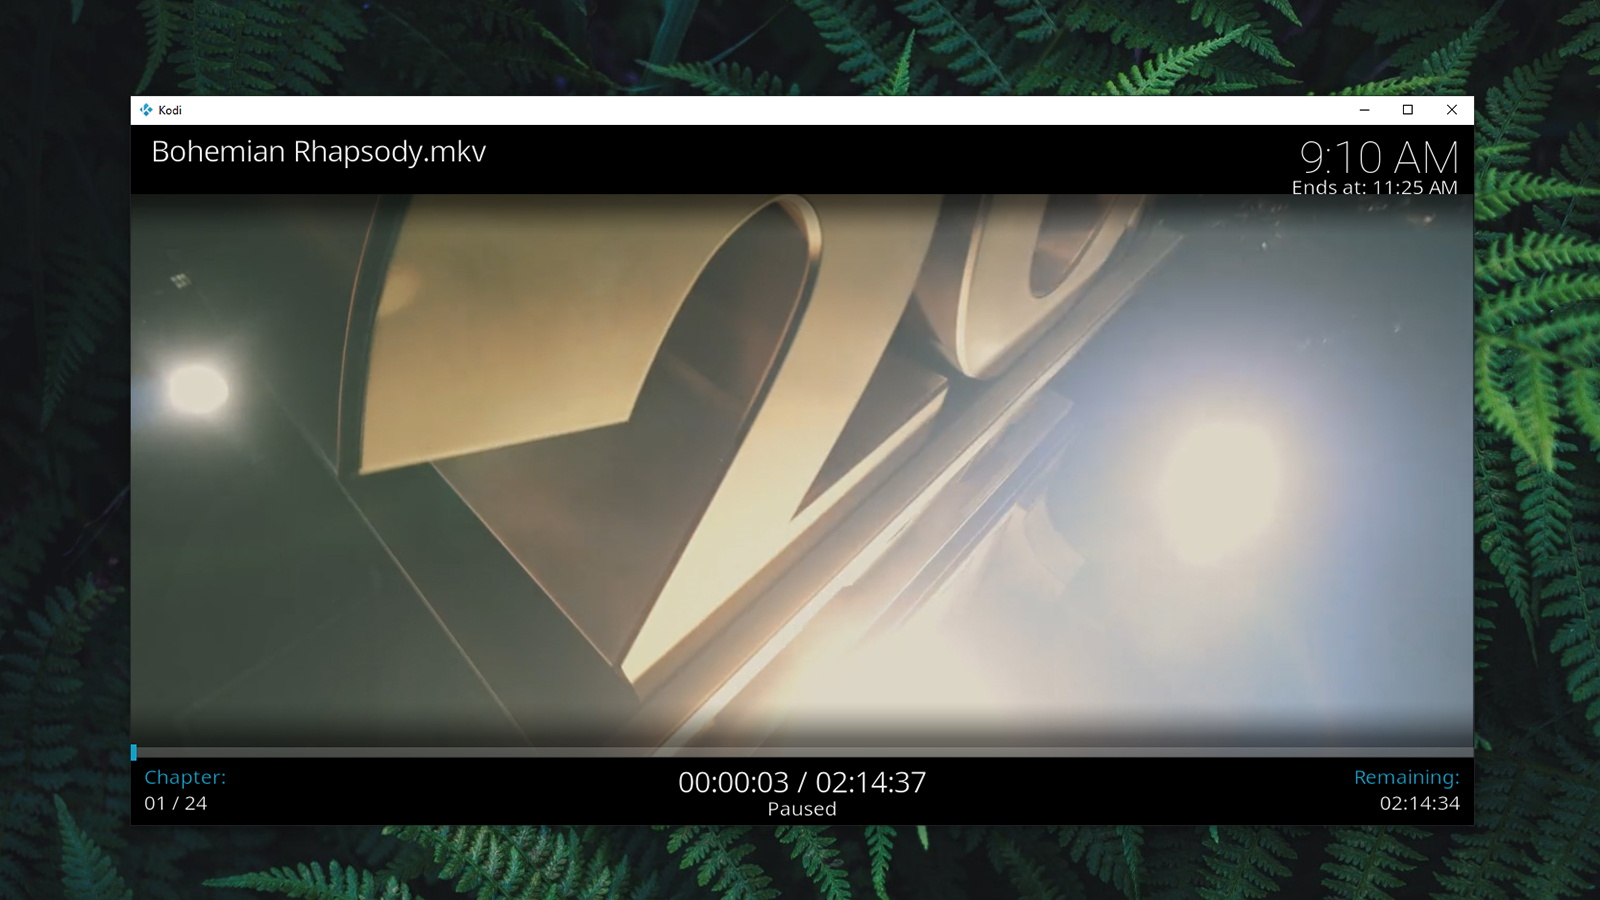
Once this process is done, Kodi will do the rest of the job. This includes downloading plenty of useful information. This is why you’ll see movie posters representing different movies and TV shows. If you right-click on any of these, make sure to select ‘Information’. This is where you can read the synopsis and information like when the movie was released, IMDb rating, and so on.
Step 3: Add Music to Kodi
Kodi isn’t useful only for playing videos. It handles music files equally well. If you have a music library stored on your computer, you can instruct Kodi to access it – just like videos. So, go ahead and create a library in Kodi that also contains your music.
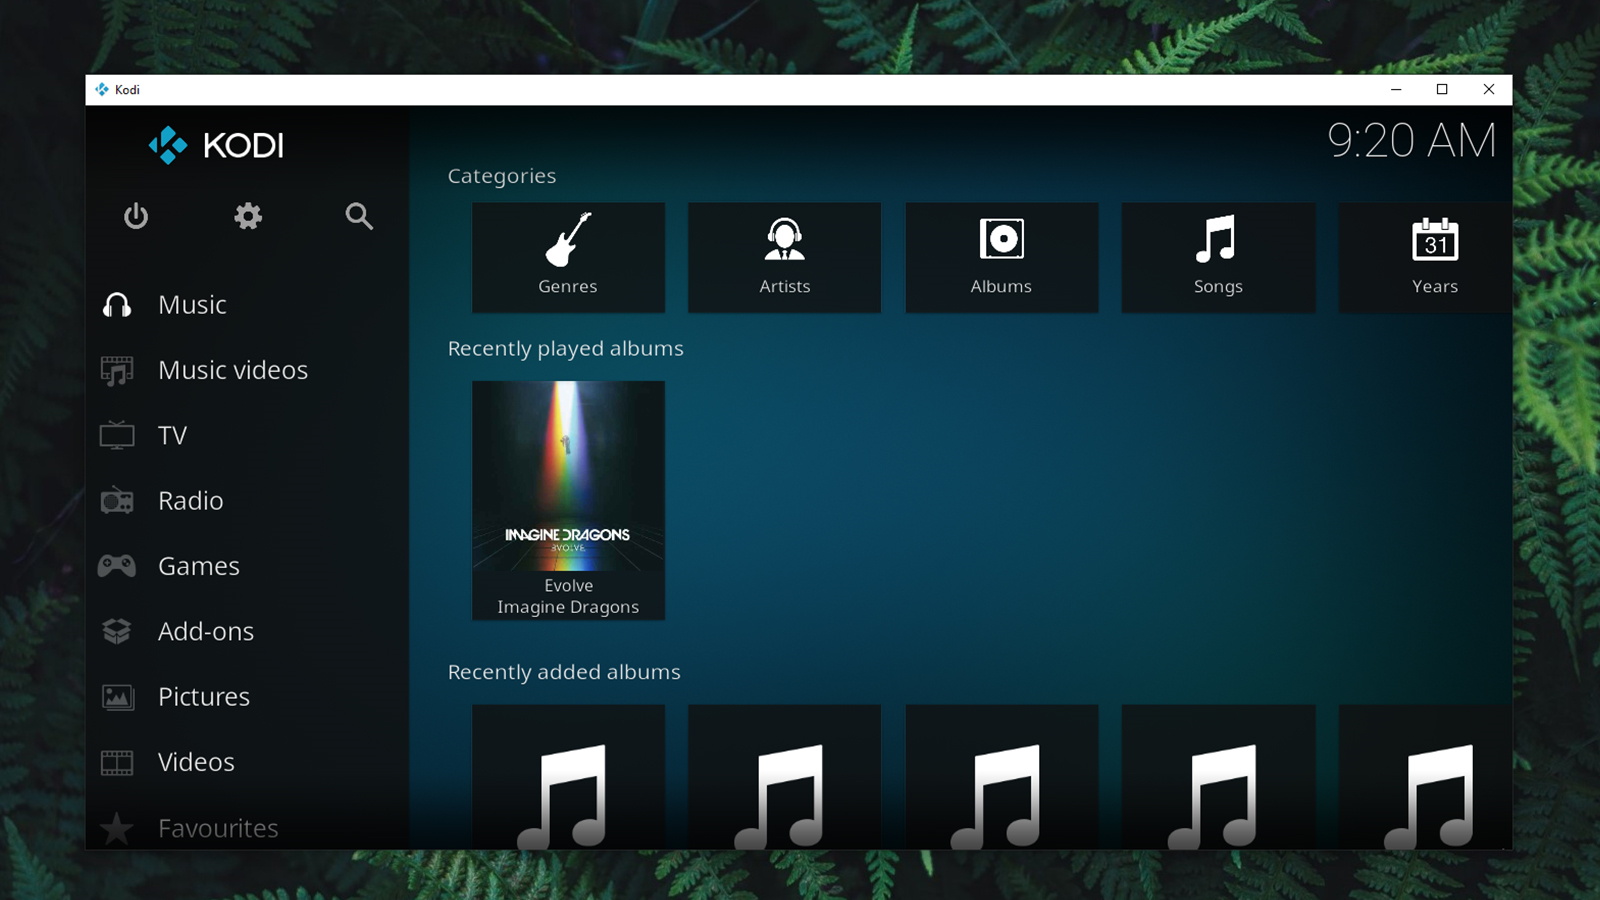
You can learn more about adding music to Kodi by using the provided link. This is where we talk about organizing your music and keeping it updated using your Kodi.
Step 4: Add Photos to Kodi
Your Kodi library wouldn’t be complete without your photos, right? This is exactly why Kodi is the ultimate entertainment center for your entire family. Just imagine storing your photo library within Kodi and accessing those photos on a large-screen TV. We are sure this will help you to relive numerous memories.
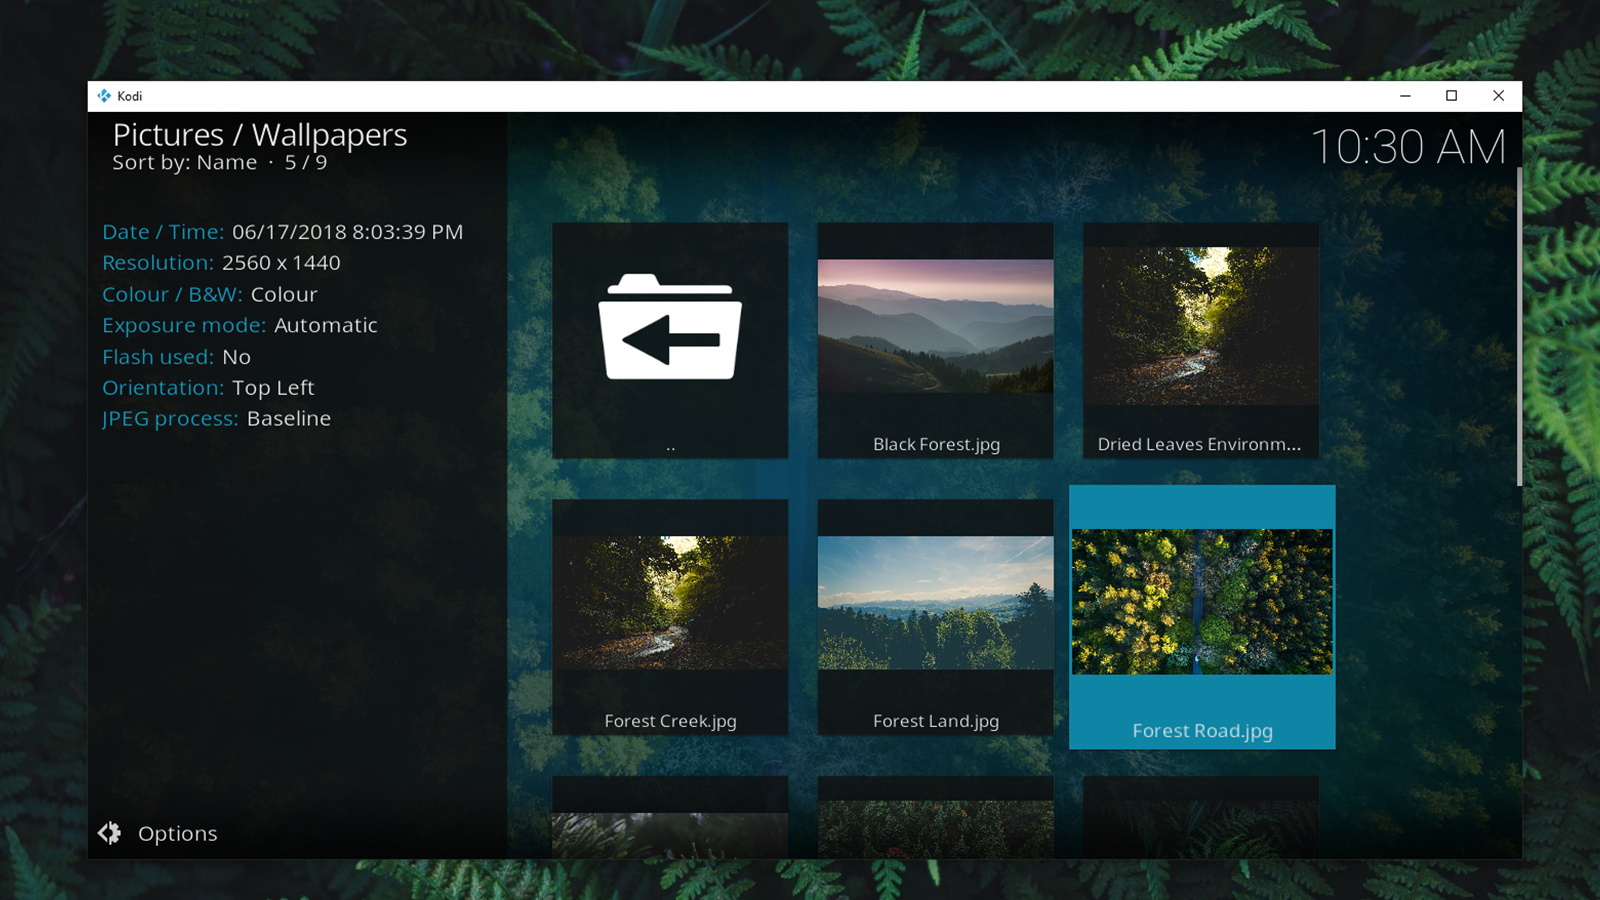
Learn more about how to add photos to Kodi – including several helpful tips and tricks. We are sure you’ll find all the needed information on how to create a library in Kodi.
Read More
While you're here, why not take a quick look at other helpful articles published by our team? We have a few recommendations, so check them out.
- How to Enable Unknown Sources on Kodi
- Get the Best Kodi Addons
- Get the Best Kodi Skins
- How to Change Skins on Kodi
- How to Set Up Kodi Profiles
- How to Add Subtitles to Kodi
We hope that you found this article to be helpful. We did our best to collect different resources found on TechNadu, which should help you to learn how to create a library in Kodi. In case of any doubts, feel free to contact us using the comments section below.
If you think other Kodi users might find this article to be helpful, don’t forget to share this article via social networks. And don’t forget to follow TechNadu on Facebook and Twitter.
Related


Get expert insights on threats, breaches, scams, and security trends — delivered every Monday.
Most Popular
Get expert insights on threats, breaches, scams, and security trends — delivered every Monday.
Most Popular