
How To Change Skins on Kodi
Last updated July 8, 2021

Kodi is a hugely customizable application. You can change pretty much everything about it, including adding a fresh coat of paint. So, if you don't like Kodi's default appearance, you can easily tweak it. Let's talk about how to change skins on Kodi.
Related Content: What is Kodi - Everything You Need to Know / Beginner's Guide to Kodi
Before we dive deeper, we have an important note. You can install Kodi's skins from within the application - by downloading what's available in Kodi's repository. Or you can find skins online, which come as ZIP files. Therefore, we'll cover both of those installation methods, as shown below.
- Method #1: Change a Kodi Skin From Within the Application
- Method #2: Change a Kodi Skin by Installing a ZIP File
Finally, here's what you want to know. This is how you can change skins on Kodi.
Method #1: Change a Kodi Skin From Within the Application
Here's how to change skins on Kodi by going into the application's setting panel and using what's available in the application's official repository.
1. Open Kodi, and you will be greeted by its home screen.
2. Click on the cogwheel icon, located in the top-left corner.
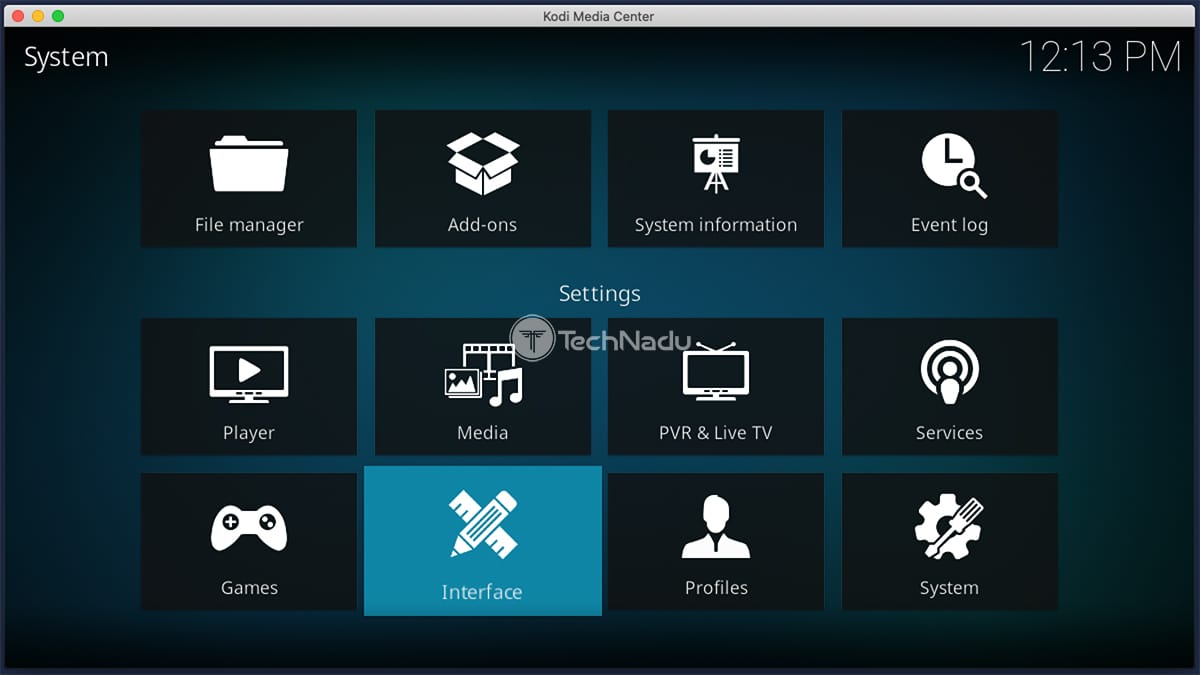
3. Welcome to Kodi's settings! Click on 'Interface.'
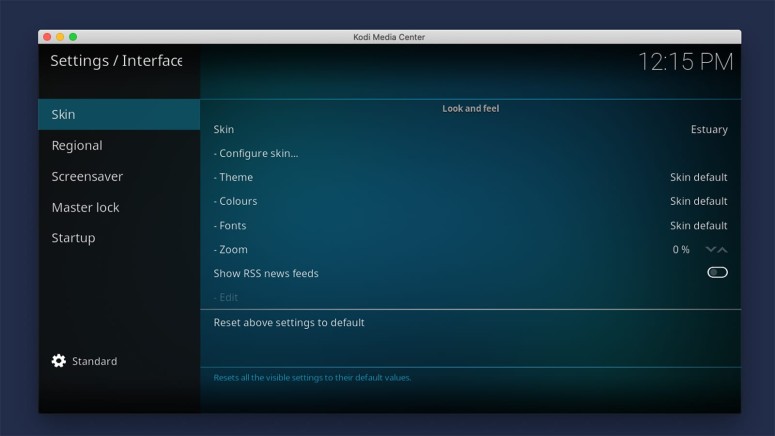
4. Make sure to select 'Skin' in the left-placed sidebar.
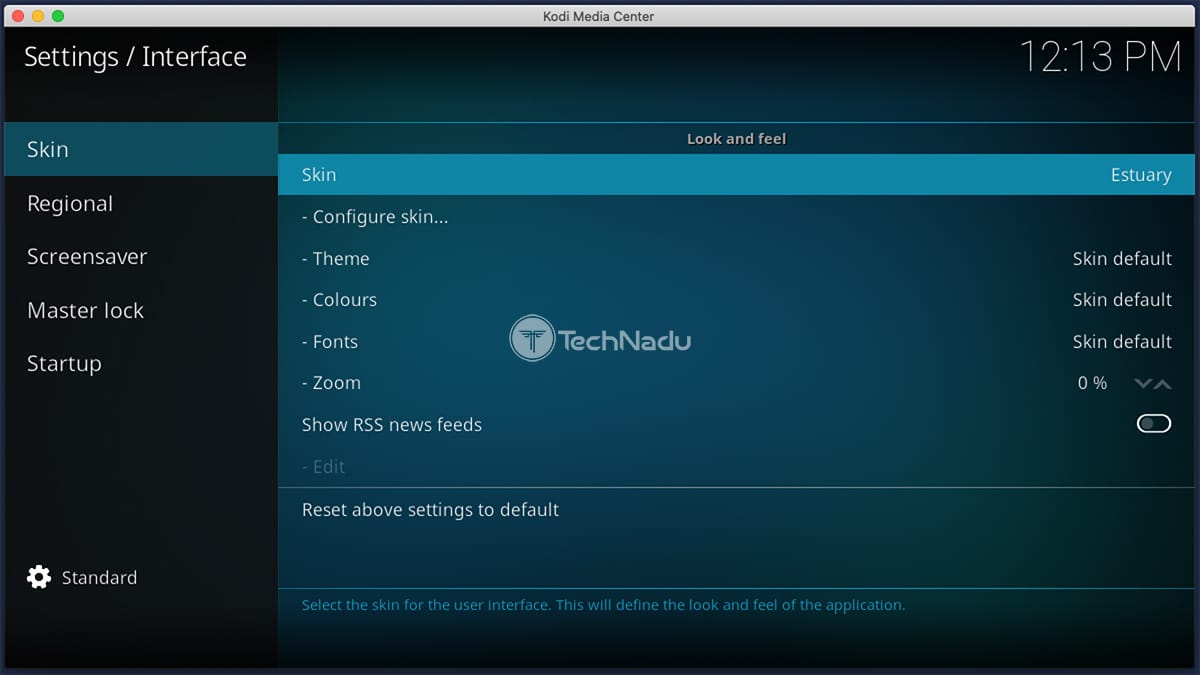
5. Next, select 'Skin' on the right side of the screen.
6. A new pop-up will be shown. This is where you can pick from different skins that are already installed on Kodi. For now, click on the 'Get More' button.
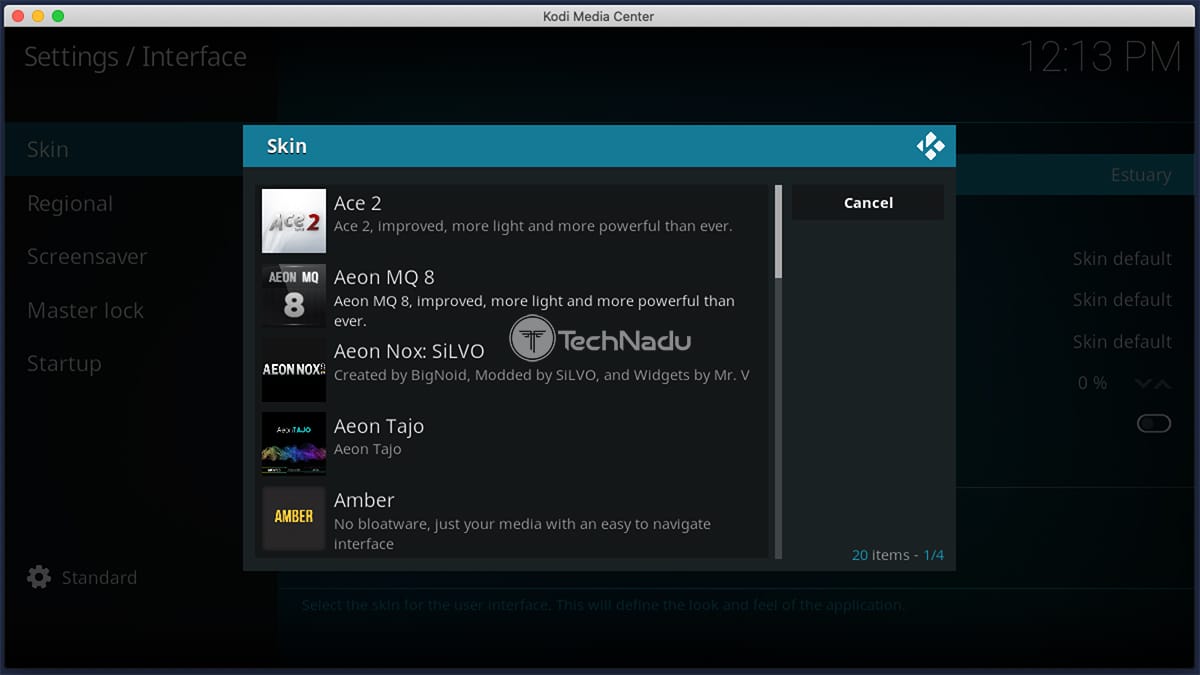
7. At this moment, you should see a list of available skins. If you click on any of these, they will be automatically downloaded and applied.
8. In certain situations, dependencies might need to be installed. You don't have to worry about that since this will happen automatically.
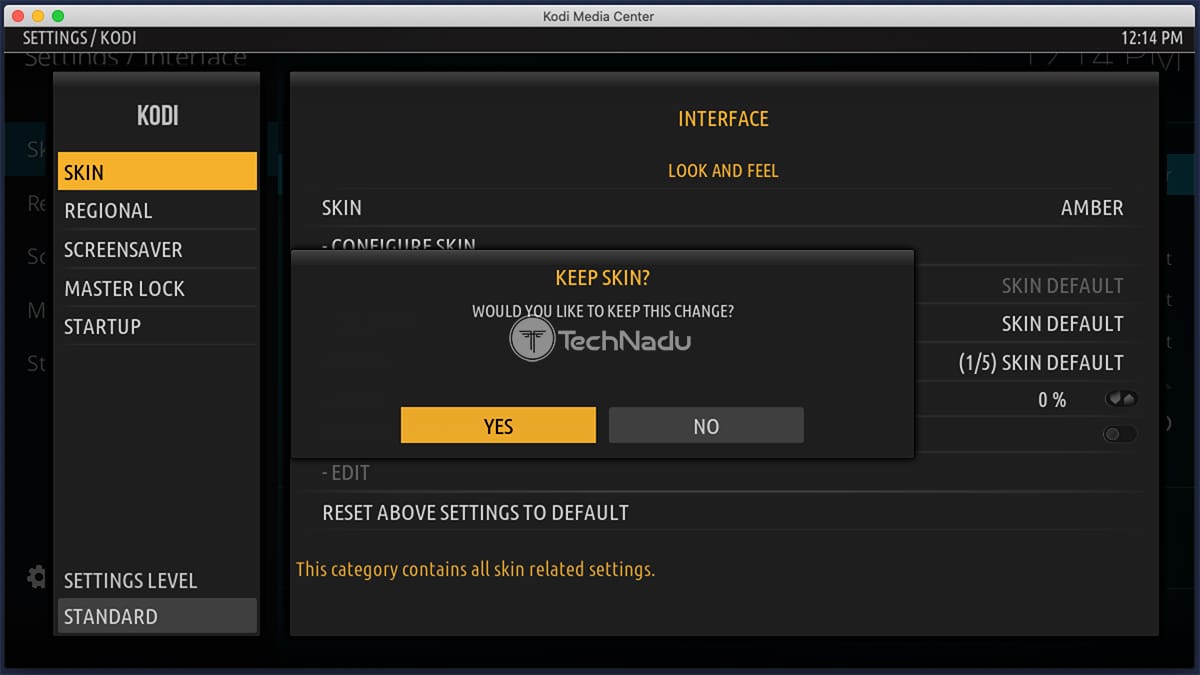
9. Once installed, Kodi will ask whether you'd like to keep using the selected skin.
Method #2: Change a Kodi Skin by Installing a ZIP File
Here's how to change skins on Kodi if you've downloaded a skin as a ZIP file.
1. Make sure to download a Kodi skin and keep it in the ZIP file format.
2. In addition, make sure that your Kodi accepts files from unknown sources. Use the provided link to read our quick and easy guide.
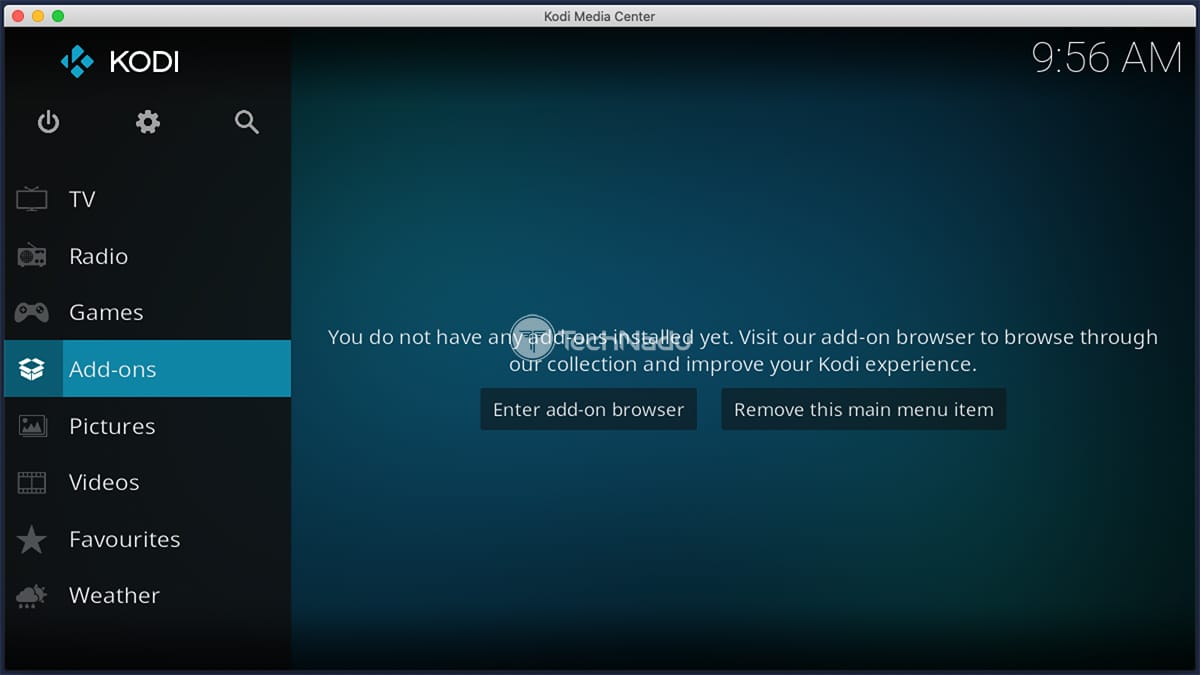
3. Now, open Kodi and click on 'Add-ons' in the main menu.
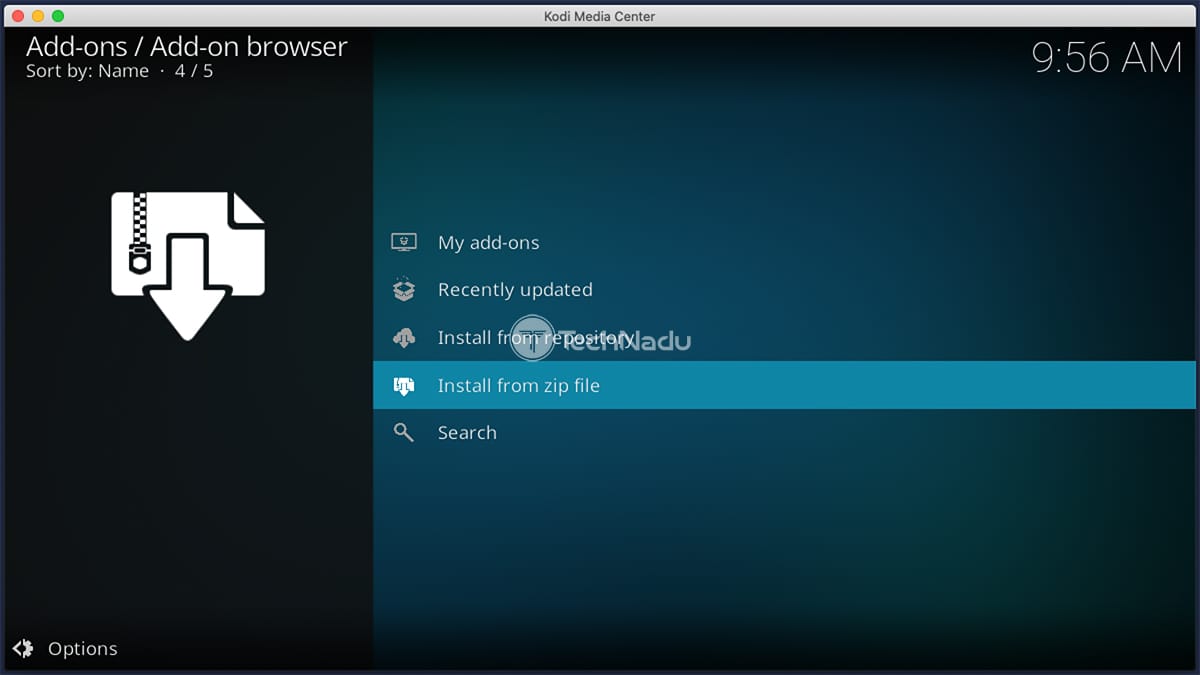
4. Next, click on the open box icon in the top-left corner.
5. Select 'Install from ZIP file.'
6. A pop-up will appear. You need to navigate to the location of the downloaded ZIP file. Let's say that the files you download from the Web are saved to your desktop. If that's the case, you need to go to C: > Users > Your Username > Desktop.
7. Wait a few moments, and your new skin will be installed.
8. Return to the Kodi home screen, and then click on 'Add-Ons' in the main menu.
9. Now click on 'My Add-ons' on the left side of the screen.
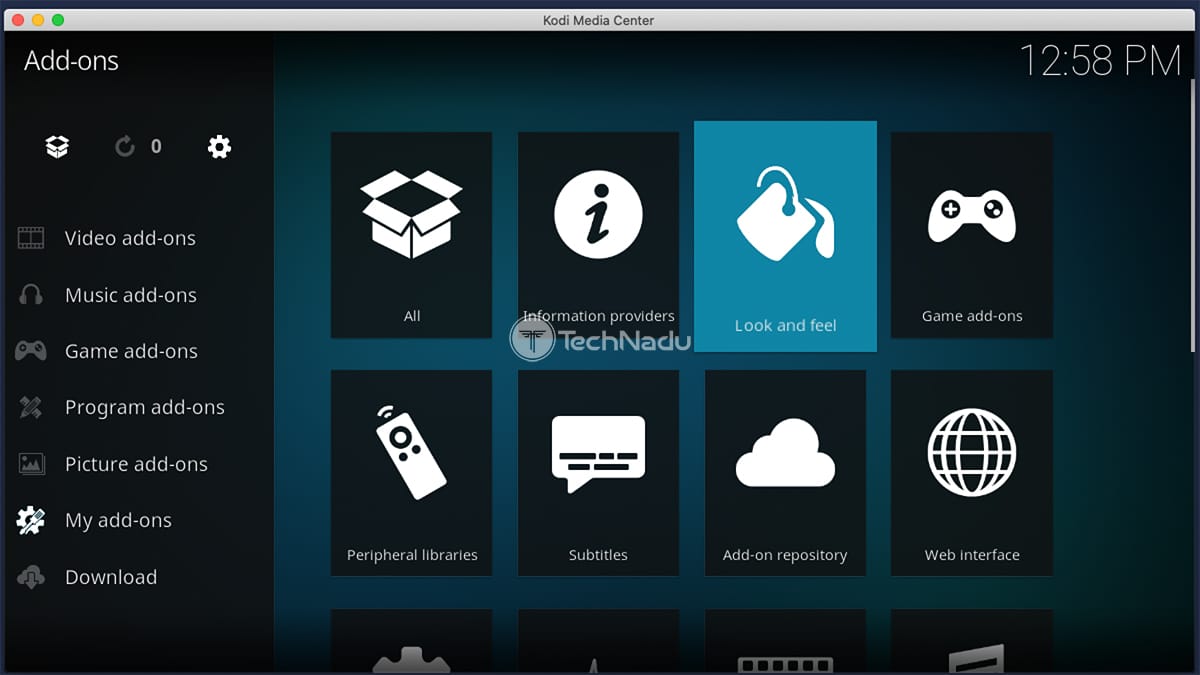
10. On the right-hand side, select 'Look and Feel.'
11. Finally, click on 'Skin,' and your new skin should be located there.
That would be all on how to change Kodi skins. If you have any questions, make sure to post your comment below. And of course, don't forget to share this article online. Thanks!
Related


Get expert insights on threats, breaches, scams, and security trends — delivered every Monday.
Most Popular

Get expert insights on threats, breaches, scams, and security trends — delivered every Monday.
Most Popular