
How to Import Videos to Kodi
Last updated September 17, 2021

When you install Kodi, the first thing you'll want to do is to import your video library. These can be your movies, TV shows, music videos, and your family videos. You can store and play them from one place, and organize your collection in different ways.
We'd like to highlight that we wrote this guide for users of the recently released Kodi 19. However, the process is close to identical for previous Kodi versions as well, and it works across all compatible platforms.
So, here's how to import videos to Kodi:
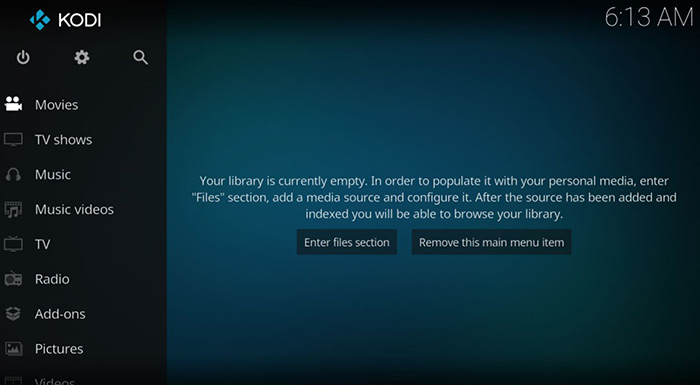
1. When you open Kodi, you will see its main menu on the left side of the screen. You can click on different items (like Movies, TV Shows, Music, etc.) to preview your content. For now, you need to click on ‘Videos’ – found at the bottom of the main menu;
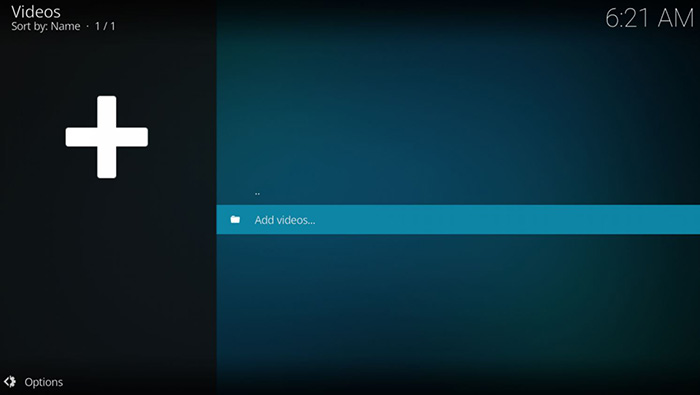
2. On the right side of the screen, click on the button that says ‘Files’;
3. Next, select ‘Add Videos…’ on the right side of the screen;
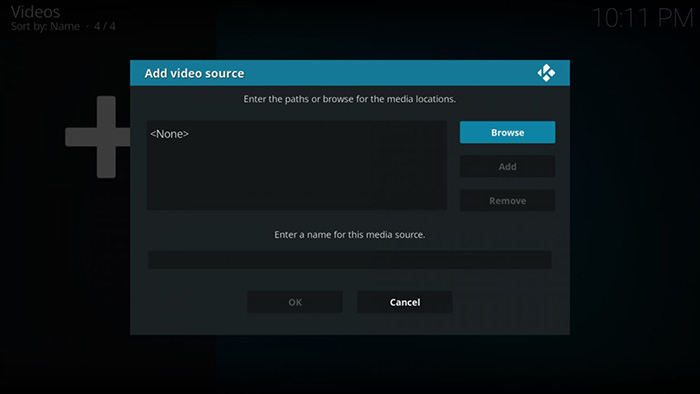
4. A new pop-up will appear, named ‘Add Video Source’. You need to click on ‘Browse’ on the right side of the pop-up;
5. This is where you will see a new pop-up and where you can locate a folder that contains videos. As you can see, you need to use an absolute path. For example, if your media folder is found on your desktop, go to C: > Users > Your Username > Desktop. We recommend moving your media folder to a hard drive. That way, you can simply click on C: and you’ll see your folder there – this applies to every desktop and mobile platform;
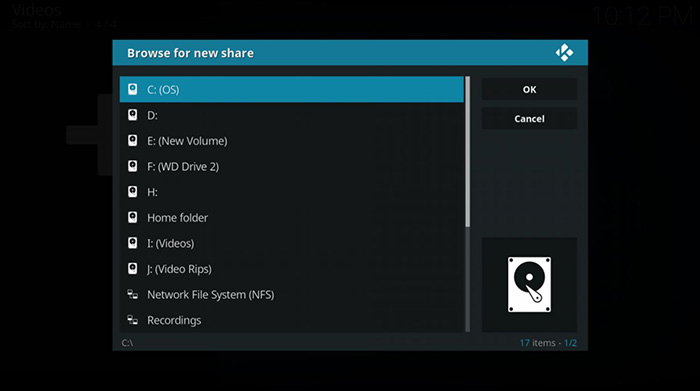
6. Once you have found your media folder, click on ‘OK’;
7. You will return the previous pop-up. Name your new media source. If this is a collection of movies, you can name it ‘Movies’. This name doesn’t matter to Kodi – but you will be able to find it at a later time. Click ‘OK’ once done;
8. Now, you will see a ‘Set Content’ window. This is where you need to tell Kodi what kind of content you’re trying to add. Click on ‘This directory contains’ and select one of the available categories like movies, music videos, or TV shows;
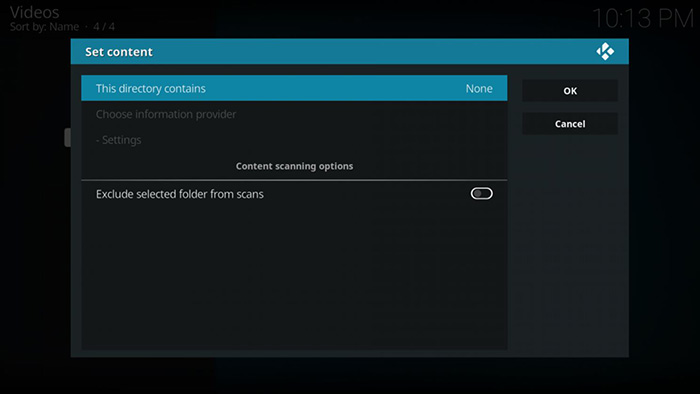
9. You will also see a number of options underneath. However, their default values should work in most of the cases. You can feel free to click on ‘OK’ and to dismiss the pop-up;
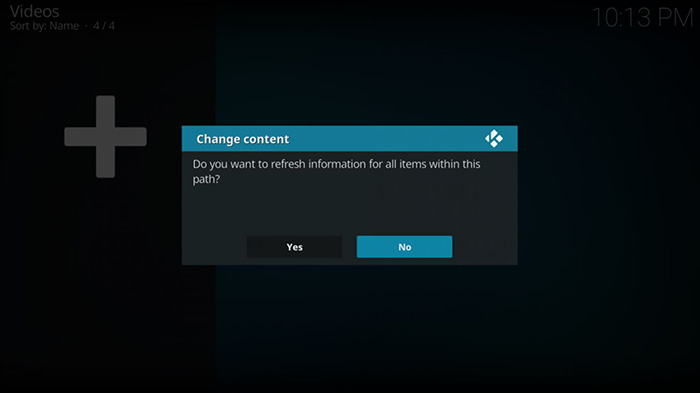
10. Finally, you will be asked to allow Kodi to refresh information for all available items. If you click on ‘Yes’, Kodi will automatically scan and refresh the contents of its library. You can also click on ‘No’ and Kodi will postpone this operation. This can be helpful if you want to repeat this process and add other types of media sources.
Read More
Great - you've learned how to import videos to Kodi. While you're here, why not check a few additional guides that teach you different aspects of this application? Check out the list below.
- How to Enable Unknown Sources on Kodi
- Get the Best Kodi Addons
- Get the Best Kodi Skins
- How to Change Skins on Kodi
- How to Create a Library in Kodi
- How to Add Music to Kodi
- How to Add Photos to Kodi
- How to Set Up Kodi Profiles
- How to Add Subtitles to Kodi
We hope that you managed to learn how to import videos to Kodi. As you can see, this process is quite simple – especially after doing it a couple of times. In case of any issues, you can use the comments section below. We’ll try to respond to your message in a timely manner.
If you’d like to share this article with other Kodi users, making sure to share it via social networks. And also, don’t forget to follow TechNadu on Facebook and Twitter.
Related


Get expert insights on threats, breaches, scams, and security trends — delivered every Monday.
Most Popular
Get expert insights on threats, breaches, scams, and security trends — delivered every Monday.
Most Popular