When you purchase through links on our site, we may earn an affiliate commission. Here’s how it works.
How to Download and Add ExpressVPN Browser Extension on Microsoft Edge
Last updated November 12, 2024

Microsoft Edge now supports Chrome extensions, which means you can add and use ExpressVPN on your browser as a fully functional extension. However, this VPN extension requires you to have ExpressVPN's application installed on your computer.
Therefore, based on your computer's operating system, you'll need to install ExpressVPN on Windows, macOS, or Linux. However, we're here to provide a step-by-step guide on how to install and use ExpressVPN on Edge, so we'll explain everything from scratch.
Also, keep in mind that you need the Chromium version of Edge for ExpressVPN’s extension to work. If you haven’t updated Edge yet, make sure to use the provided link to install the latest version (for Windows and macOS).
How to Set Up ExpressVPN Edge Extension
ExpressVPN's Edge extension comes with high-end encryption and acts as a gateway to the VPN's native app. So, here's how to install it:
1. Subscribe to ExpressVPN using its official website.
2. After subscribing, click 'My Account' on the ExpressVPN site using the top-placed main menu.
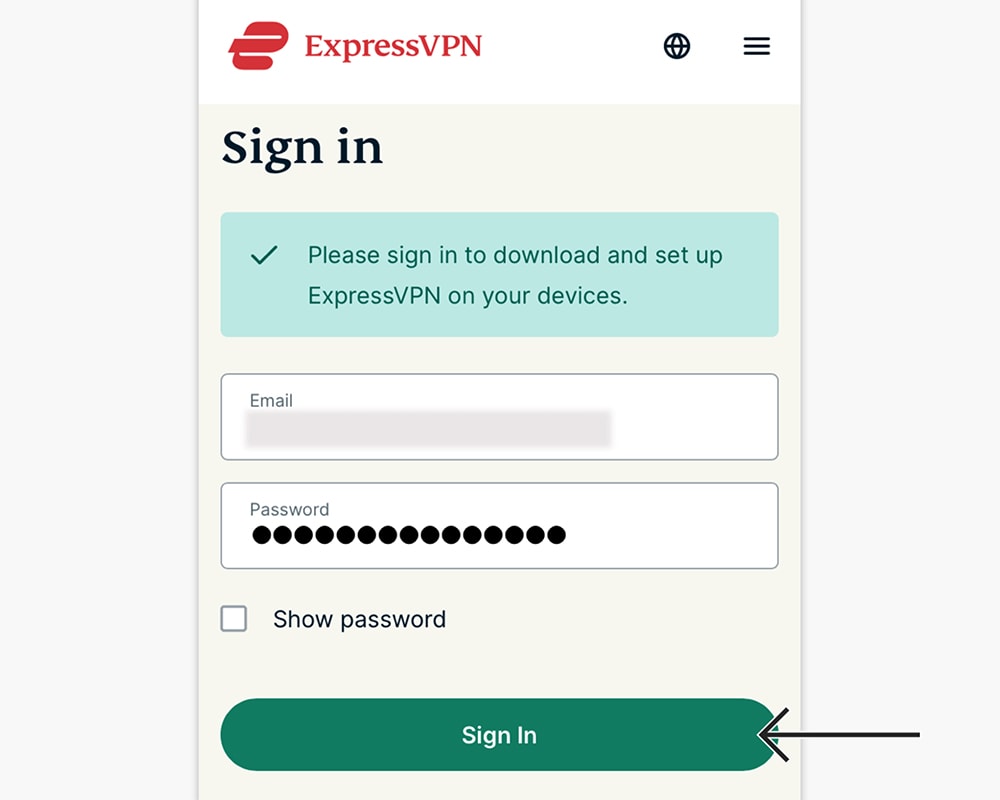
3. Log in using your email and password, and provide a verification code if needed.
4. Click the 'Set Up Other Devices' button once you access your dashboard.
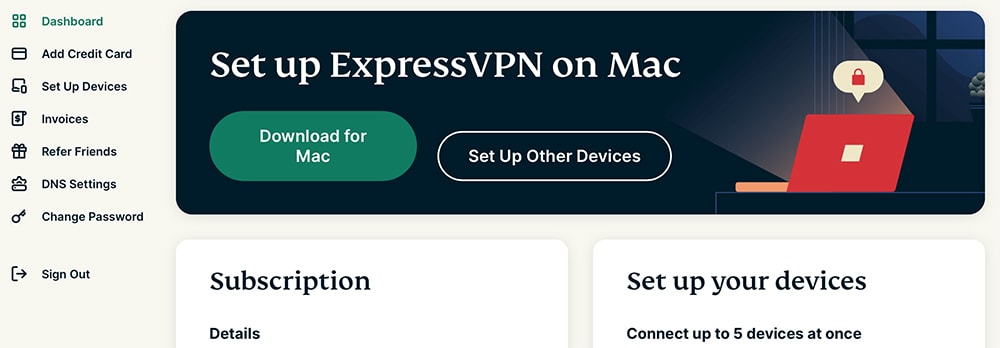
5. Based on the operating system you use, pick 'Windows,' 'Mac,' or 'Linux' on the left.
6. Click the download link on the right to download the installation file.
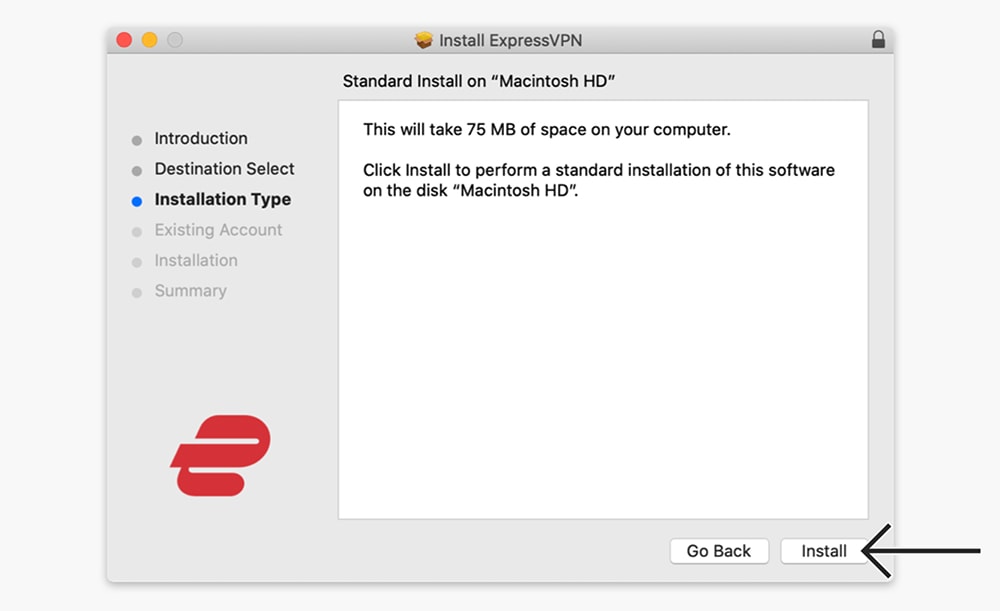
7. Then install the application on your Windows or macOS computer.
8. Launch ExpressVPN and select 'Sign In.'
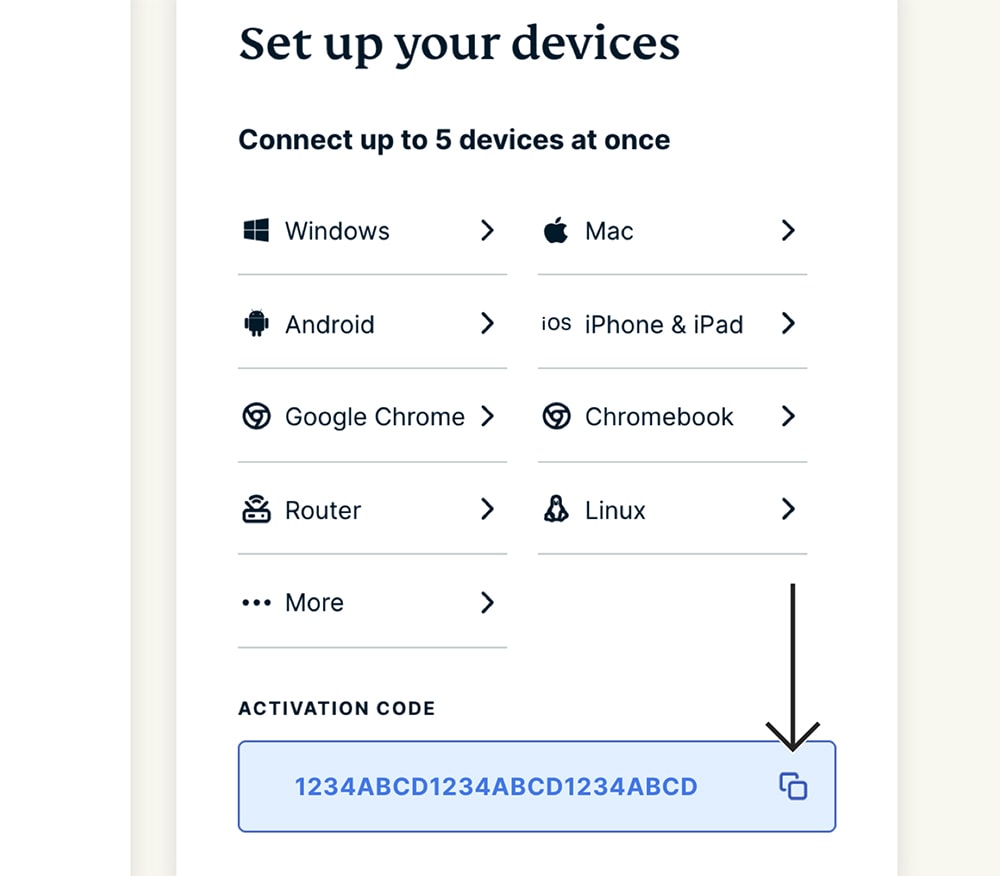
9. Copy your ExpressVPN activation code to log in.
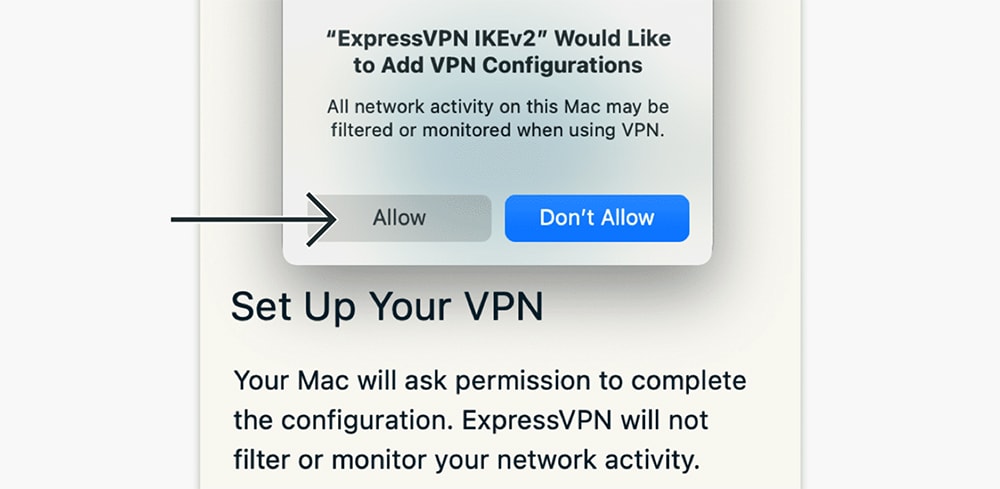
10. If asked to install a VPN profile, select 'Allow.'
11. When asked to launch ExpressVPN on system startup, select 'OK' or 'No, Thanks.'
12. Select 'OK' or 'No, Thanks' when asked about anonymous data logging.
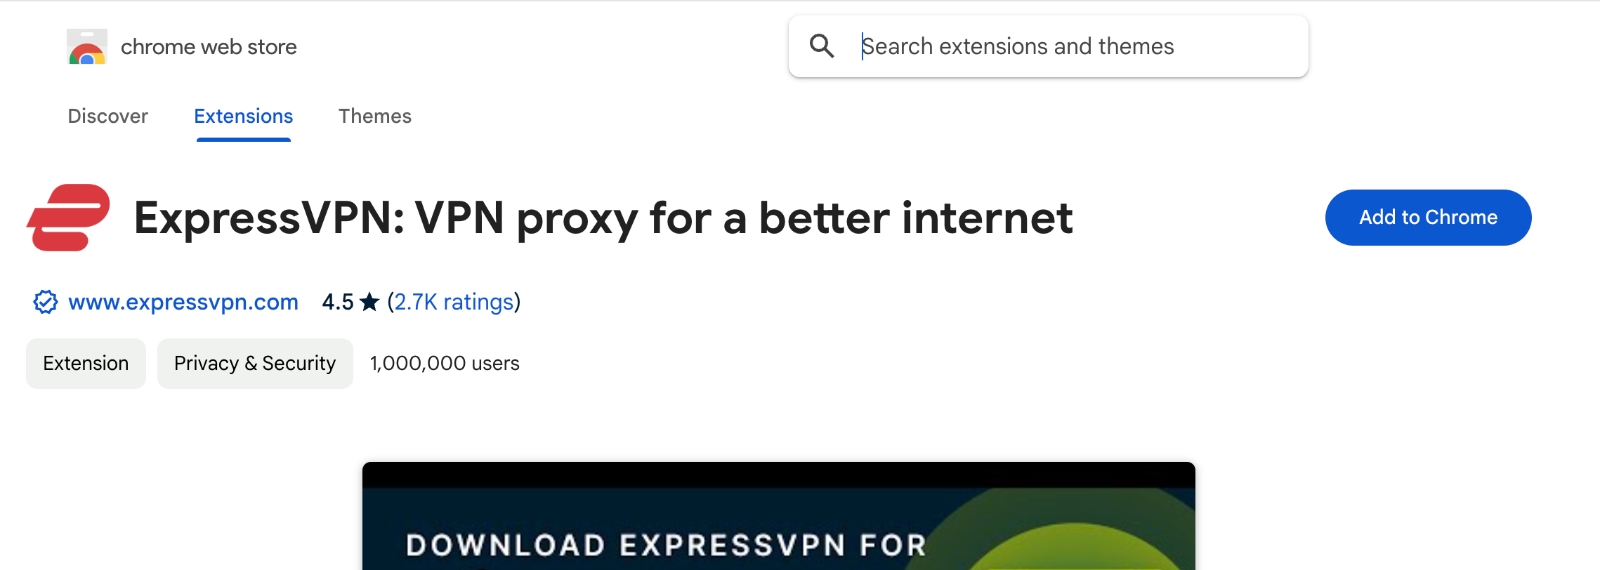
13. Using Edge, visit ExpressVPN’s extension on the Chrome Web Store and select 'Add to Chrome.'

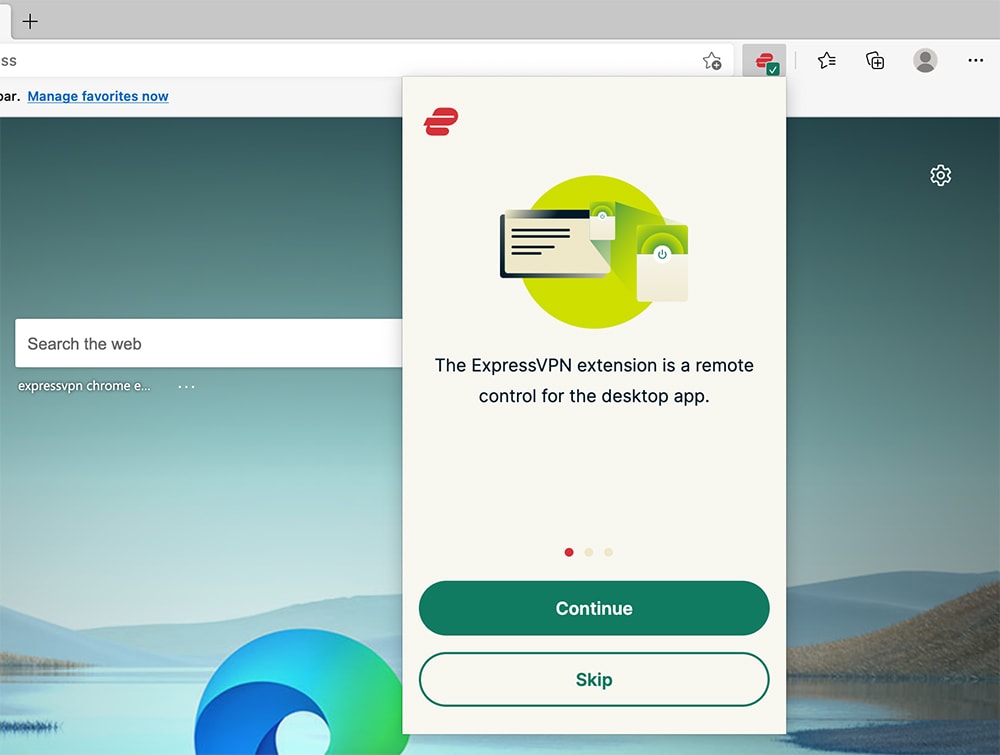
14. Access the newly installed extension and activate it by clicking on its icon.
15. Press 'Continue' several times to go through ExpressVPN’s user guide.
16. Once again, select 'OK' or 'No, Thanks' when asked about anonymous data logging.
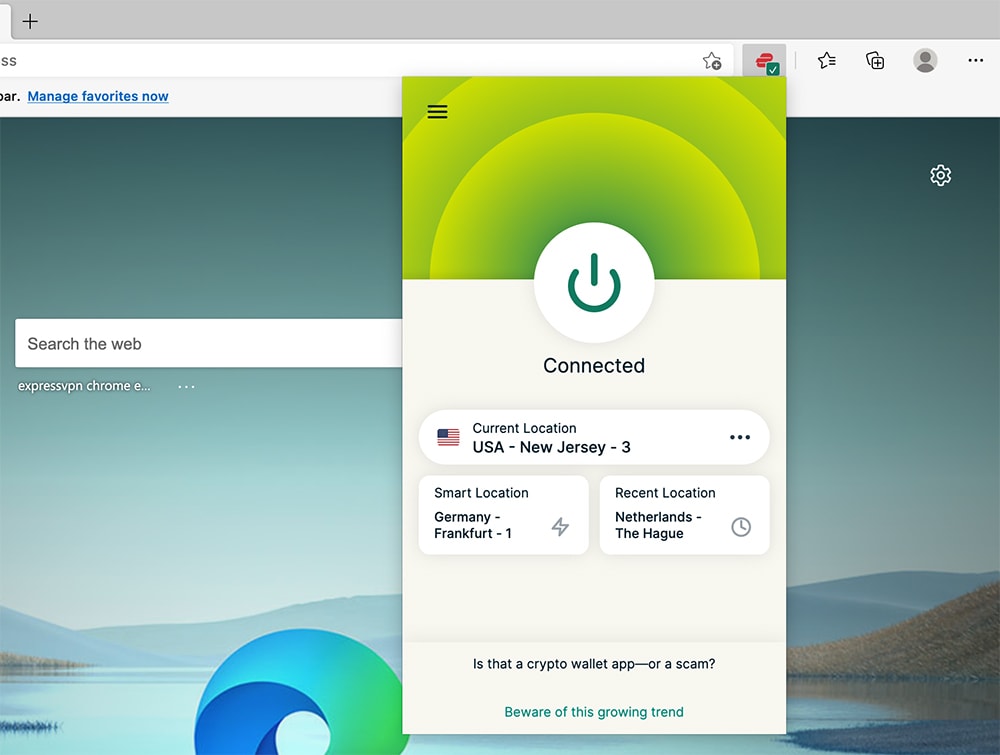
17. You will then reach ExpressVPN's home screen, ready to be used.
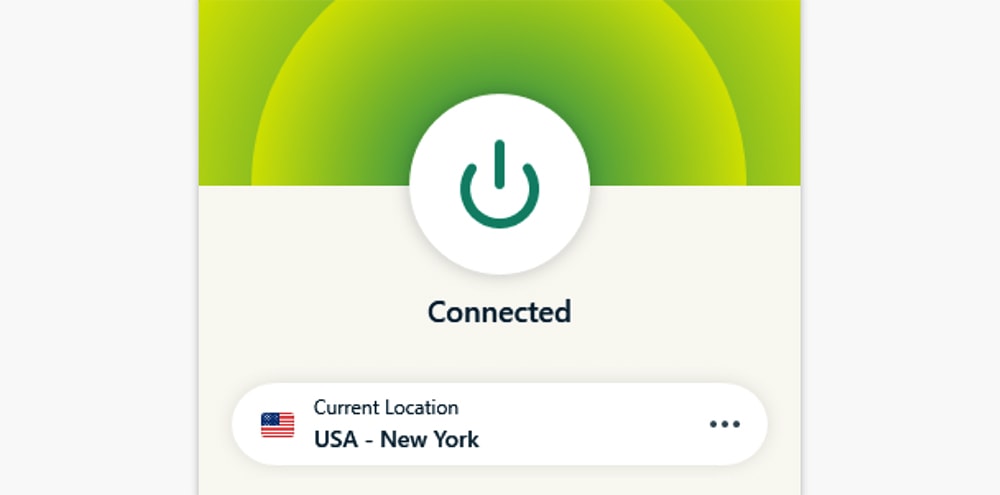
18. Use the ON/OFF switch to let ExpressVPN connect you to the nearest VPN server.
19. Use the ON/OFF button again to disconnect and end your VPN session.
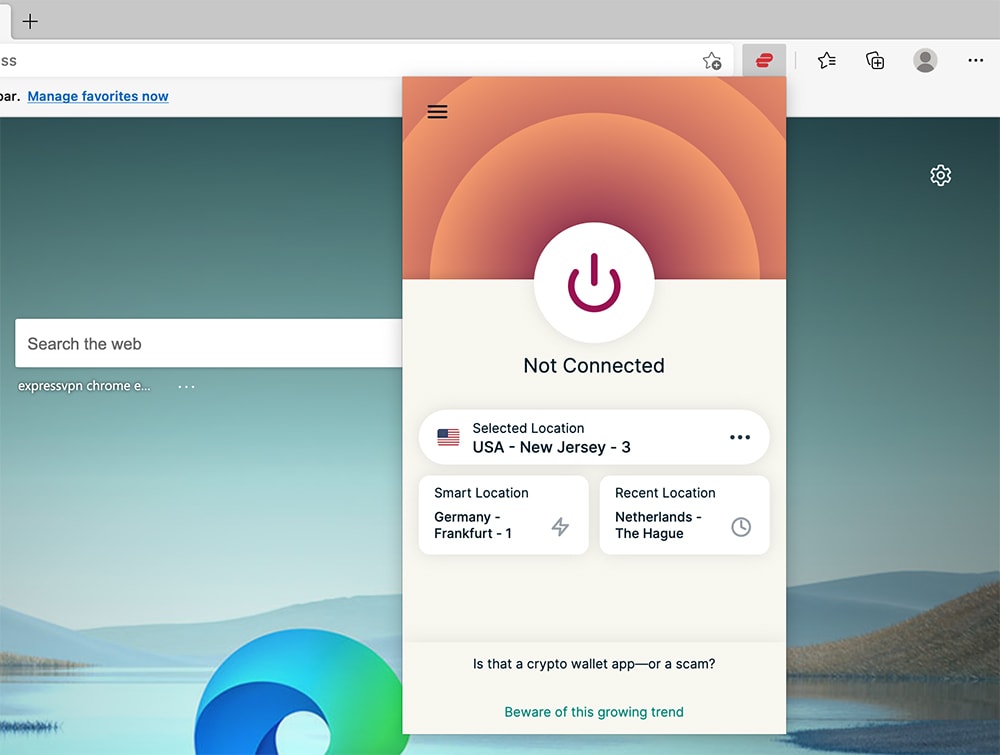
20. To connect to a specific VPN server, click on the button below the ON/OFF switch.
21. Then, pick any server by clicking on its country or server name.
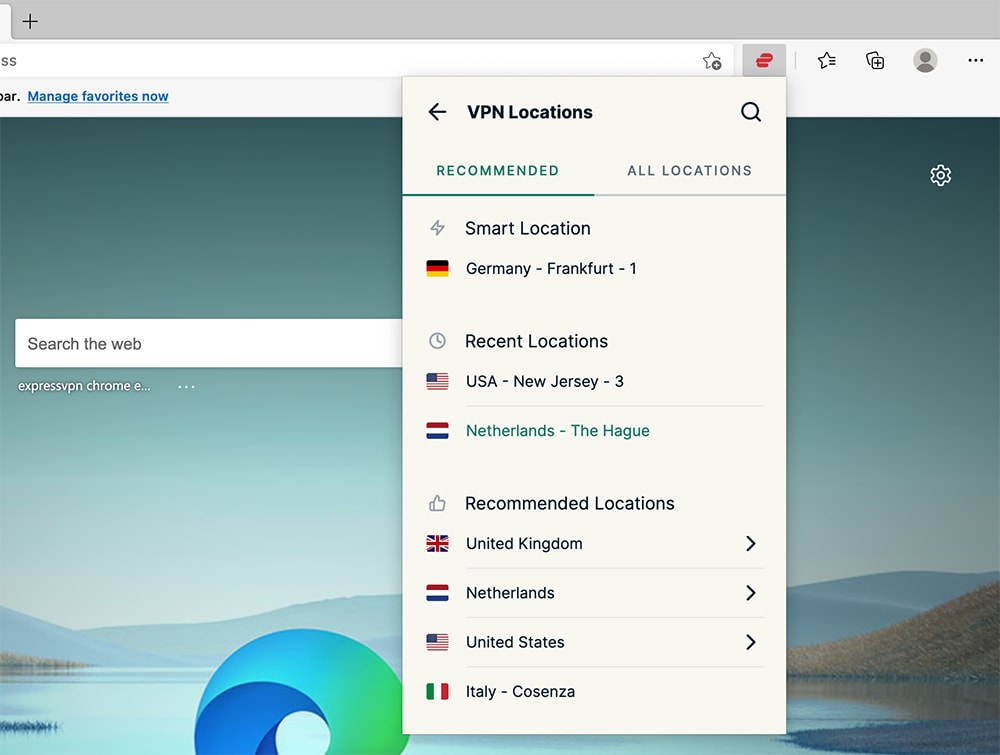
22. ExpressVPN will connect you automatically, protecting all your Web traffic. If that doesn't happen, click the ON/OFF switch to connect automatically.
Lastly, visit ExpressVPN’s Edge extension settings by clicking the hamburger button (three horizontal lines) in the top-left corner. There, you’ll find handy tools for preventing data leaks and fine-tuning your VPN connection.
Final Thoughts
As you can see, setting up ExpressVPN on Edge allows you to remote-control the VPN application. That means you'll get something unique here: high-end encryption and total privacy protection, which practically no other VPN extension offers on Edge.
Of course, let's not forget that ExpressVPN works on countless devices, so ensure you're protected on all your gadgets. Your next destination should be our central guide on how to set up ExpressVPN, which covers computers, phones, tablets, streaming devices, and more.
That's all about setting up and using ExpressVPN on Edge. We’ll be glad to assist in case you have any questions, so make sure to post your comment below. Lastly, thank you for reading!
Related