When you purchase through links on our site, we may earn an affiliate commission. Here’s how it works.
How to Download & Install ExpressVPN on Mac
Last updated May 31, 2024

The easiest way to set up ExpressVPN on your Mac is to use its native software, which works on macOS 10.13 (High Sierra), 10.14 (Mojave), 10.15 (Catalina), 11 (Big Sur), 12 (Monterey), or 13 (Ventura), and 14 (Sonoma). Just download the app from its website, install it, and you're ready to go.
When it comes to alternative installation methods, you can configure ExpressVPN on your Mac manually using the OpenVPN protocol via a special VPN client called Tunnelblick. Regardless of which method you pick, make sure to first update your Mac by navigating to 'Apple' > 'System Settings/System Preferences' > search for 'Software Update.'
In this article, you'll learn how to download and install ExpressVPN on a Mac using multiple methods.
How to Set Up ExpressVPN on a Mac
On Mac, You can set up ExpressVPN simply by downloading its native application from its website. Another alternative way is to set it up manually using OpenVPN. Let's look at both these methods in detail.
Method #1: Download ExpressVPN's Native App on Mac
ExpressVPN's native app for Mac gives you access to all the VPN's features. Here is a step-by-step guide to setting it up.
1. Sign up for ExpressVPN using your Mac and any Web browser.
2. Return to ExpressVPN's website and click on 'My Account' using the top-placed main menu.
3. Provide your credentials and access your ExpressVPN account dashboard.

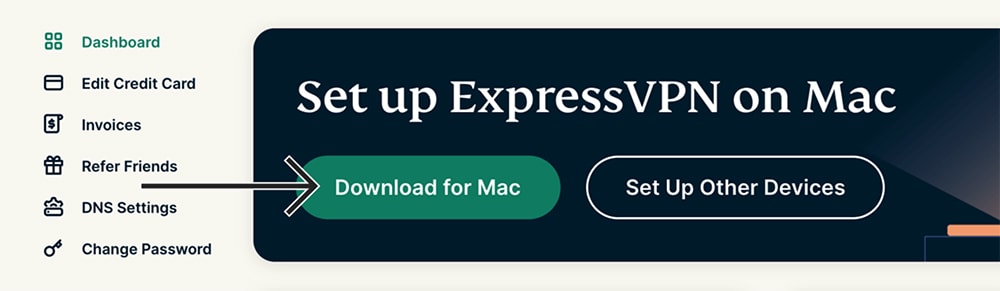
4. Once you reach your dashboard, click 'Download for Mac' to download ExpressVPN.
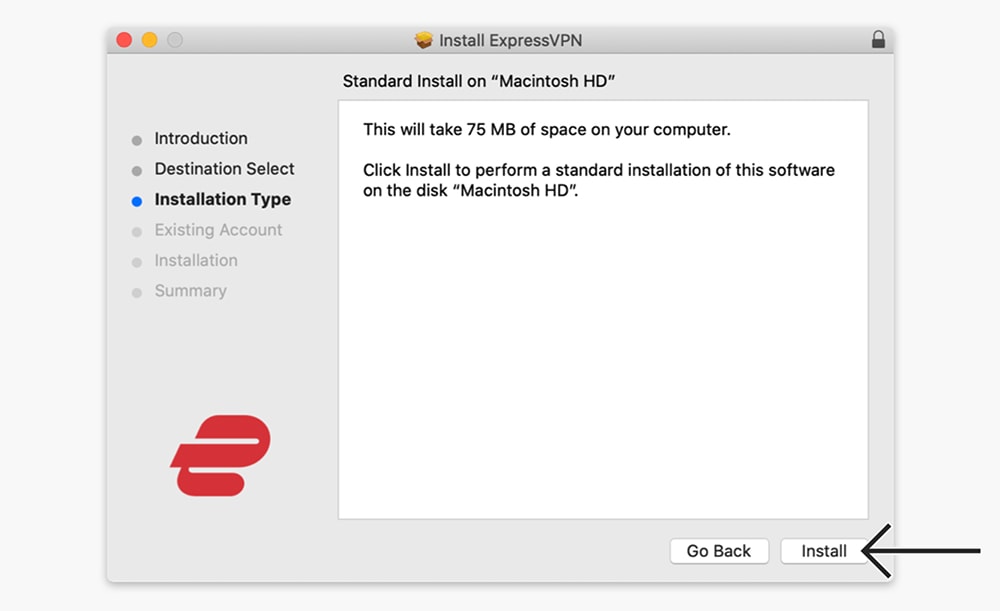
5. Open the 'Downloads' folder on your Mac and double-click on ExpressVPN's installer.
6. Click on 'Continue' several times, then finalize ExpressVPN's installation by clicking 'Install.'
7. Go ahead and open ExpressVPN (it can be found in the 'Applications' folder).
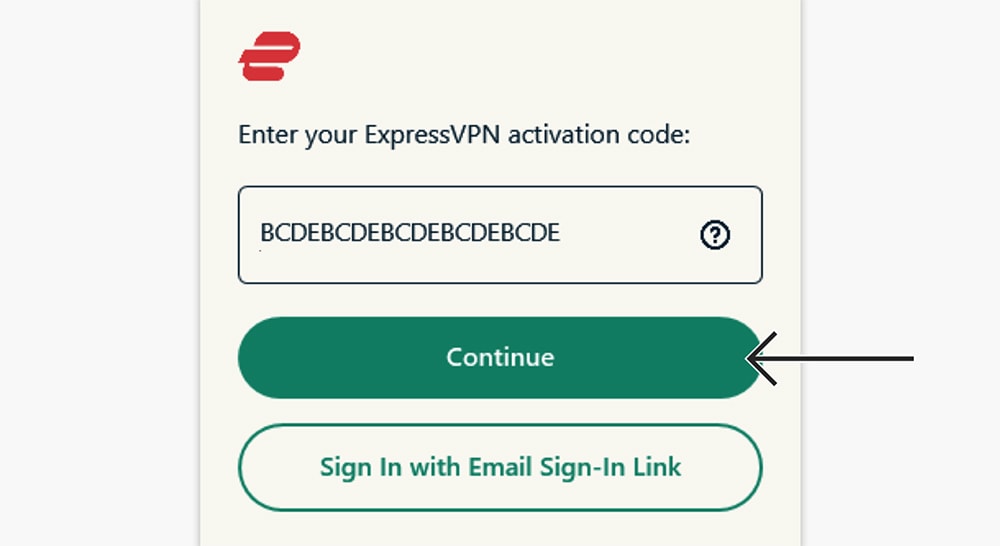
8. Select 'Sign In' and copy and paste your ExpressVPN activation code.
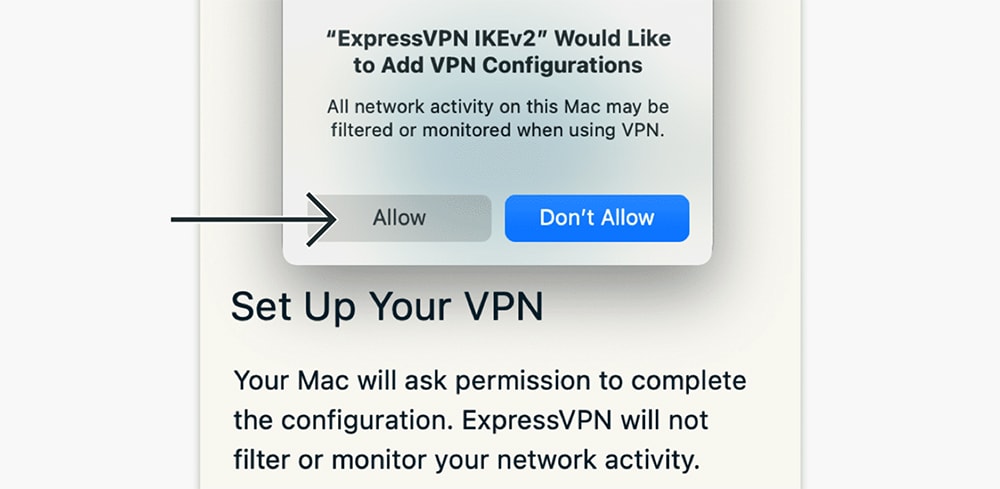
9. If asked to install a VPN configuration, select 'Allow' to complete the initial (one-time) setup.
10. Right now, you should see ExpressVPN’s home screen.
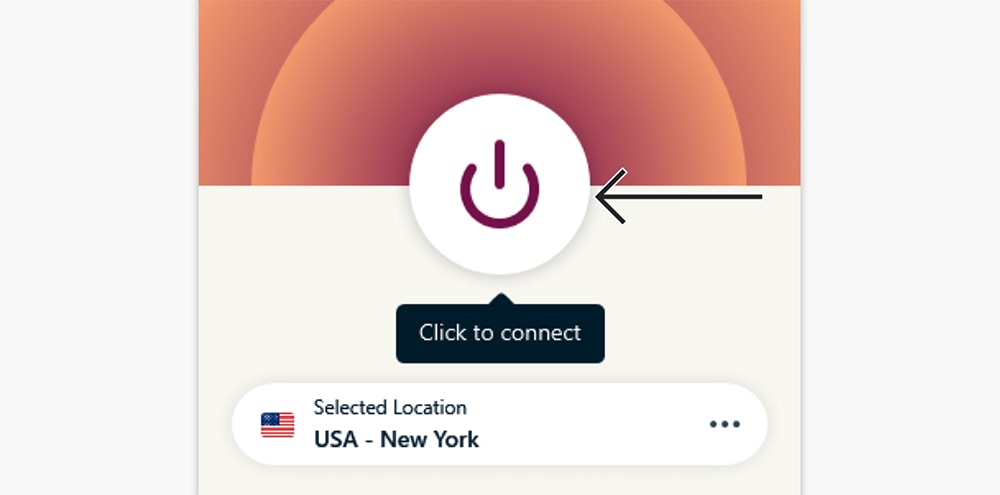
11. Click the ON/OFF button, and ExpressVPN will connect you to the closest server.
12. To disconnect and end your VPN connection, click the ON/OFF button again.
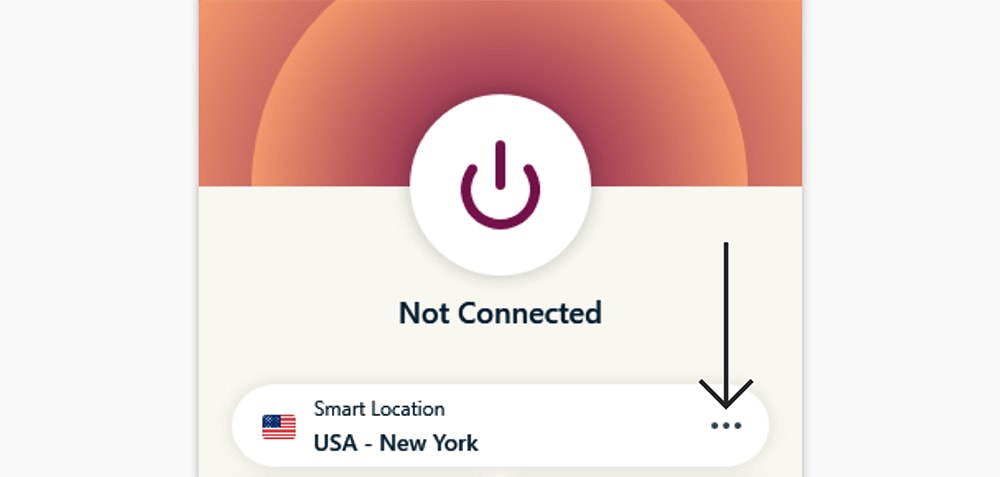
13. To pick another server, click 'Smart Location.'
14. Then, double-click on any country or server name.
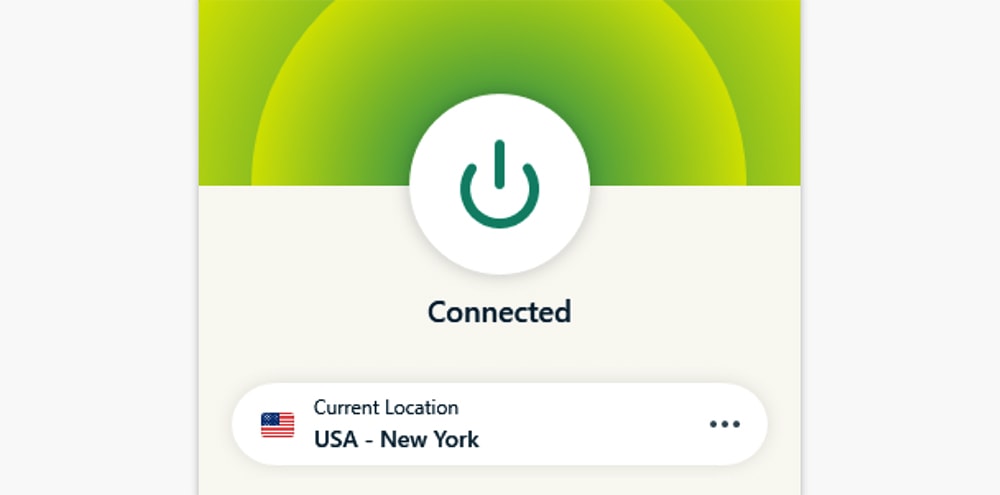
15. Once ExpressVPN’s home screen turns green, you’ll be connected. That’s it!
Method #3: Set Up ExpressVPN Manually via OpenVPN
To set up ExpressVPN on macOS via OpenVPN, you must use a third-party application called Tunnelblick. Here are the steps you need to follow:
1. Get your ExpressVPN subscription using your Mac and any Web browser.
2. Then, click on 'My Account' using the top-placed main menu on ExpressVPN's site.
3. Provide your email and password, and then access your ExpressVPN dashboard.
4. Navigate to Set Up Other Devices > Manual Configuration.

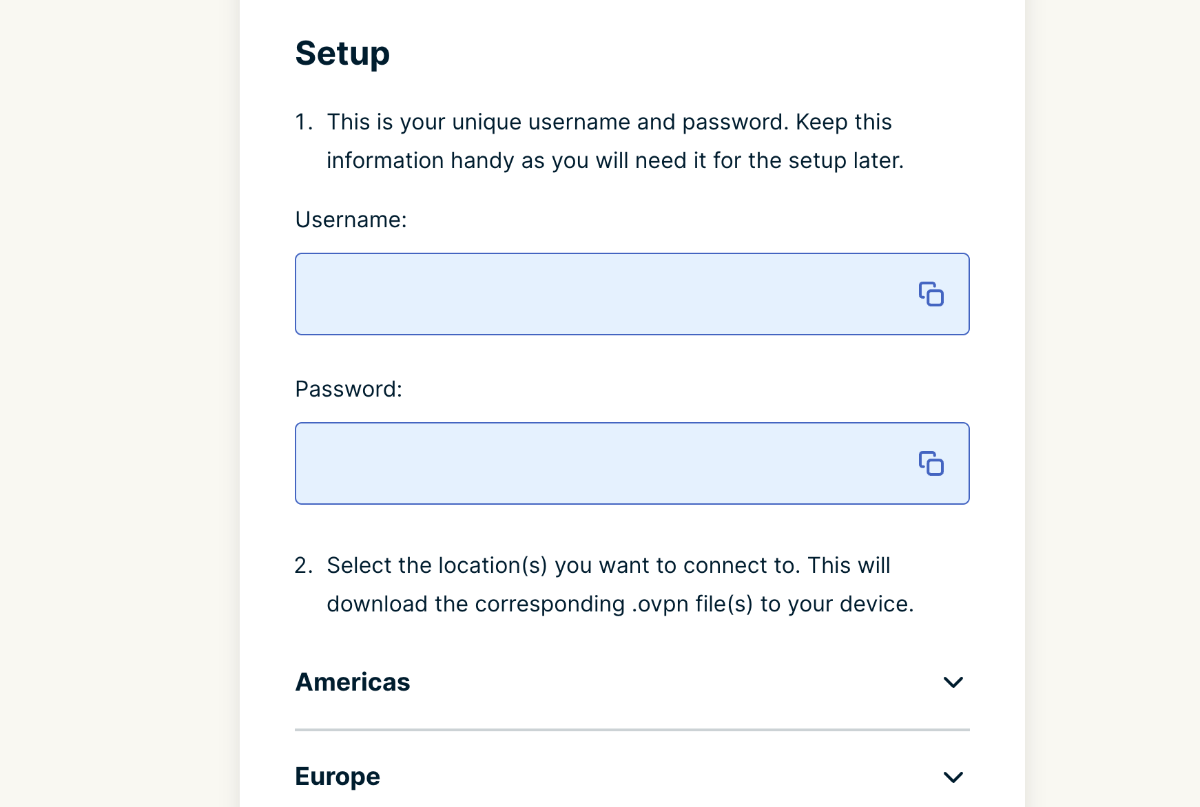
5. Note your OpenVPN username and password.
6. Then, pick a VPN server by scrolling down, and then download its OVPN file(s) to your Mac.
7. Download and install Tunnelblick.
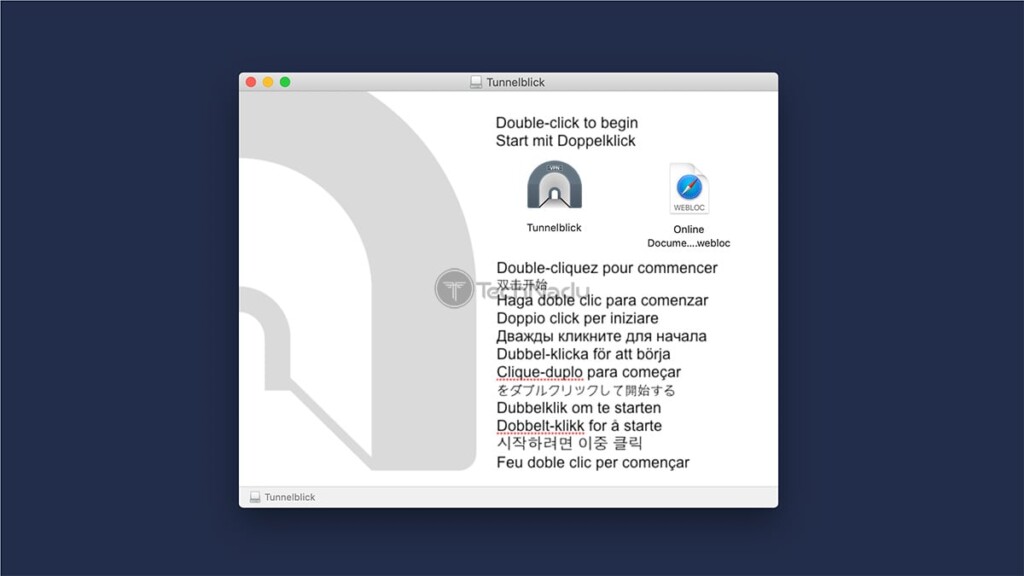
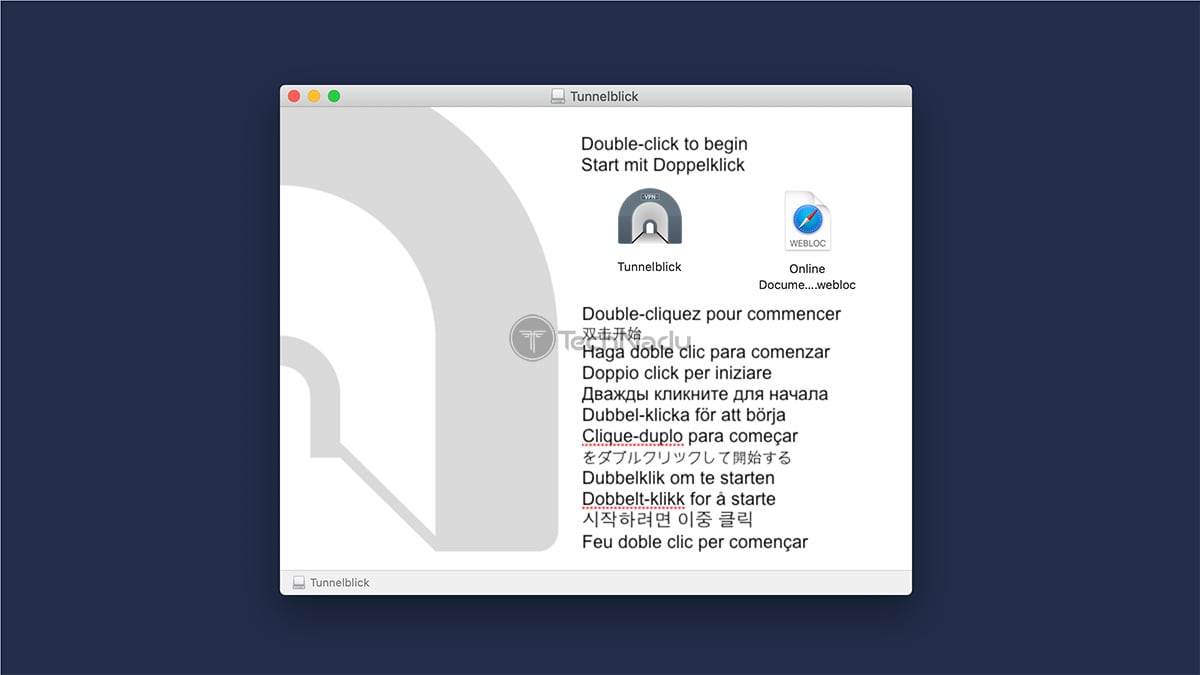
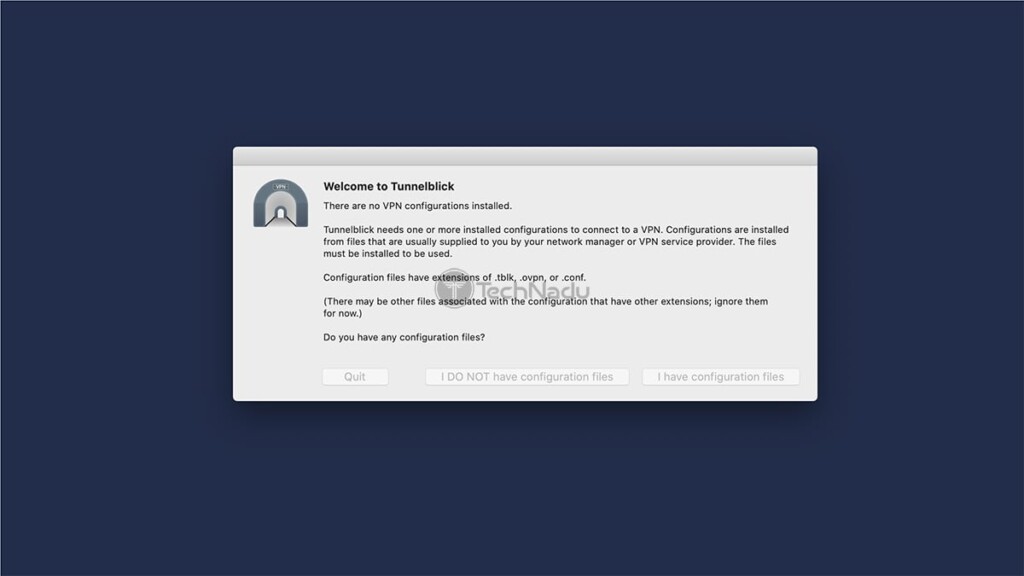
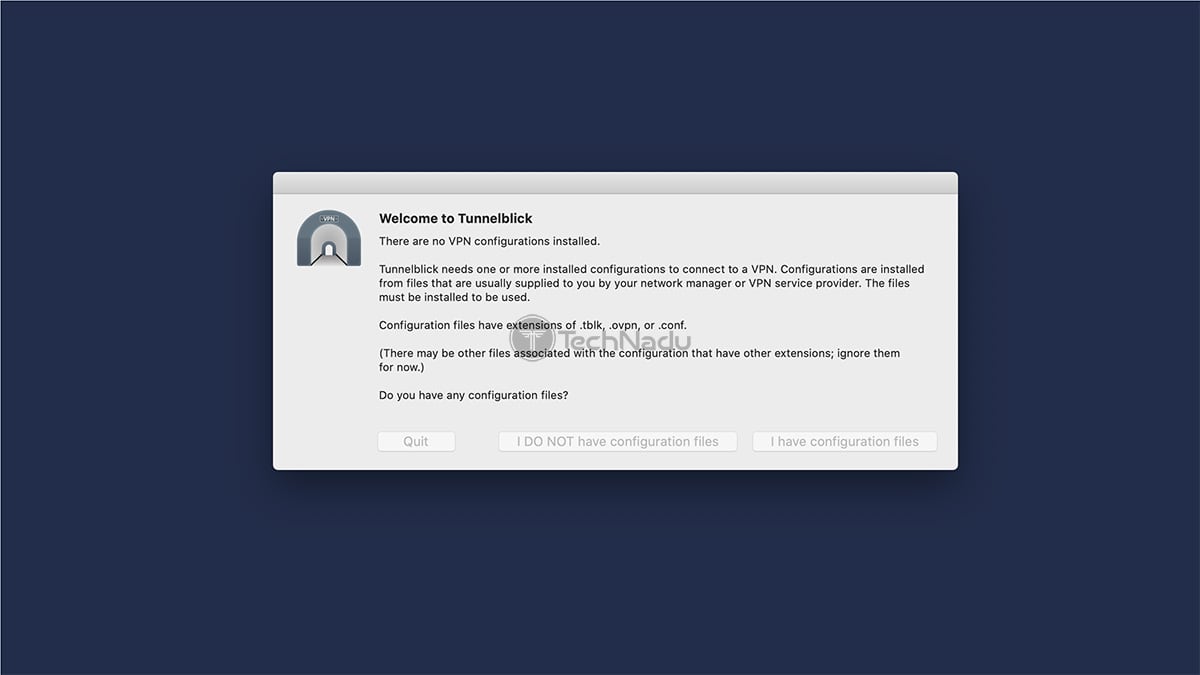
8. Open the application and click 'I Have Configuration Files.'
9. Drag and drop the OVPN file in the Tunnelblick's interface and provide your OpenVPN credentials.
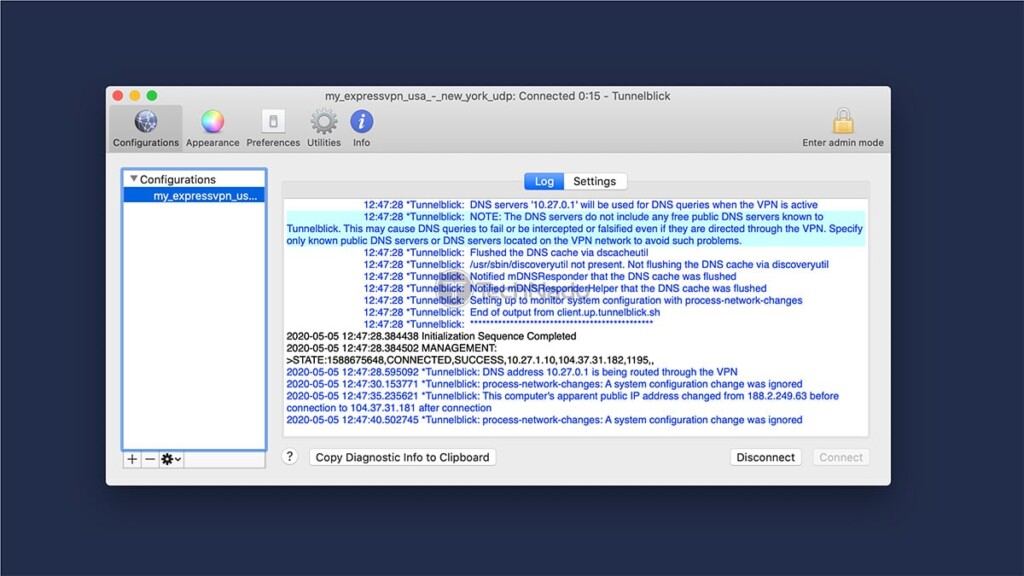
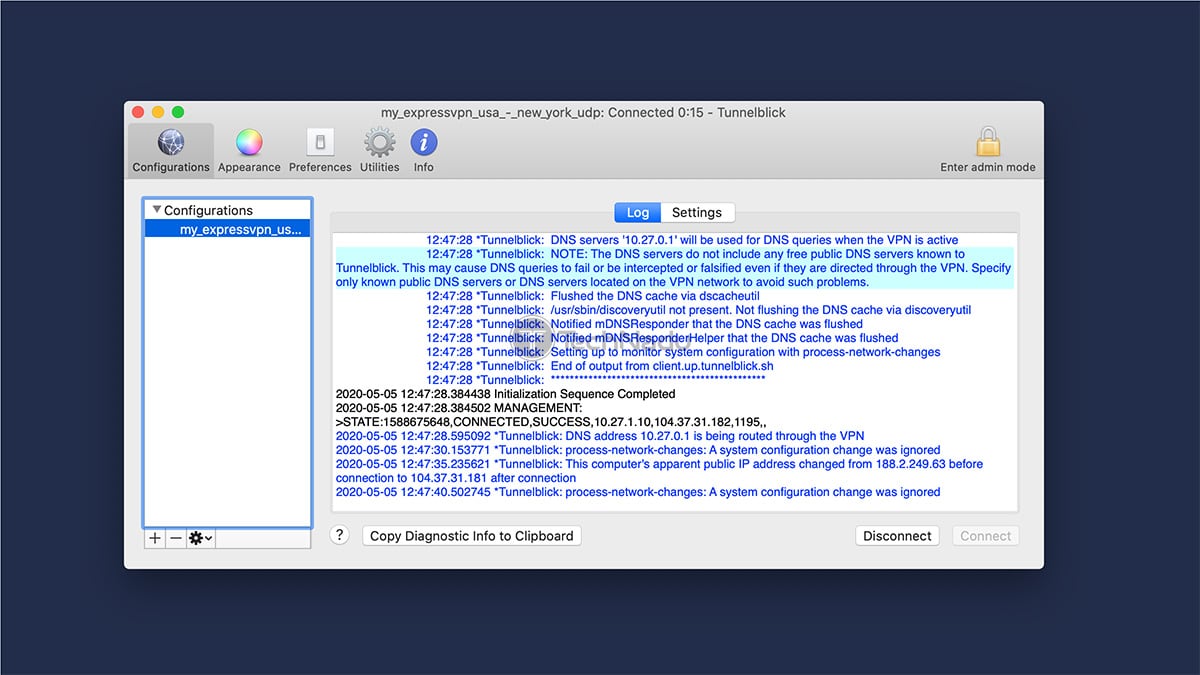
10. Click 'OK' and then click on 'Connect' to initialize your VPN session.
11. When you're ready to disconnect, return to Tunnelblick and click 'Disconnect.'
Tunnelblick lets you add multiple OpenVPN connections. So, if you wish to have access to more servers, download their OVPN files and add them to Tunnelblick. In other words, repeat the steps explained above, and you'll get access to as many servers as you want.
Final Thoughts
If you want your VPN protection to be as effortless as possible, set up ExpressVPN on your Mac using its native software. Install it, log in to your account, connect to a server - and forget about this application, as it'll run in the background. Of course, more advanced users should consider using Tunnelblick, as that method allows you to fine-tune ExpressVPN.
A VPN as powerful as this one doesn't run on macOS only. In fact, it runs on 60+ platforms. That said, here's how to set up and install ExpressVPN on all your devices. Also, don't forget to secure multiple devices at once by taking advantage of ExpressVPN's 8 simultaneous device connections.
This is where we conclude our guide to setting up ExpressVPN on a Mac. If you have any questions, make sure to post your comment below. Lastly, thanks for reading!
Related