When you purchase through links on our site, we may earn an affiliate commission. Here’s how it works.
How to Download and Add NordVPN Extension on Microsoft Edge
Last updated May 16, 2024


NordVPN has a native Microsoft Edge extension, which you can download, install, and access inside your browser easily. Overall, the process is very quick and a great option if you want to connect a VPN on the go while browsing or streaming on Microsoft Edge.
However, the extension does not have all the features that you will find in its native app, and it offers limited functionality. For example, you won't be able to select a protocol, access specialized servers, or use NordVPN's kill switch on an extension. If you need those features, you should set up NordVPN on Windows, Mac, or Linux.
In this article, we will teach you how to set up NordVPN's Edge extension on your computer with easy-to-follow instructions.
How to Set Up NordVPN Edge Extension
To set up NordVPN on Edge, you first need to subscribe to it and then download its extension from the Microsoft Edge Add-Ons page. Here's a step-by-step guide:
1. Sign up for NordVPN using your computer and any Web browser.
2. Open NordVPN's listing on the Edge Add-Ons page and click on 'Get' on the right-hand side.


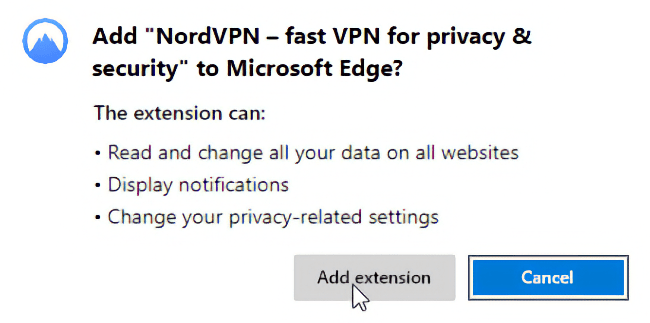
3. Click on 'Add Extension' in the pop-up to confirm its installation.
4. To open the extension, click on its icon in the top-right corner of Edge's window.
5. Then choose 'Log In' and enter your credentials.


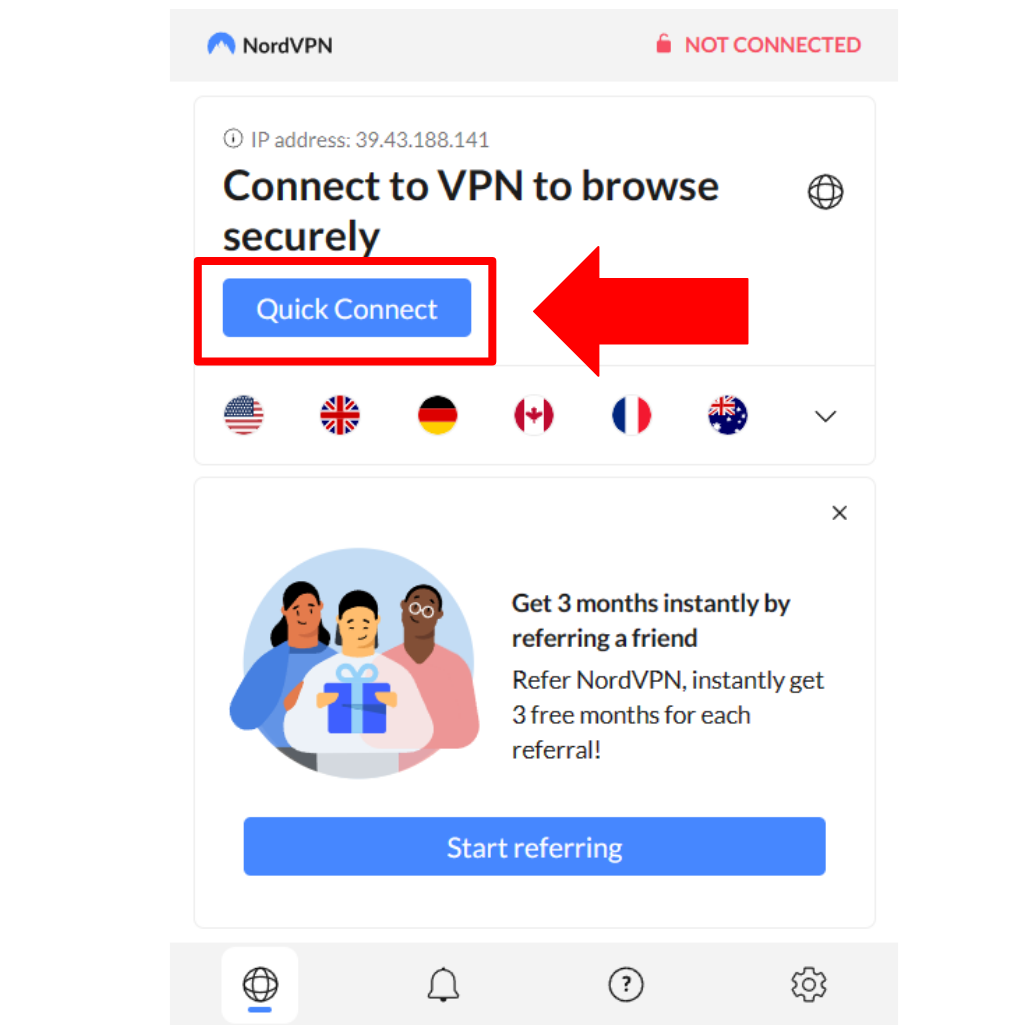
6. Pick 'Quick Connect' if you want NordVPN to connect you to the recommended server.

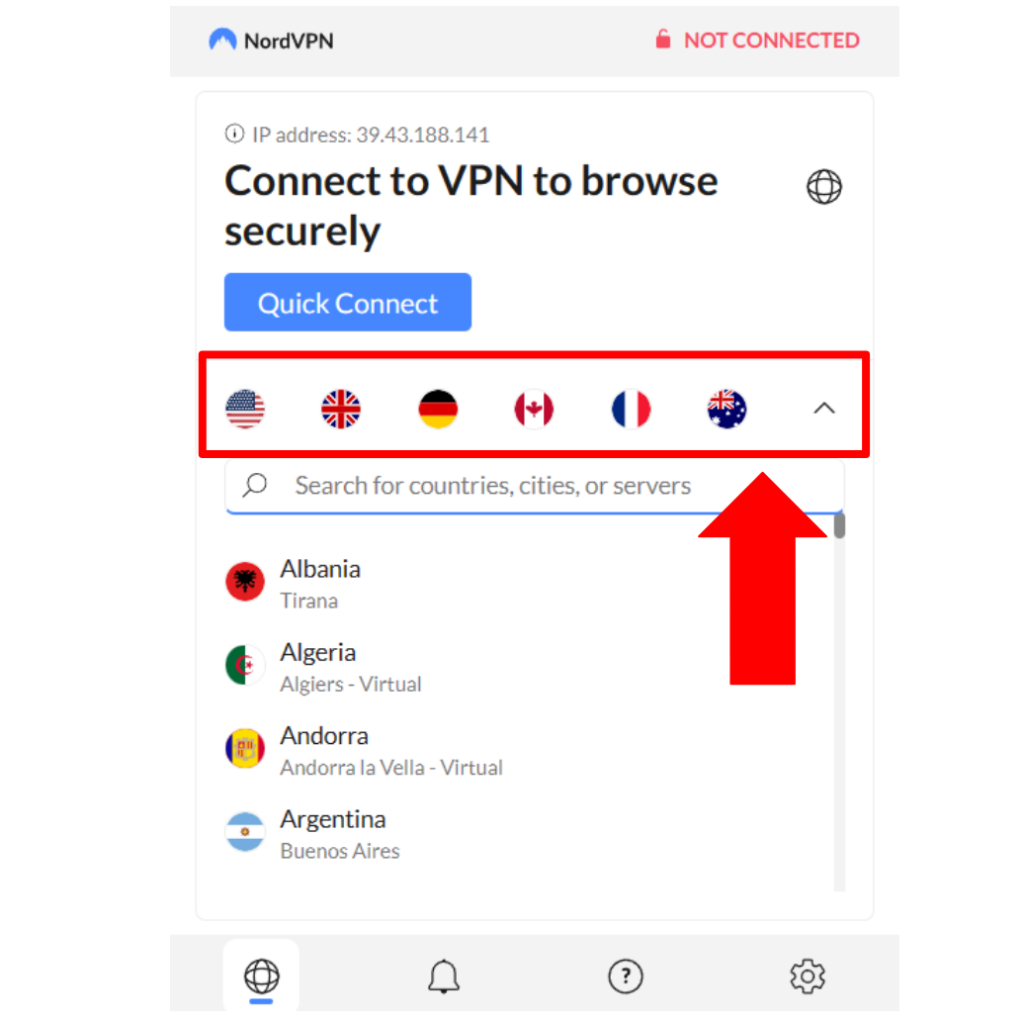
7. To select a server manually, click the dropdown icon below the quick connect option.

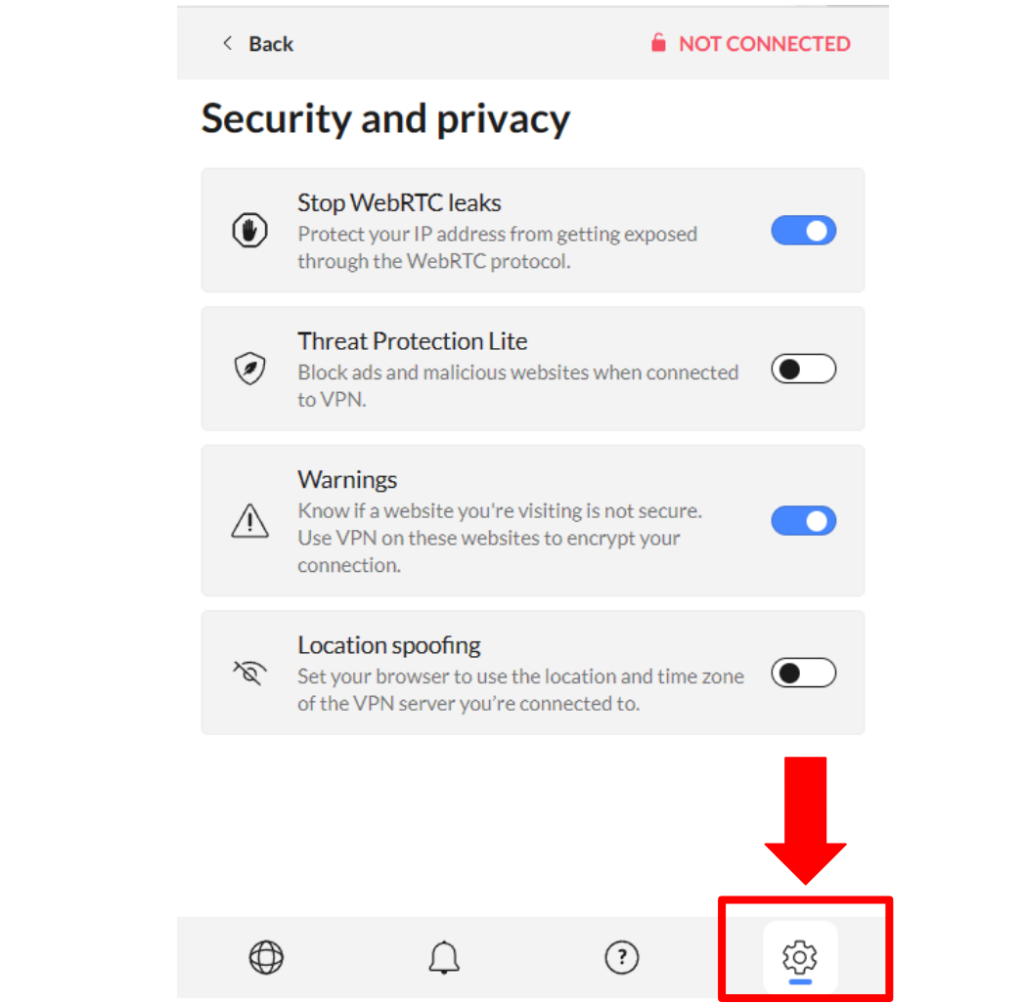
8. To access advanced security and privacy settings, click on the cogwheel icon at the bottom right.

Final Thoughts
NordVPN has done a good job of creating a native Edge extension, which makes getting started with this VPN extremely simple. However, don't forget that NordVPN's native VPN clients and apps will give you even more features while still protecting everything you do in your Edge browser.
The process of installing its native app on your Windows, macOS, or Linux computer is just as simple. So, if you wish to set up NordVPN via its native app, use the link to access our central guide, which covers dozens of platforms and devices.
Now you know how to download and add the NordVPN Edge extension. If you have any queries, drop us a comment through the button below. Thanks for reading!
Related