When you purchase through links on our site, we may earn an affiliate commission. Here’s how it works.
How to Download and Install NordVPN on Mac
Last updated May 23, 2024

NordVPN offers two applications for macOS - one that you download from NordVPN's site (with a customizable kill switch, anti-tracking, and ad-blocker) and one that you download from the Mac App Store (easier to set up but comes with limited features). Still, both those apps are easy to download and install, so getting started with NordVPN on macOS is a breeze.
Also, NordVPN requires you to have macOS 10.15 Catalina installed. That means it also runs on macOS 11 Big Sur, macOS 12 Monterey, macOS 13 Ventura, and macOS 14 Sonoma. If you're a more advanced user and want a single OpenVPN connection, you can also set up NordVPN on macOS manually.
In this article, we'll teach you how to download and install NordVPN on macOS using three methods.
How to Download and Install NordVPN on macOS
You can download NordVPN on macOS from its official site (full version) or the macOS App Store (limited version). You can also set it up manually with the Tunnelblick client. That said, let's look at each of these methods in detail.
Method #1: Download NordVPN's App from its Website
By downloading NordVPN from its website and installing the app manually, you'll end up with a version of NordVPN with a customizable kill switch and Threat Protection (anti-tracking and ad-blocking feature). Here's how to install NordVPN's Mac app manually:
1. Sign up for NordVPN using your Mac and any Web browser.
2. Return to NordVPN's home page and click 'Log In' using the site's main menu. Provide your credentials and access your Nord Account dashboard.
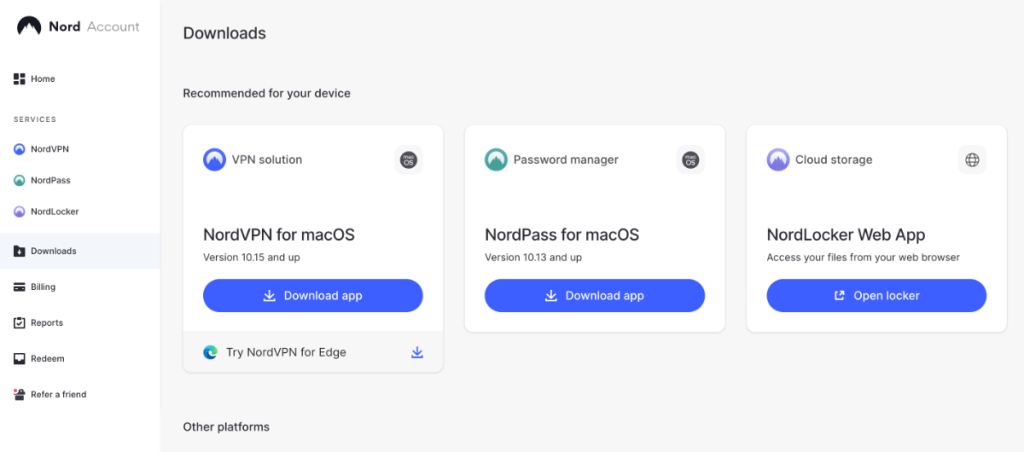
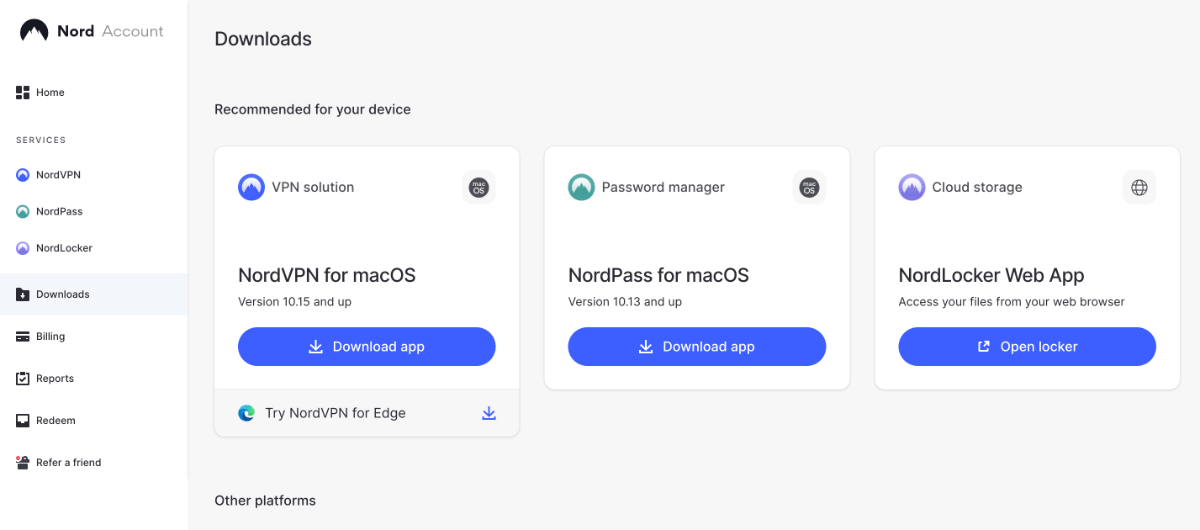
3. Click 'Downloads' in the left-placed sidebar.
4. Click 'Download app' next to 'VPN Solution - NordVPN for macOS' at the top of the screen.
5. Double-click on the installation file you downloaded.
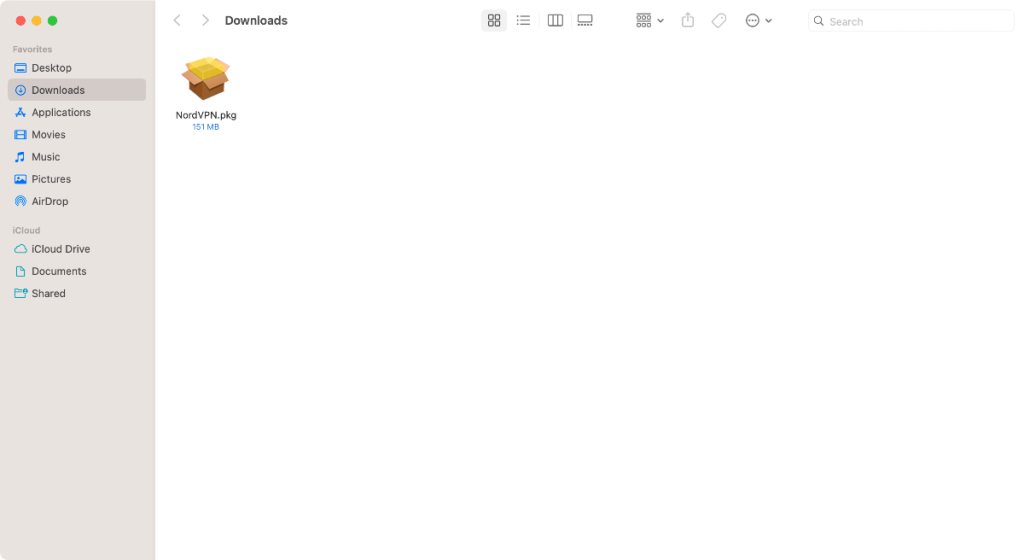
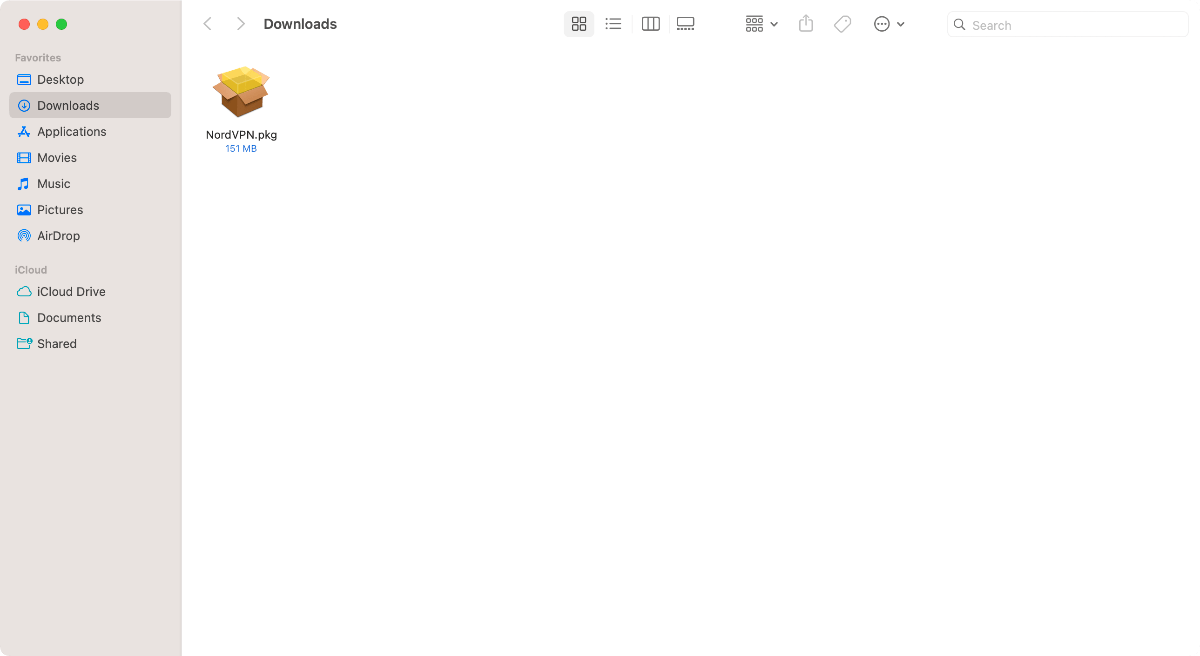
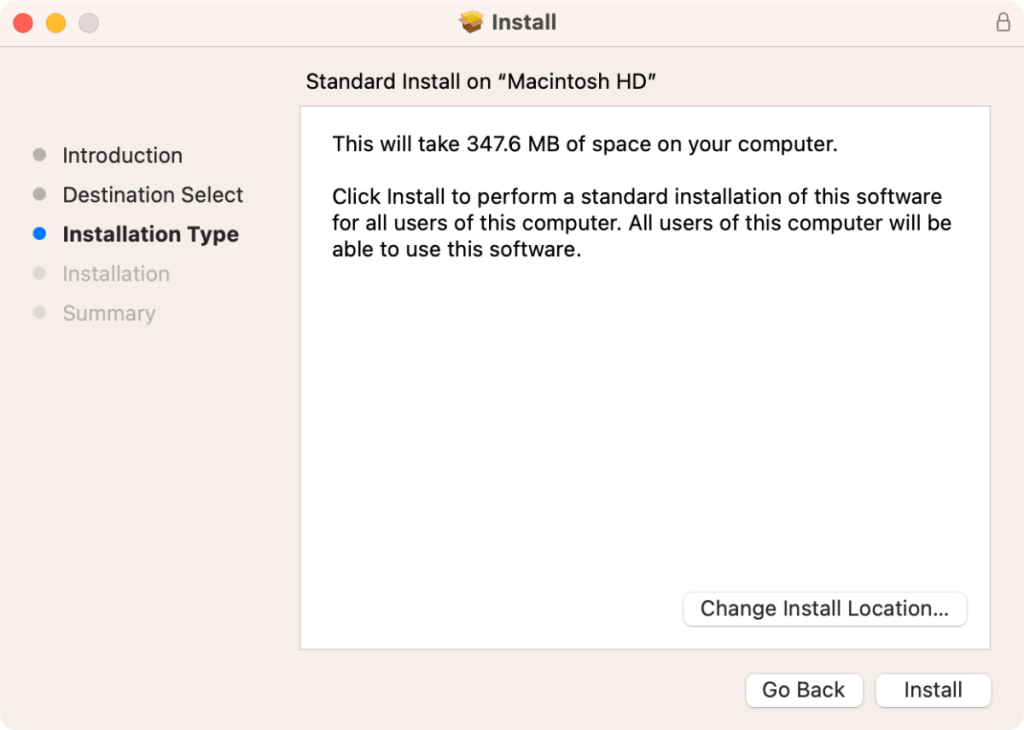
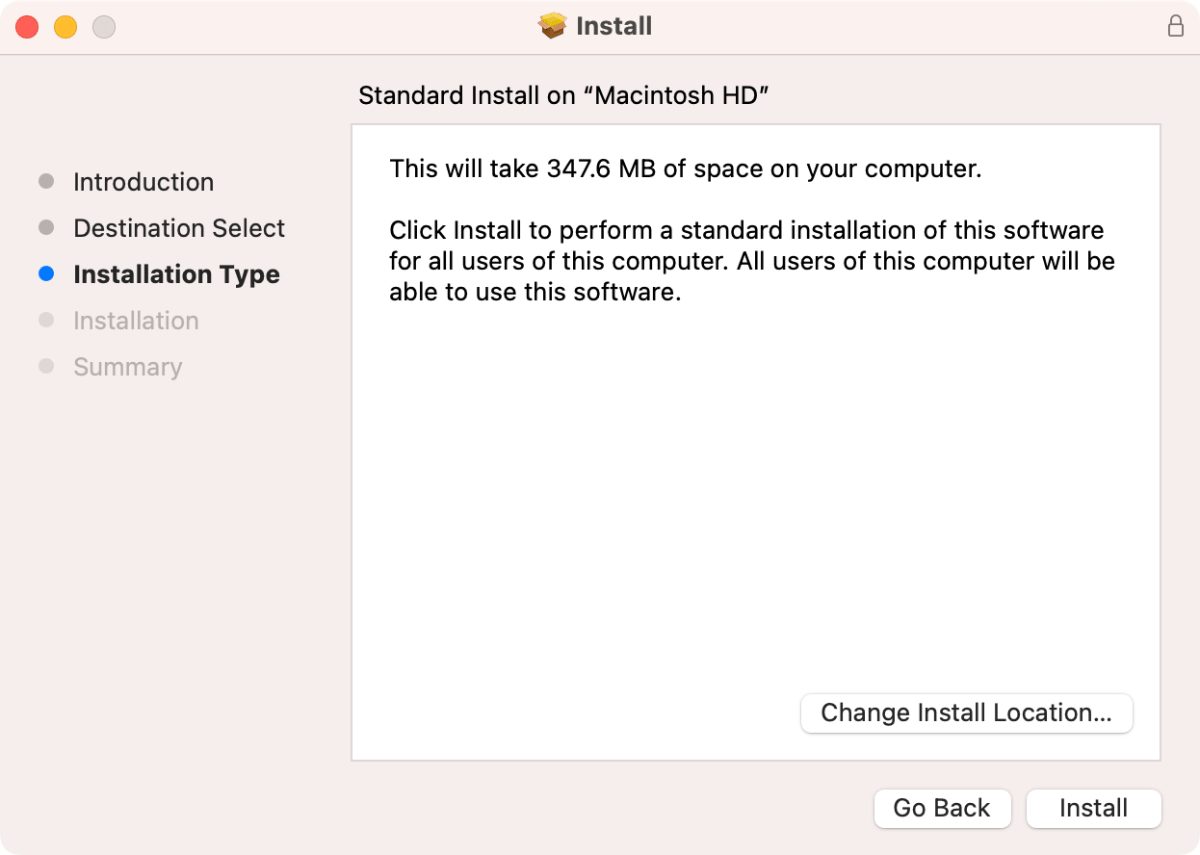
6. Install NordVPN and then launch the VPN app.
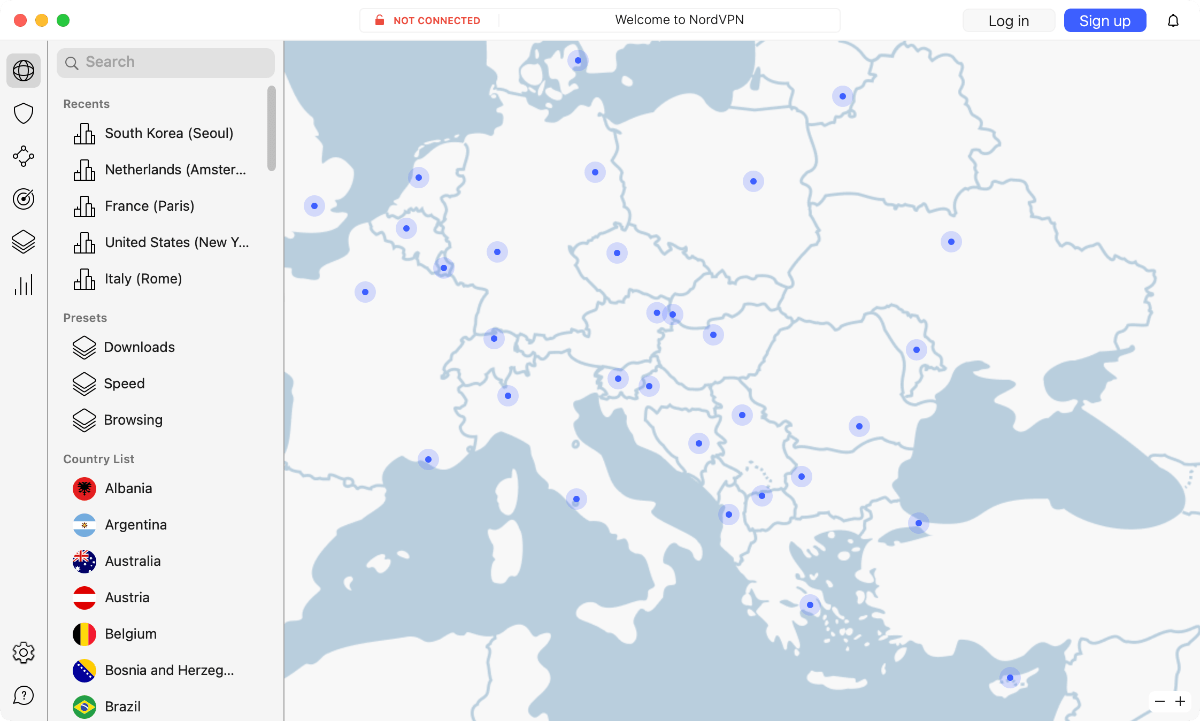
7. Click 'Log In' in the top-right corner.
8. Enter your NordVPN credentials and then accept the on-screen permissions to set up the VPN.
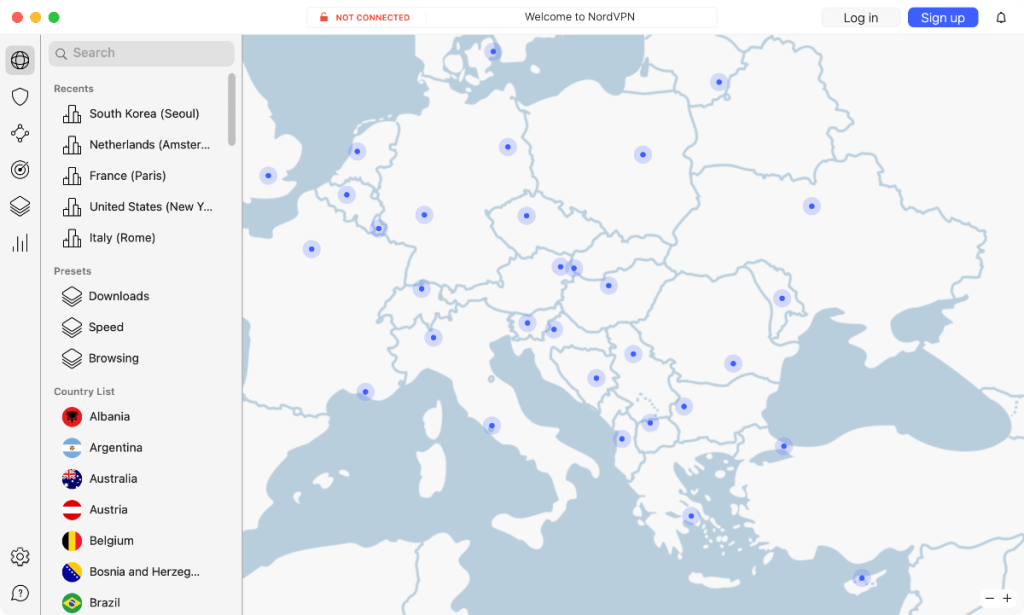
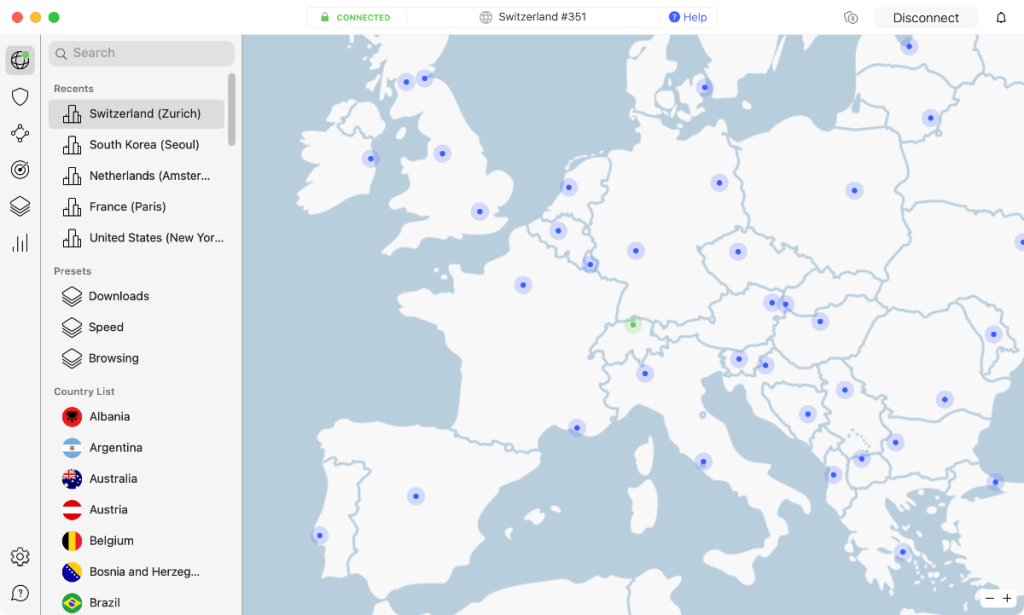
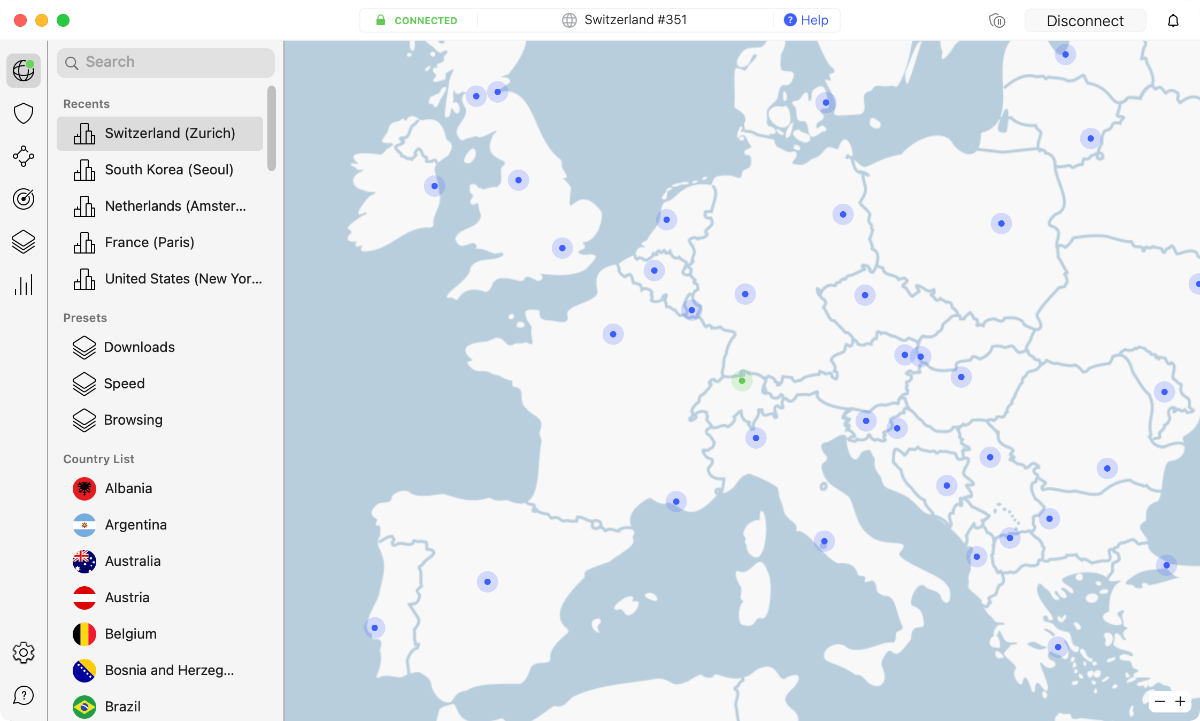
9. Connect to any VPN server via the left-placed sidebar or the interactive map of the world.
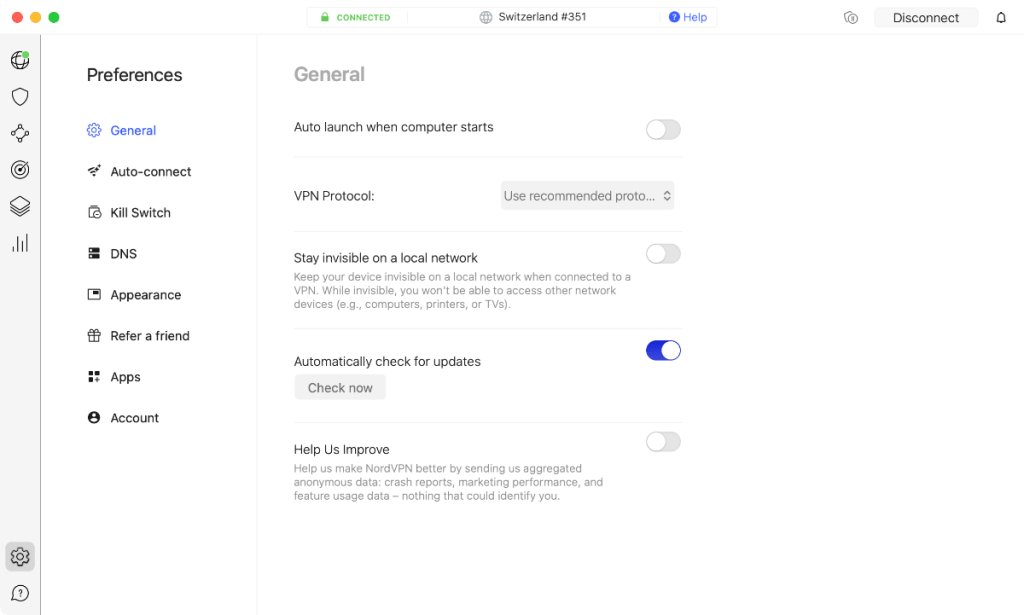
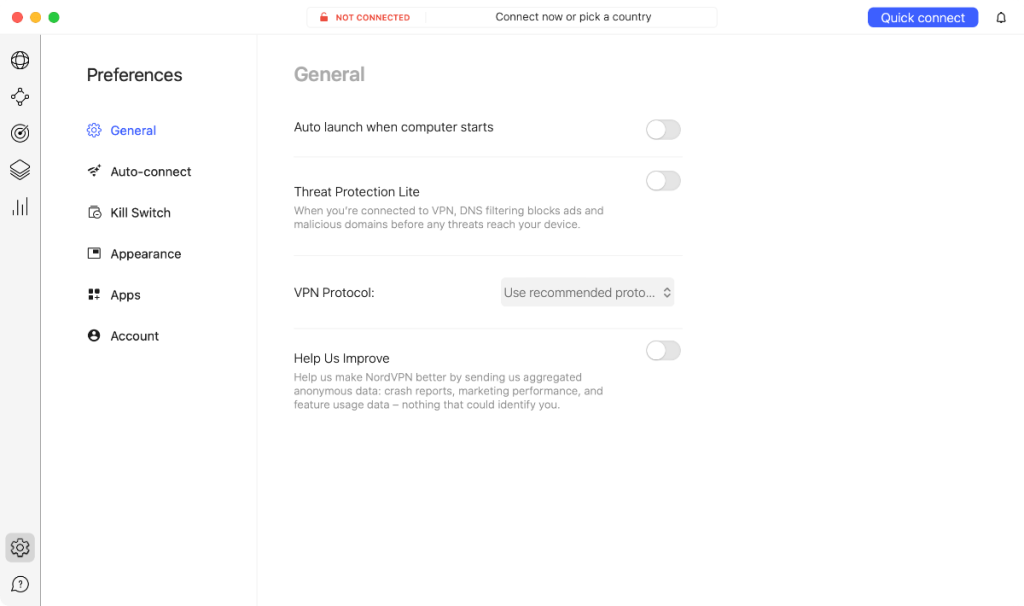
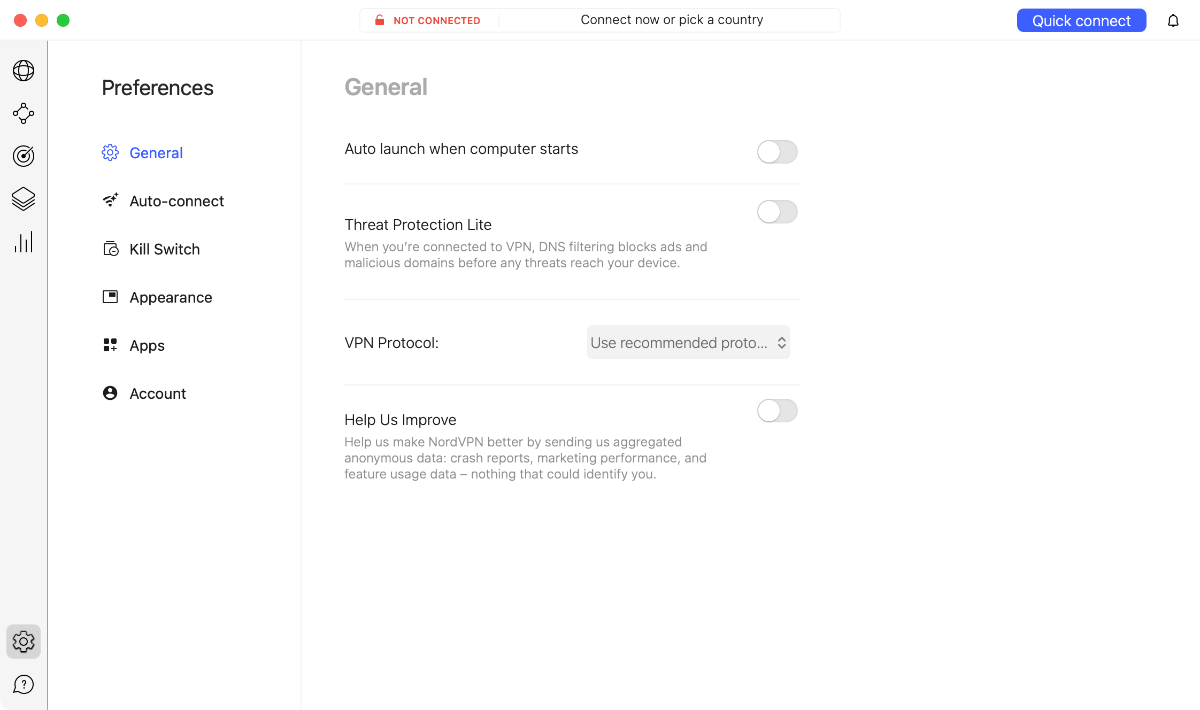
10. Use the cogwheel icon found in the bottom-left corner to fine-tune NordVPN's settings.

Method #2: Download NordVPN from Mac App Store
By downloading NordVPN from the Mac App Store, you'll allow your Mac to install the app on its own without any input needed. The app will also get auto-updates that way. However, it'll come without 'Threat Protection' and with a system-level kill switch. Here's what you need to do:
1. Subscribe to NordVPN using your Mac and Safari or any other Web browser.
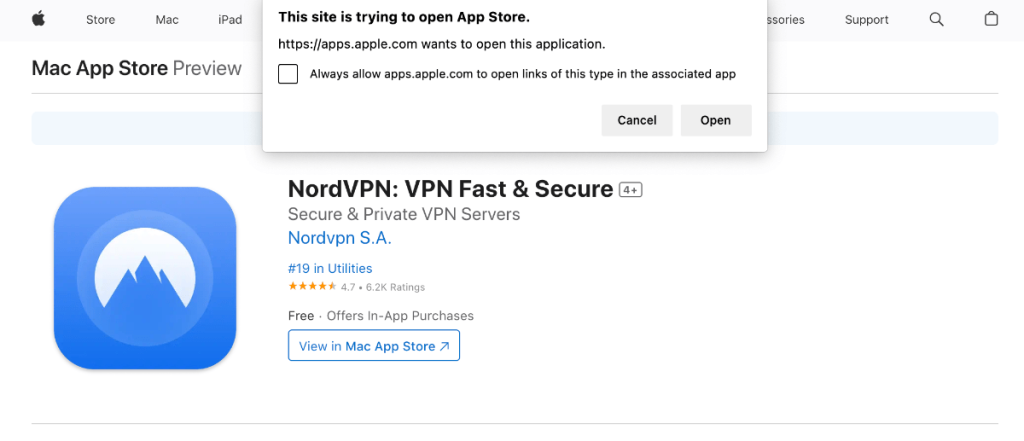
2. Visit NordVPN's listing on the Mac App Store and confirm your choice by clicking 'Open.'

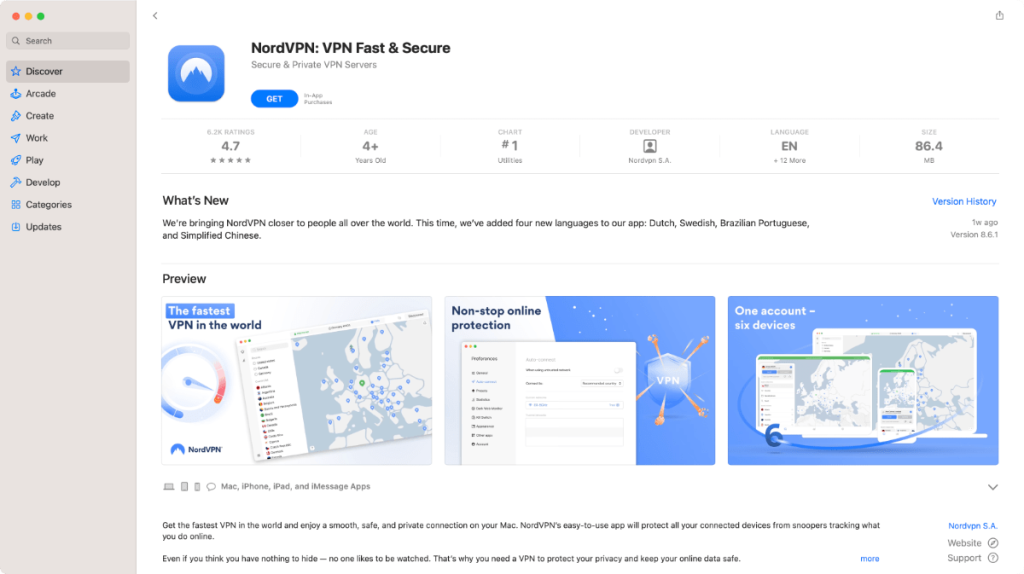
3. Click on 'Get' and 'Install,' and then provide your Apple ID's password to download the app.
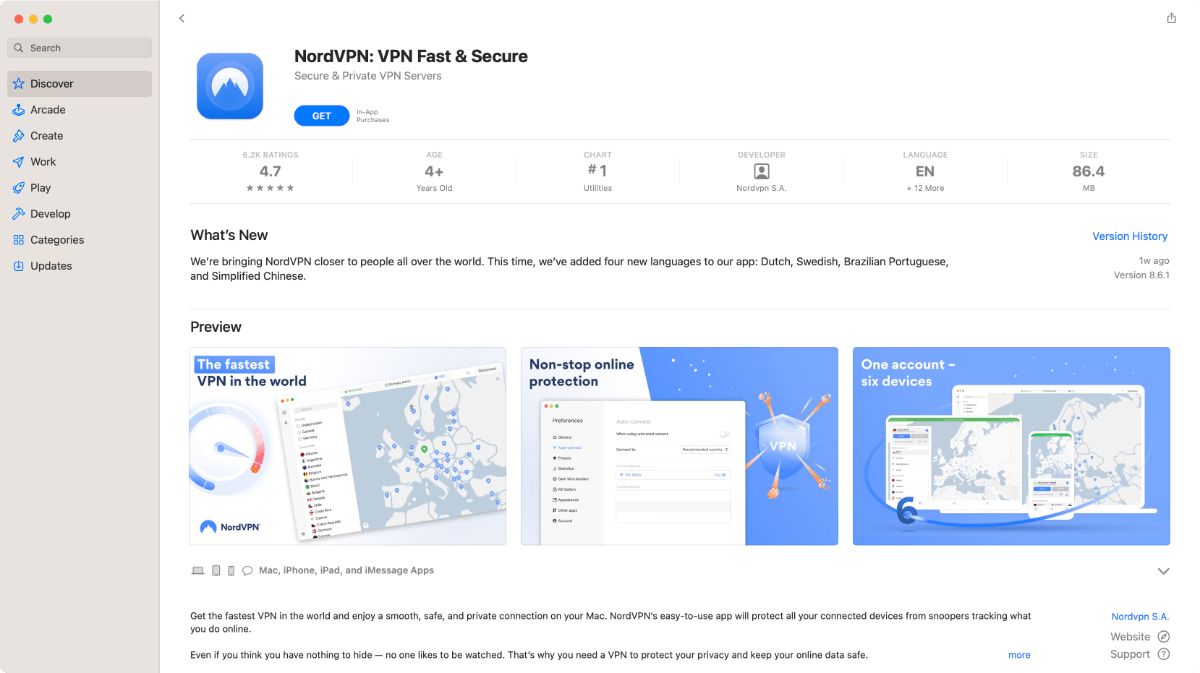
4. Once NordVPN has auto-installed, launch it by clicking 'Open.'


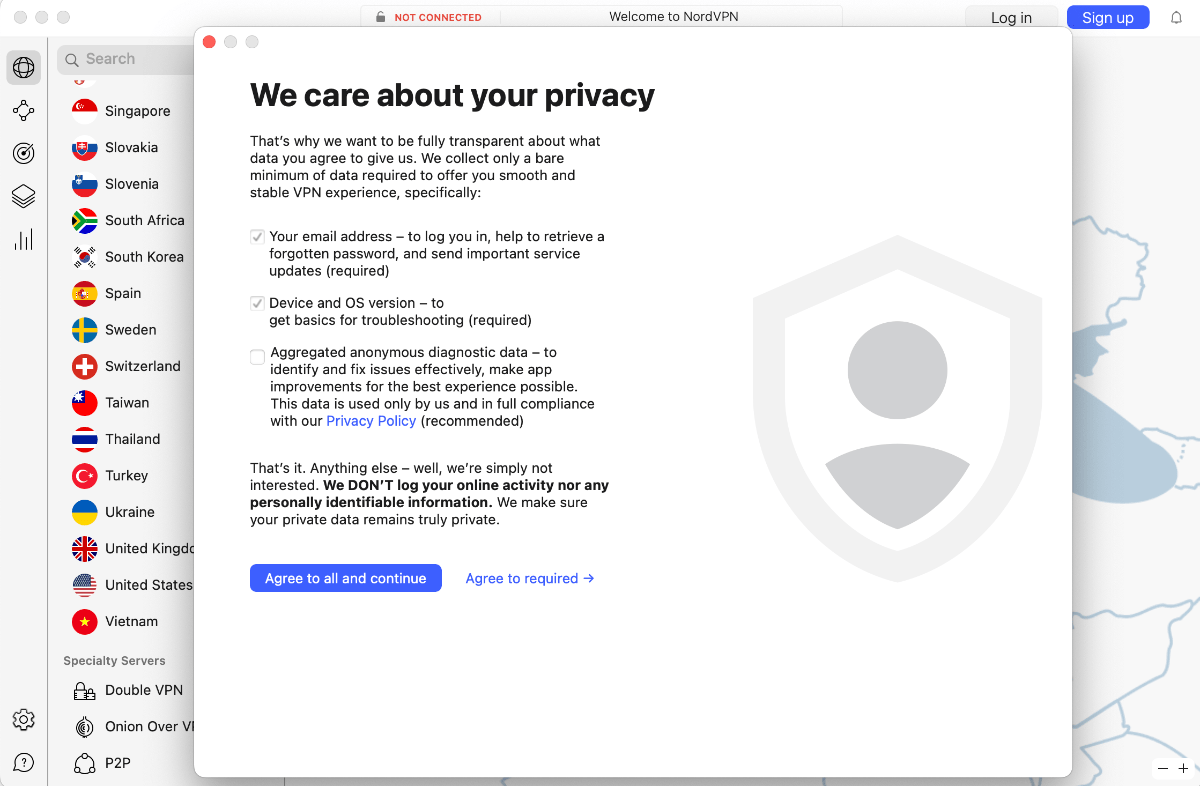
5. Select the types of data you're comfortable sending to NordVPN and click on 'Agree to Required.'

6. Click 'Log In' in the top-right corner of NordVPN's home page and enter your credentials.
7. Connect to any server location from the life-side bar or pan/zoom on the map to pick a country.
8. Click on the cogwheel icon in the bottom-left corner for additional settings like protocols, and more.
Method #3: Set Up NordVPN Manually via OpenVPN
If you can't or won't use NordVPN on macOS via its native app, you can configure it manually. To make that happen, you'll use an application called Tunnelblick. Do the following:
1. Get your subscription to NordVPN using your Mac and any Web browser.
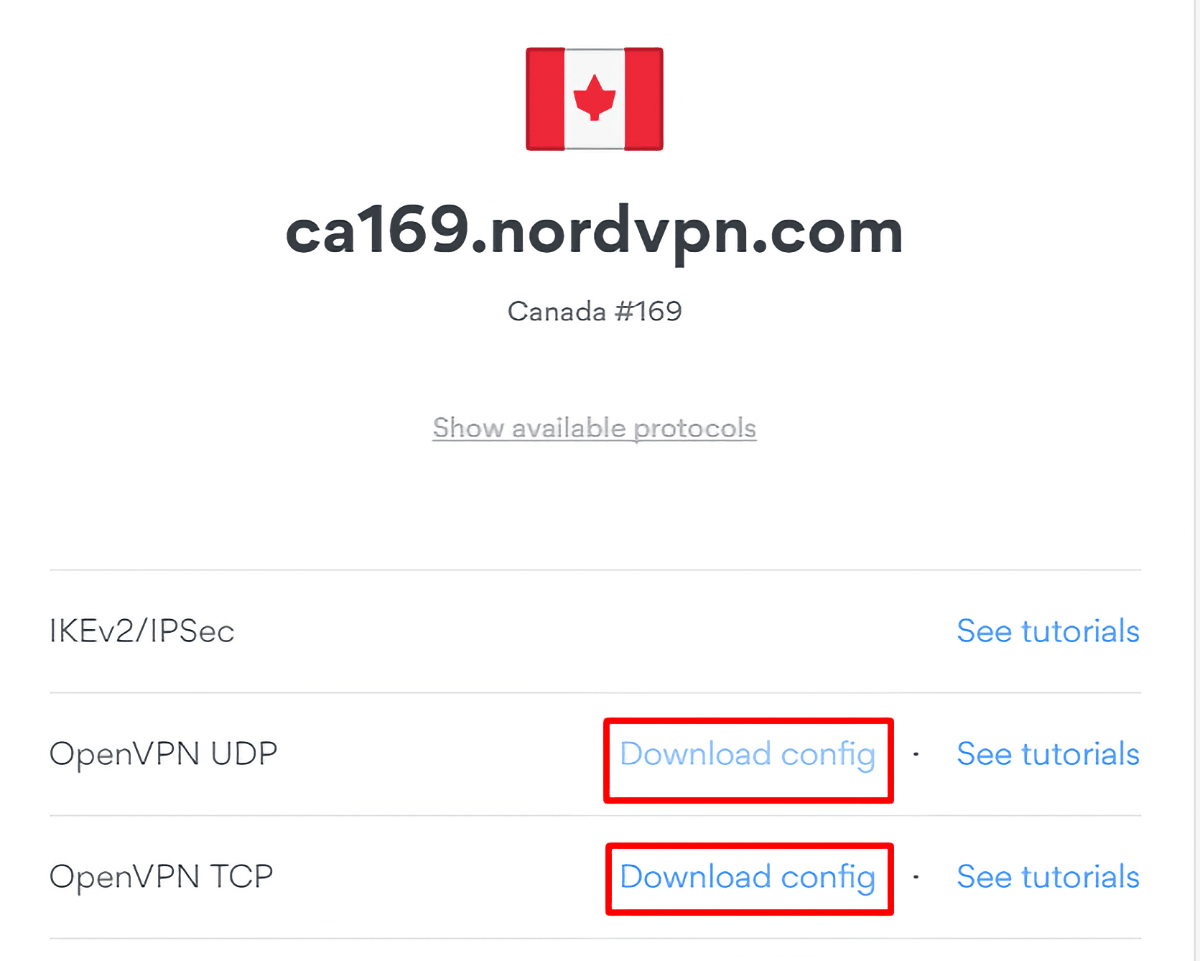
2. Go to NordVPN's server tool and pick a server of your choice.
3. Click on 'Download config' next to OpenVPN (UDP or TCP) to download .ovpn file of that server.

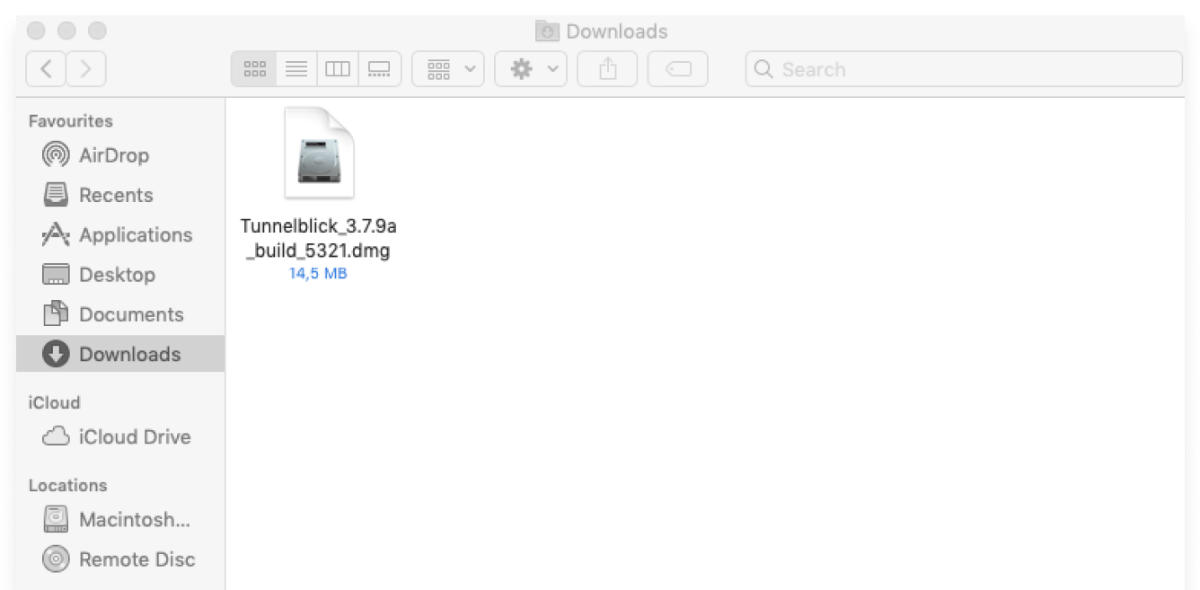
4. Download Tunnelblick from its official website and install the app on your device.

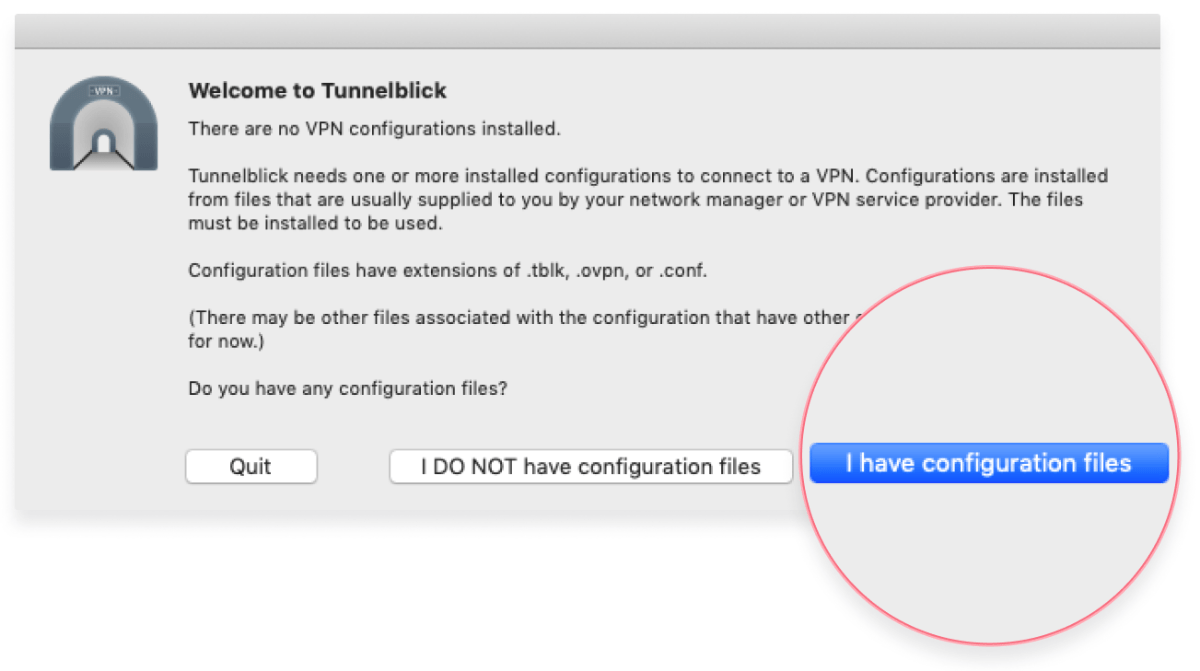
5. Launch Tunnelblick and select 'I have configuration files.'
6. On the left-hand side of Tunnelblick, Drag and drop NordVPN's .ovpn file previously downloaded.
7. Select whether you'd like to install the configuration for all users or yourself only.

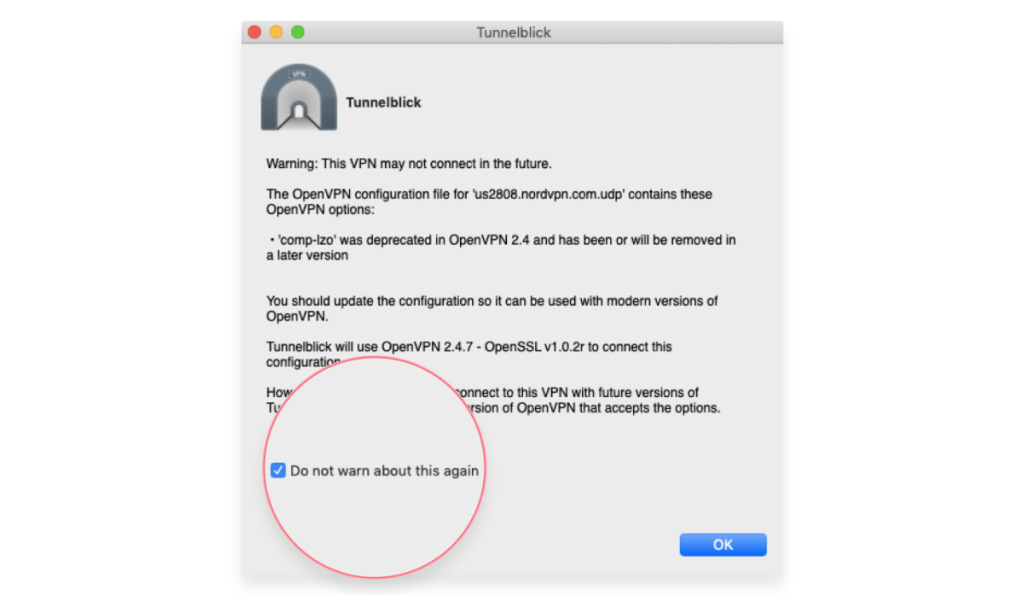
8. Choose 'Do not warn about this again' from the warning pop-up and click on 'OK.'

9. Access your NordVPN account dashboard and then choose 'NordVPN.'
10. Click on 'Set up NordVPN manually.'
11. Enter the security code from your NordVPN-associated email for verification.
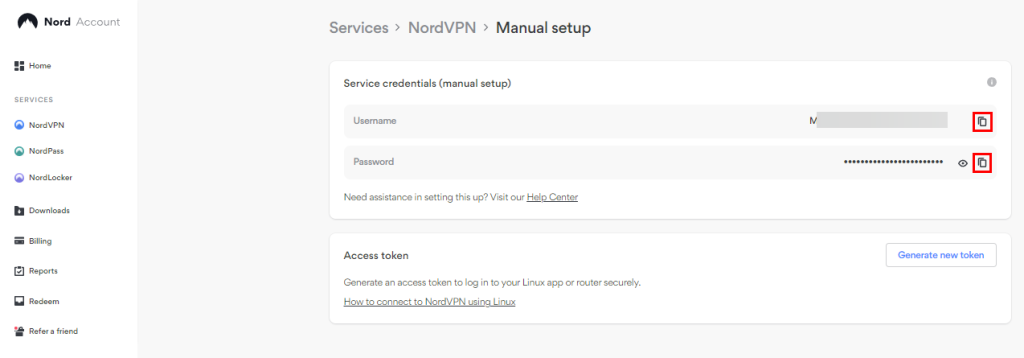
12. Copy the Service Username and Password from the box titled 'Service credentials (manual setup).'

13. Open Tunnelblick again, paste your service credentials in the right fields, and confirm.
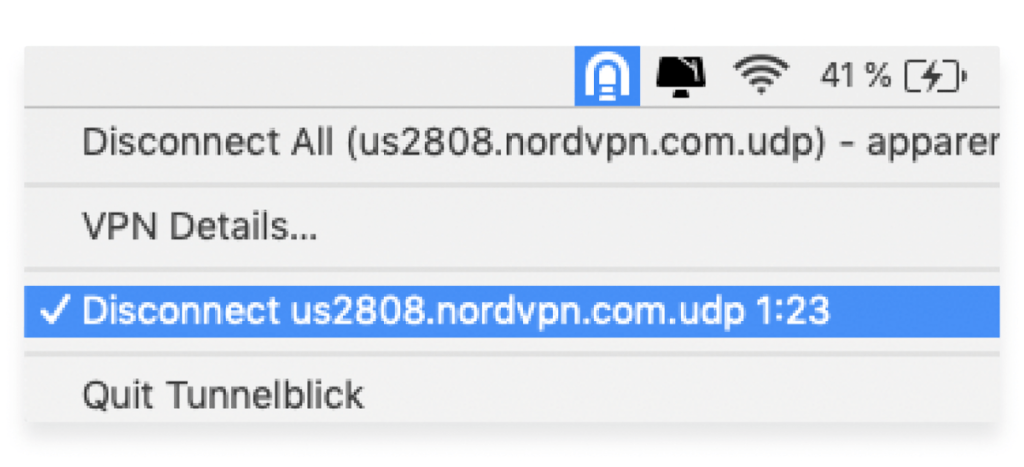
14. Tunnelblick will now connect you automatically.

Final Thoughts
If you want all the features that your NordVPN subscription brings, go with NordVPN's native app for macOS—the one that you download from its website. Installing its macOS app is the easiest way to get started with NordVPN without missing out on any of its features.
Needless to say, NordVPN runs on more than macOS. You can use it on other desktop systems, mobile devices, media streaming devices, and even routers. To learn how to get started, visit our central guide on how to set up and install NordVPN, which covers dozens of platforms.
That's all! Now, you know how to download, install, and use NordVPN on the Mac. If you have further queries, comment below. Thanks for reading!
Related