When you purchase through links on our site, we may earn an affiliate commission. Here’s how it works.
How to Configure and Use NordVPN on Kindle Fire
Last updated May 25, 2024

There are various reasons why you may want to use NordVPN on Kindle Fire (now called Amazon Fire). A VPN can help you avoid bandwidth throttling and bypass geo-restrictions on streaming apps. Hence, you can read books and watch your favorite shows without interruptions.
Fortunately, Kindle Fire users can directly download and install the NordVPN app on their devices and encrypt their Web traffic. That is because Kindle Fire supports VPN apps natively. Due to this reason, it takes less than a minute to set up NordVPN on your Kindle Fire.
In this article, we'll teach you how to configure and use NordVPN on Kindle Fire.
How to Configure NordVPN on Kindle Fire
You can configure NordVPN on Kindle Fire by downloading its native app from the Amazon App Store and signing into it. It will automatically be set up on your device. Here's a step-by-step guide:
1. Subscribe to NordVPN from any device, like a computer or a smartphone.
2. On your Kindle Fire, tap the 'Apps' button at the top of your home screen.


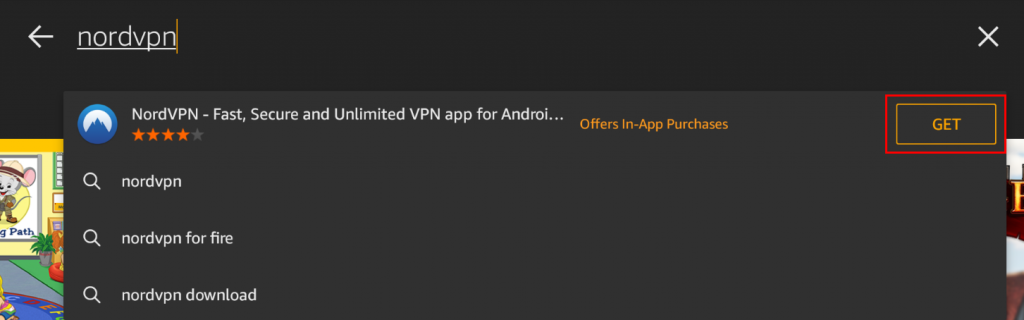
3. Next, choose Amazon App Store from the top-right corner of the Apps screen.


4. Search for 'NordVPN' in the Amazon App Store and hit the 'GET' button.

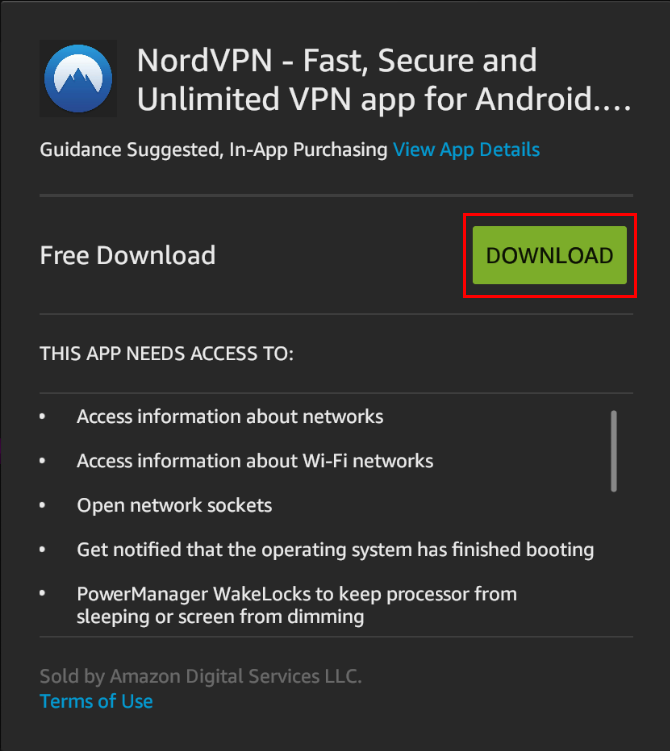
5. On the next screen, tap the 'DOWNLOAD' button.
6. When downloaded, tap on 'OPEN' to launch the NordVPN app.


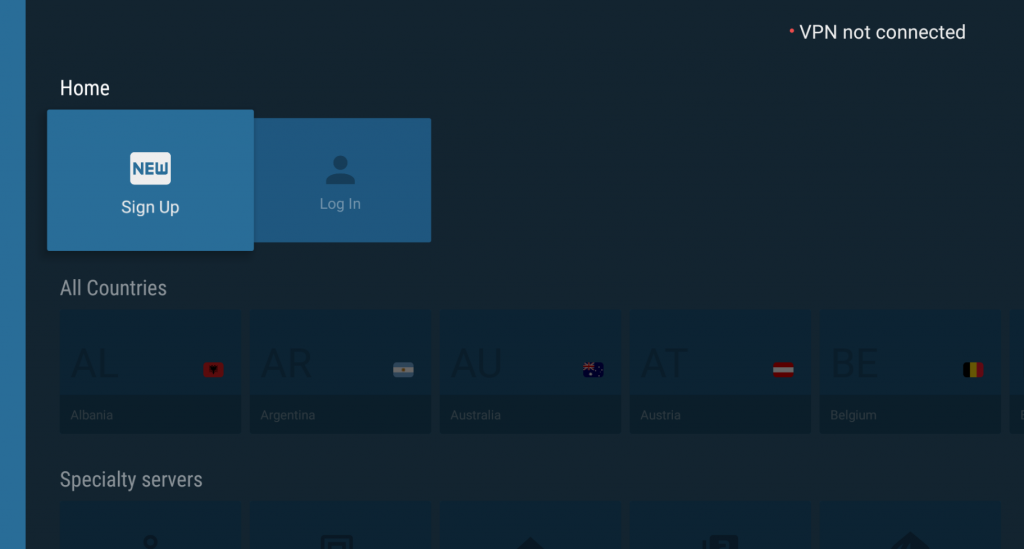
7. Click on the 'Log In' button and enter your credentials.

8. Pick a VPN server in your preferred location and hit the Connect button.
9. You'll get connected to NordVPN on your Kindle Fire. That's it!
Final Thoughts
Since Kindle Fire natively supports NordVPN, you don't have to rely on additional workarounds like setting it up on a router. That is because its app provides you with everything that you need in terms of VPN servers, security, and complete privacy.
Since it allows up to 10 simultaneous connections, why not set up and install NordVPN on other devices? It supports all major platforms, such as Windows, Linux, macOS, iOS, ChromeOS, and Android. This means that besides Kindle, you can also use it on computers, smartphones, tablets, and more.
That’s all! Now you know how to configure and use NordVPN on Kindle Fire. If you still have any questions, contact us through the comments section below. Thanks for reading!
Related