When you purchase through links on our site, we may earn an affiliate commission. Here’s how it works.
How to Configure and Use NordVPN on ASUSTOR
Last updated June 29, 2024

ASUSTOR storage devices come with advanced ADM firmware that automatically protects you from ransomware. However, there is always the possibility of a data breach. Fortunately, ASUSTOR supports OpenVPN, which means that you can easily install NordVPN and protect your data.
Note that NordVPN supports ASUSTOR version 2.7.1 and up, and the guide you'll find below is based on ASUSTOR ADM 4.2.1.DGE2. However, the process should be similar on all supported devices.
In this article, you'll learn how to configure and set up NordVPN on ASUSTOR through detailed steps accompanied by helpful screenshots.
How to Configure NordVPN on ASUSTOR
To configure NordVPN on ASUSTOR, you need to pick a VPN server, download its configuration files, and then upload the required data to your device. Go through the following steps:
1. Sign up for NordVPN using your favorite Web browser.
2. Access your ASUSTOR NAS control panel using a Web browser.
3. Navigate to 'Settings' > 'Network.'


4. Click 'Add' > 'Create VPN.'
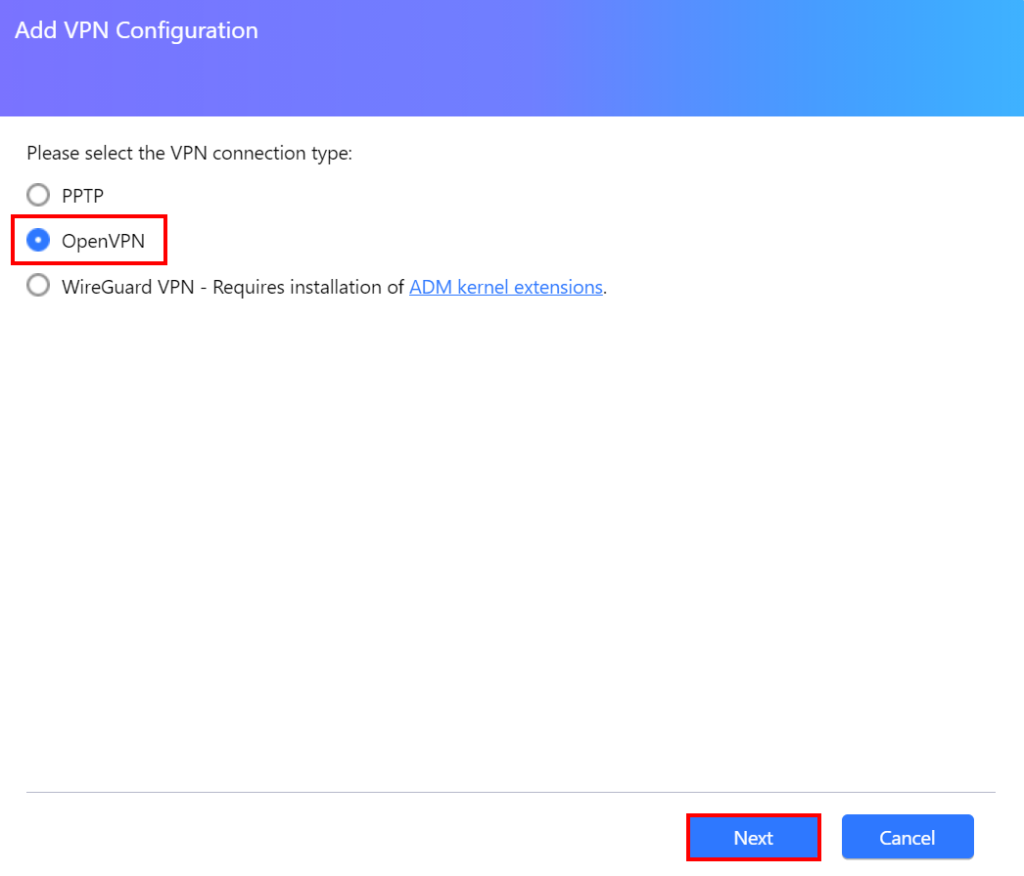
5. Go to 'OpenVPN' > 'Next' in the Add VPN Configuration window.

6. Select 'Import Configuration Files from OpenVPN Provider' and click 'Next.'
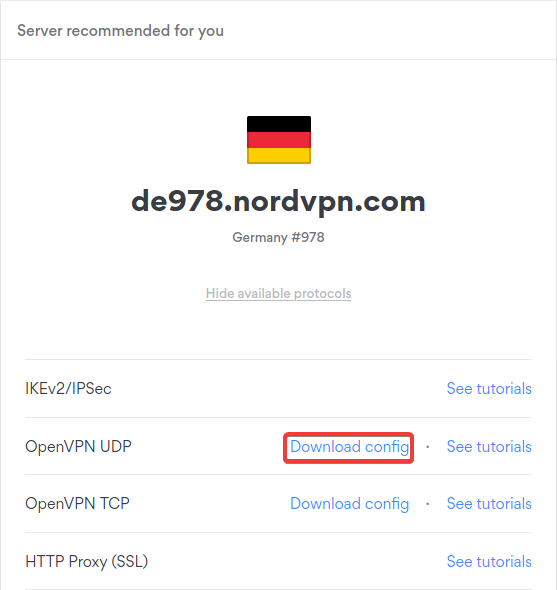
7. Open the NordVPN server tool to select a server in your desired location. Click on 'Show available protocols' and choose 'Download config' next to OpenVPN UDP.
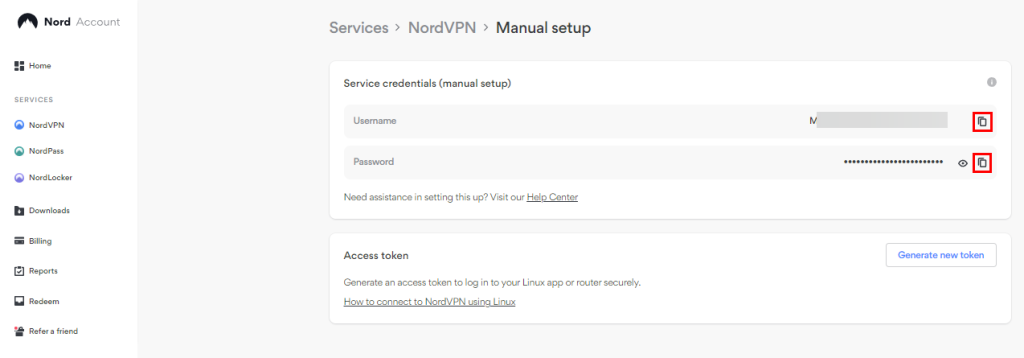
8. Visit your NordVPN account dashboard and click on 'NordVPN' > 'Set up NordVPN manually.' Copy your service credentials (username and password).

9. Fill in the following information:
- Name: Any name you like.
- Account: NordVPN service username.
- Password: NordVPN service password.


10. Click on 'Expand' > 'Add' next to Import file(s).
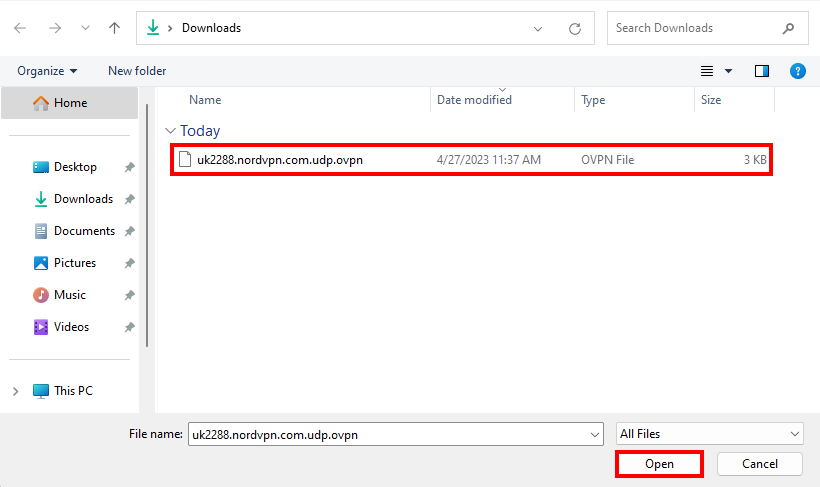
11. Select the OpenVPN configuration file and click on 'Open.'
12. Select the new network interface and click on 'Action' > 'Connect.' That's it!
Final Thoughts
Overall, configuring and setting up NordVPN on ASUSTOR takes less than 5 minutes. Once you've done so, your data will be encrypted with AES 256-bit encryption, which is impossible to break. That said, once you secure your NAS device, you'll want to do the same with other devices.
For that, take a look at our comprehensive guide on how to download and install NordVPN on a wide range of supported devices, such as computers, phones, tablets, gaming consoles, and routers.
That's all! Now you know how to configure and use NordVPN on your ASUSTOR NAS device. If you have further queries, comment below. Thanks for reading!
Related