
How to Set Up a New iPhone 13, Mini, Pro, and Pro Max
Published on September 20, 2021


The way you set up your new iPhone is more important than you might think. That goes especially for those who don't like to tinker with their phones. If you miss setting up an essential feature from the get-go, you might forget to do that at a later time. With that said, know that we're here to help. And yes, we'll show you how to set up a new iPhone 13, Mini, Pro, and Pro Max - from scratch.
How to Set Up a New iPhone 13?
The process of setting up your iPhone is a lengthy one, consisting of 10 steps. Still, it’s crucial to take your time and consider each step carefully. Here’s how exactly to set up your iPhone 13 from scratch.
1. Press the 'Side' button and any of the 'Volume' buttons until you see the Apple logo.
2. You should now see the 'Hello' screen. First, select your language.
3. If you have your old iPhone nearby, use 'Quick Start.' Skip if you don’t.
4. Connect to a Wi-Fi network and activate your phone.
5. Decide whether you want to set up Face ID and create a passcode.
6. Choose if you want to restore your iPhone from a backup.
7. Create a new Apple ID or input your existing Apple ID and password.
8. Go through the process of updating your iPhone to the latest iOS version.
9. Decide if you want to set up Siri and other services (Apple Pay and iCloud Keychain).
10. Set up Screen Time (or skip if you don’t want this feature). That’s it!
Just above, we gave you a quick overview of what setting up your iPhone 13 includes. However, we strongly recommend you to keep on reading, as we'll provide you additional information regarding each of the previously mentioned steps.
Step #1: Power ON Your iPhone 13

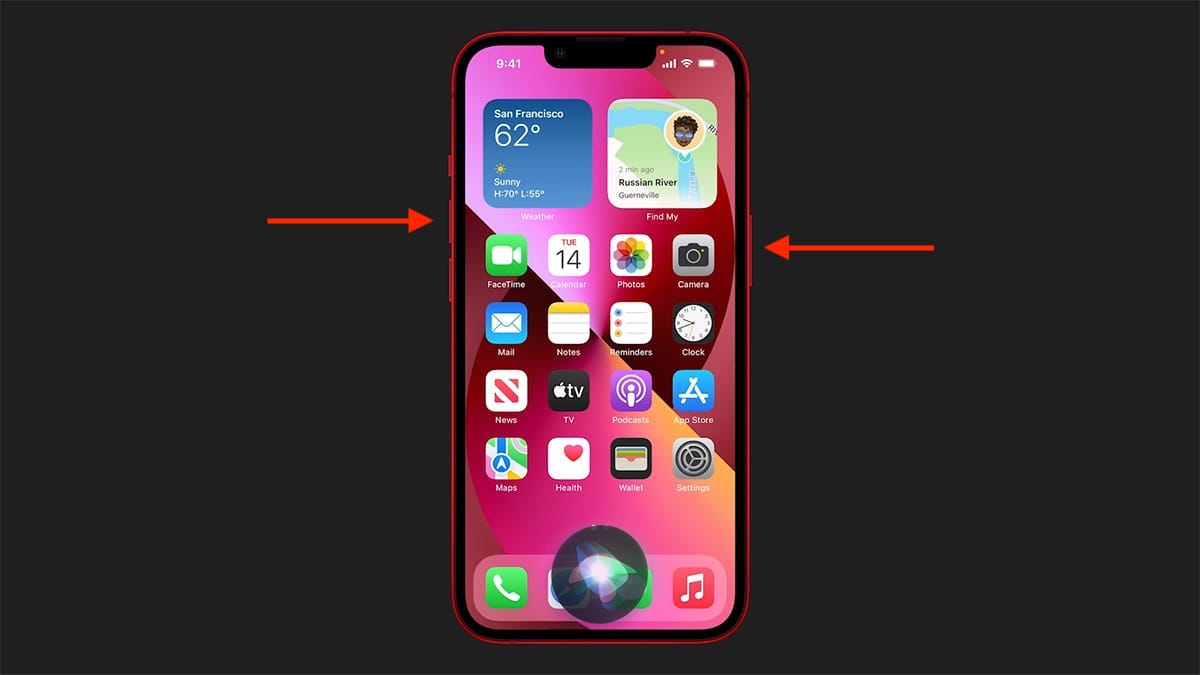
The first step includes powering ON your brand-new device. When it comes to the iPhone 13 lineup, the situation is the same as with previous generations. That means that you’ll need to press the 'Side' button (on the right side) and one of the 'Volume' buttons (on the left side).
Keep those buttons pressed for a few seconds. Then, Apple’s logo should appear on your iPhone’s screen. To learn more about this step, here’s how to turn ON/OFF your iPhone 13.
Step #2: Choose Your Language & Location
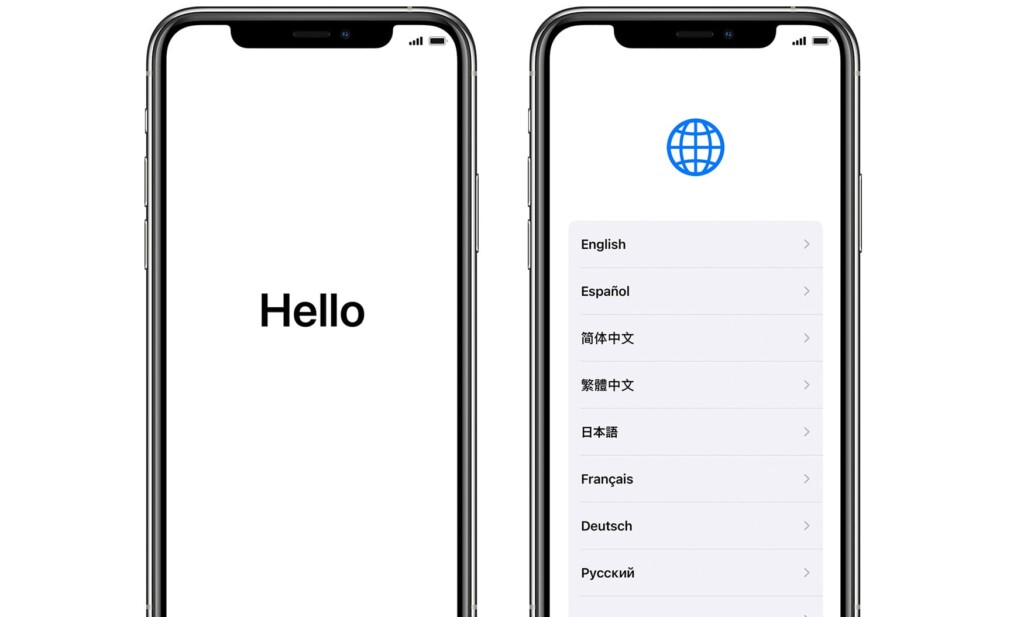

At this moment, you should be looking at the 'Hello' screen, indicating that you can begin setting up your iPhone. However, before you start doing that, your iPhone will offer a range of accessibility features (like 'VoiceOver' and 'Zoom'). Choose whether you’d like to use any of those (at this step or any of the following steps as well).
Then, select your language. After that, tap on your country or region. Keep in mind that your iPhone will automatically apply specific settings on how date, time, and contacts are displayed based on the country you choose. Also, the same will apply to region-based online services, such as the iOS App Store and similar.
Step #3: Use 'Quick Start' (If You Have Your Old iPhone)
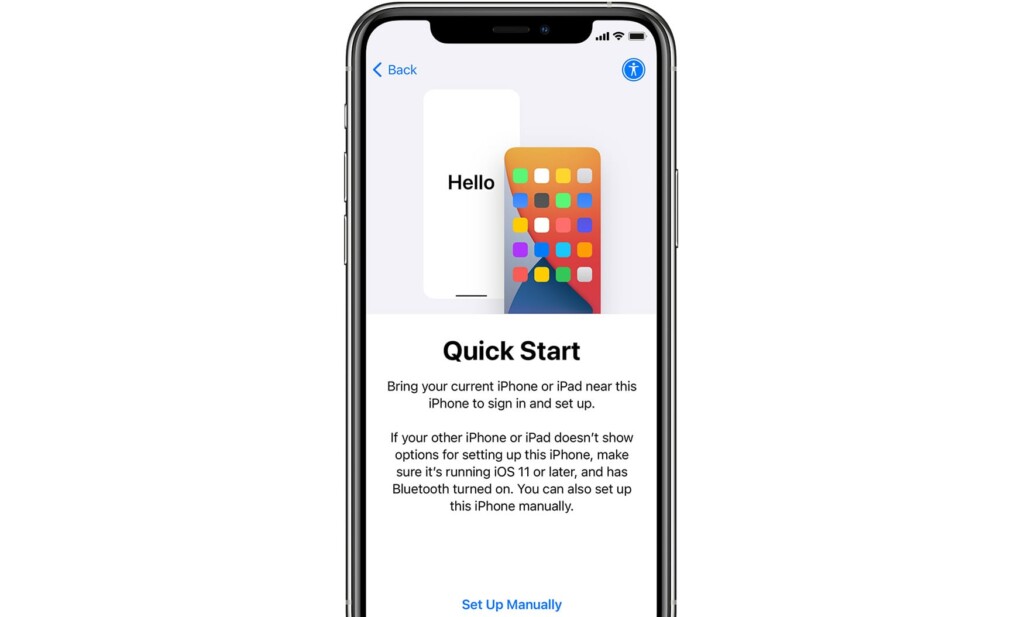
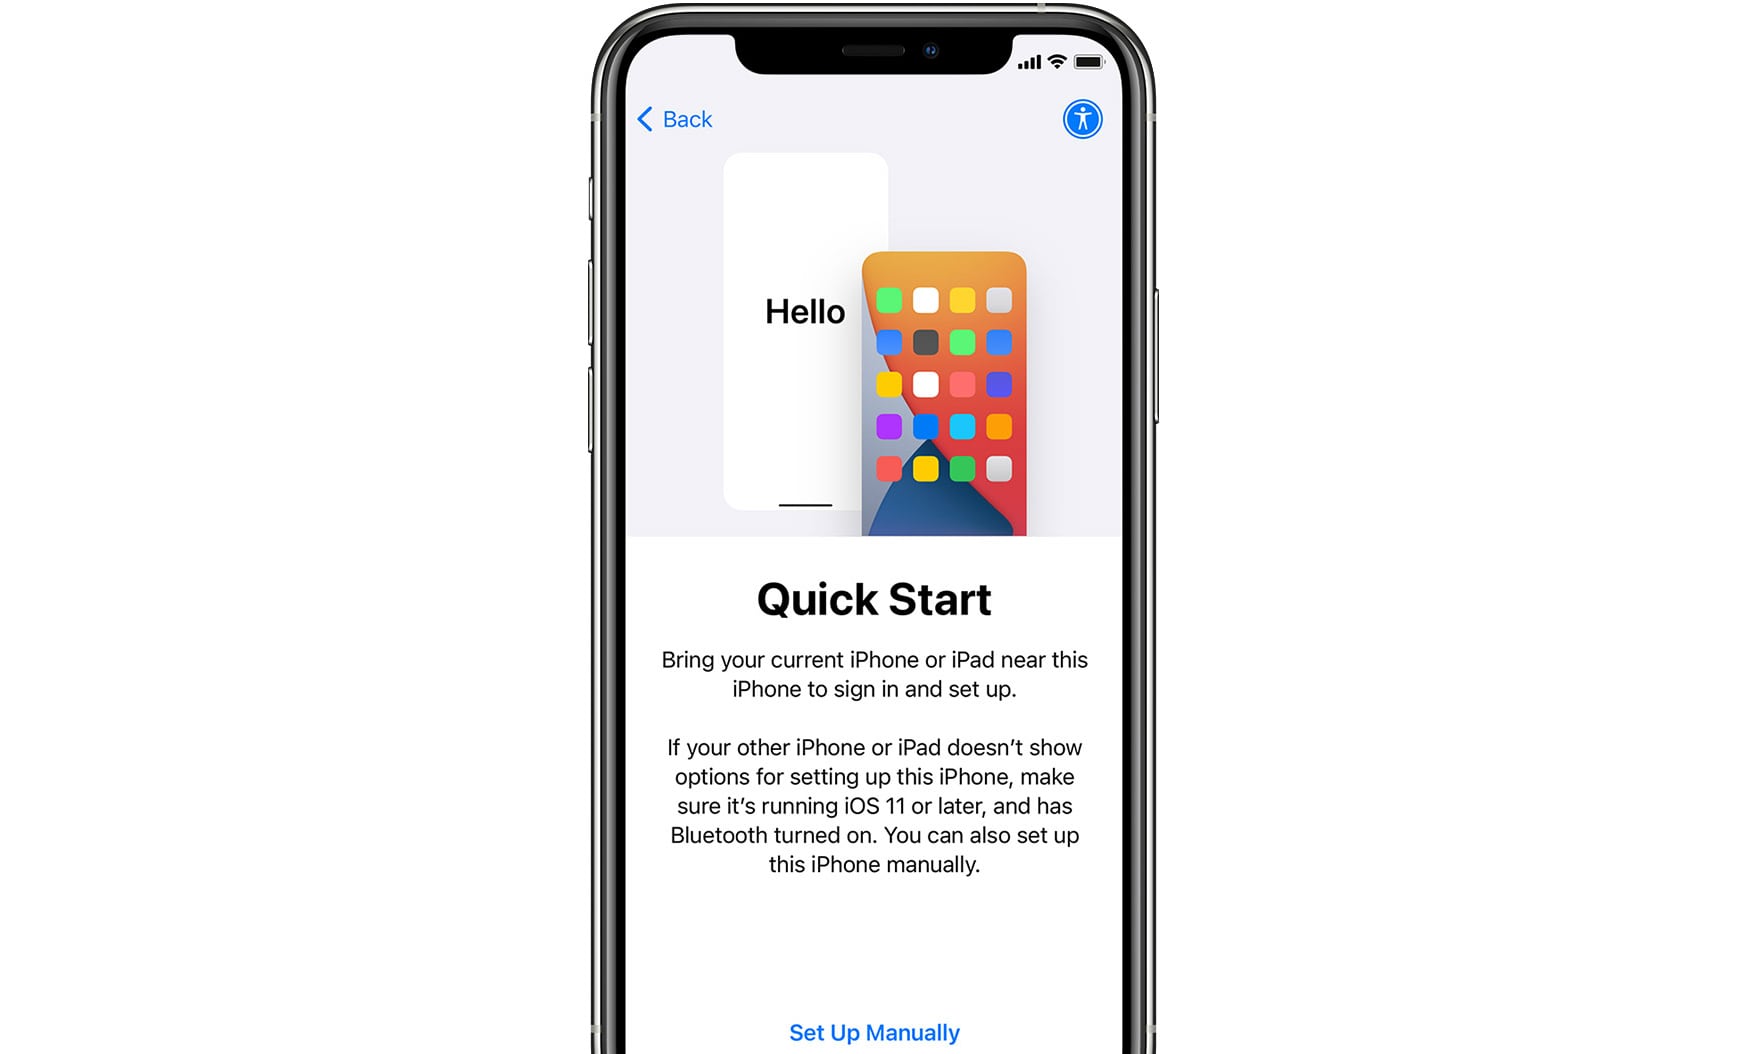
If you have your old iPhone with you, your iPhone 13 will ask if you'd like to use 'Quick Start.' That feature is designed to automatically transfer your old data to your new phone by positioning your phones side-by-side.
Keep in mind that 'Quick Start' works on devices running iOS 11 or newer. However, also keep in mind that your iPhone will give you another way to restore your data from a backup, so you'll have another chance later on (if you have a backup stored on your computer or iCloud).
So, decide whether you’d like to use 'Quick Start.' If you want to skip this feature, feel free to tap on 'Set Up Manually.’'
Step #4: Activate Your Phone
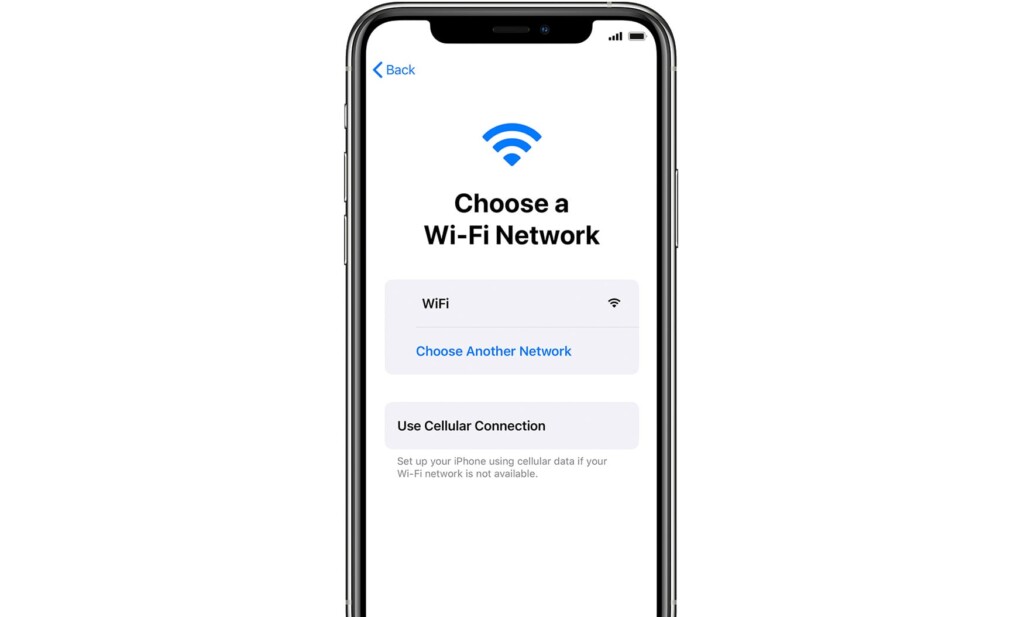

Before you continue any further, you’ll need to activate your iPhone. That is done by connecting to a Wi-Fi network, a cellular network, or iTunes (using a computer that has an active Web connection).
Of course, before you get to activate your iPhone, you'll need to insert your SIM card first. If you forgot to do that, use the SIM card tray you'll find on the right side of your phone. Then, follow the instructions you'll see on your screen. For additional information, check our guide on how to activate your iPhone 13, Mini, Pro, or Pro Max.
Step #5: Set Up Face ID & Create a Passcode

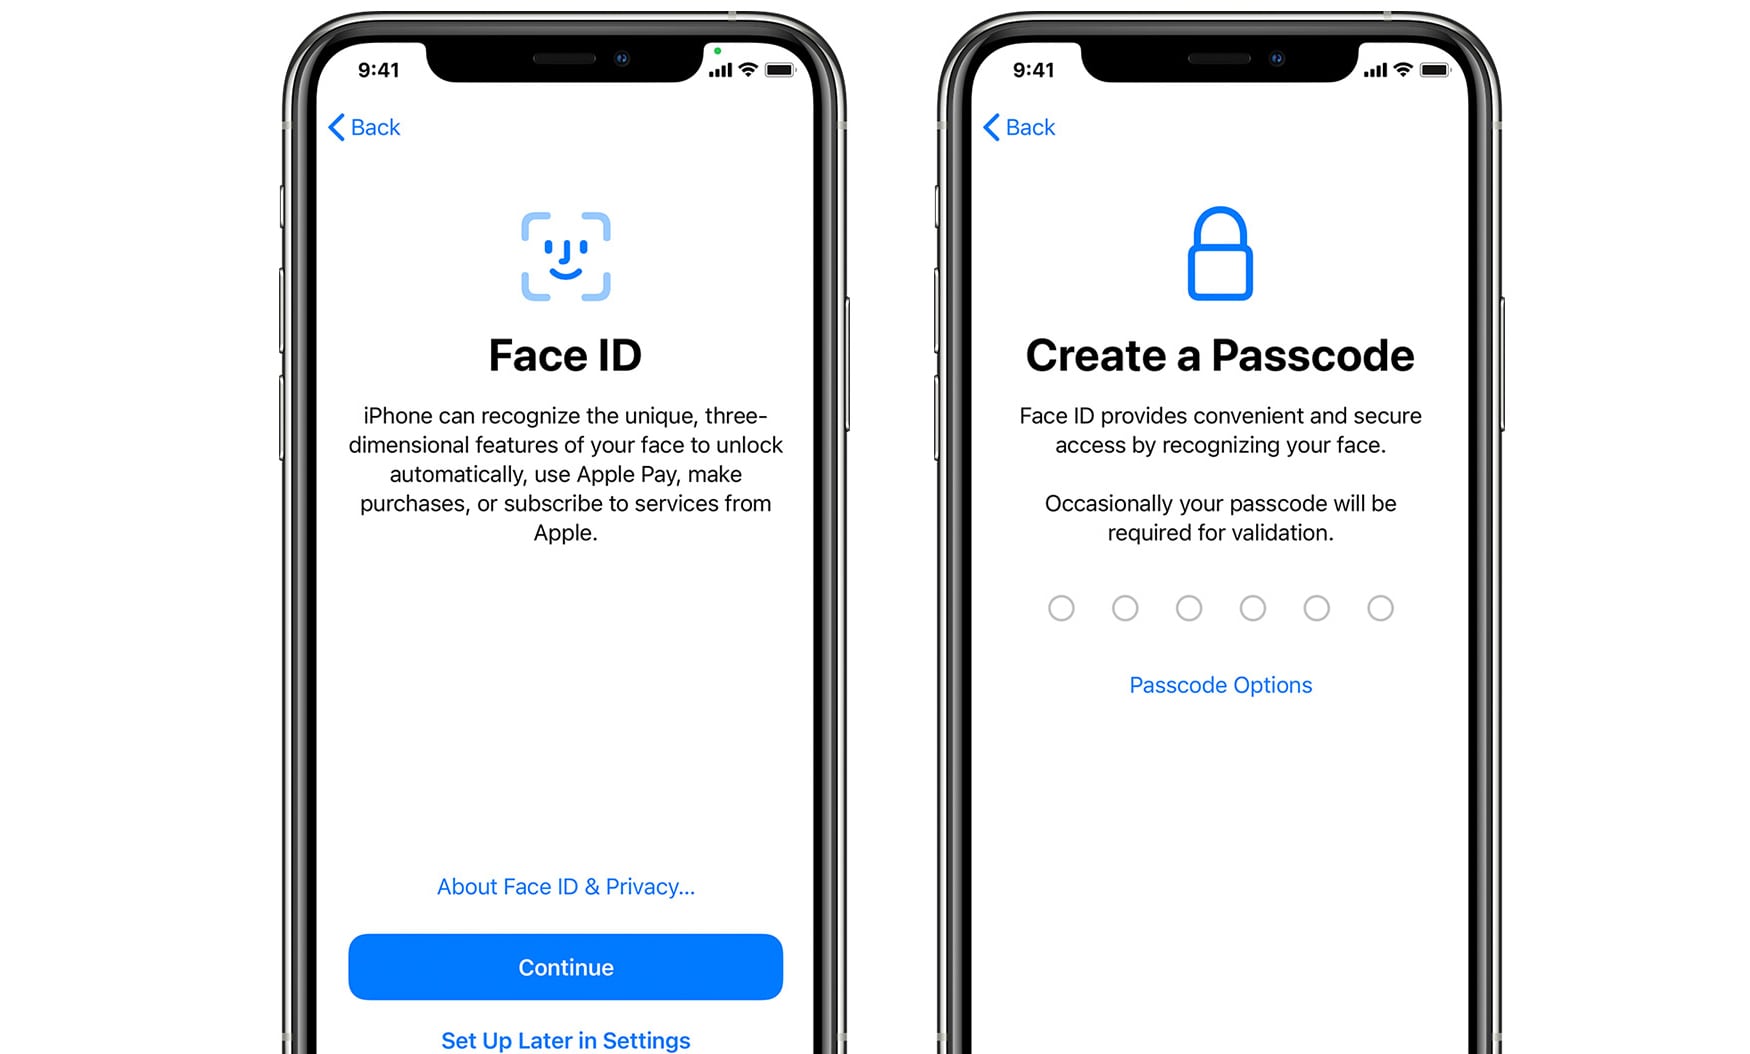
At this moment, your iPhone will ask you set up Face ID. The entire iPhone 13 generation supports this feature, as it presents a great way to secure your phone and your privacy. With that said, we recommend you use it.
Also, if you decide to set up Face ID, know that you’ll need to create a passcode as well. That’s because if something happens to your Face ID information, you can always fall back to your passcode as a backup option.
And lastly, know that using Face ID and having a passcode is a requirement before using features like Apple Pay. So, if you plan on using Apple Pay, it would be best to set up your authentication straight away.
Step #6: Restore or Transfer Your Data
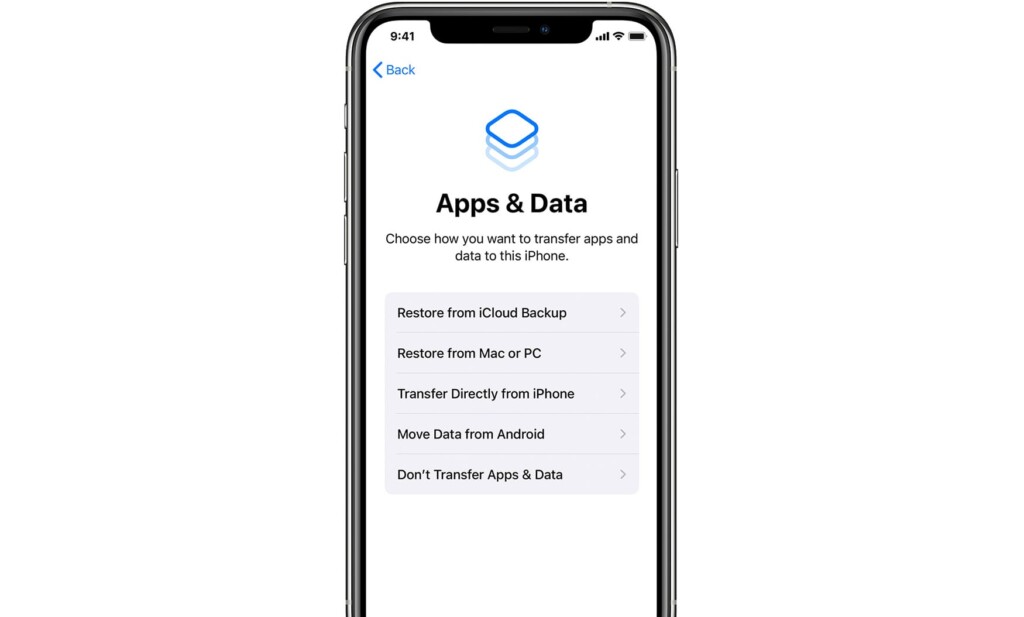
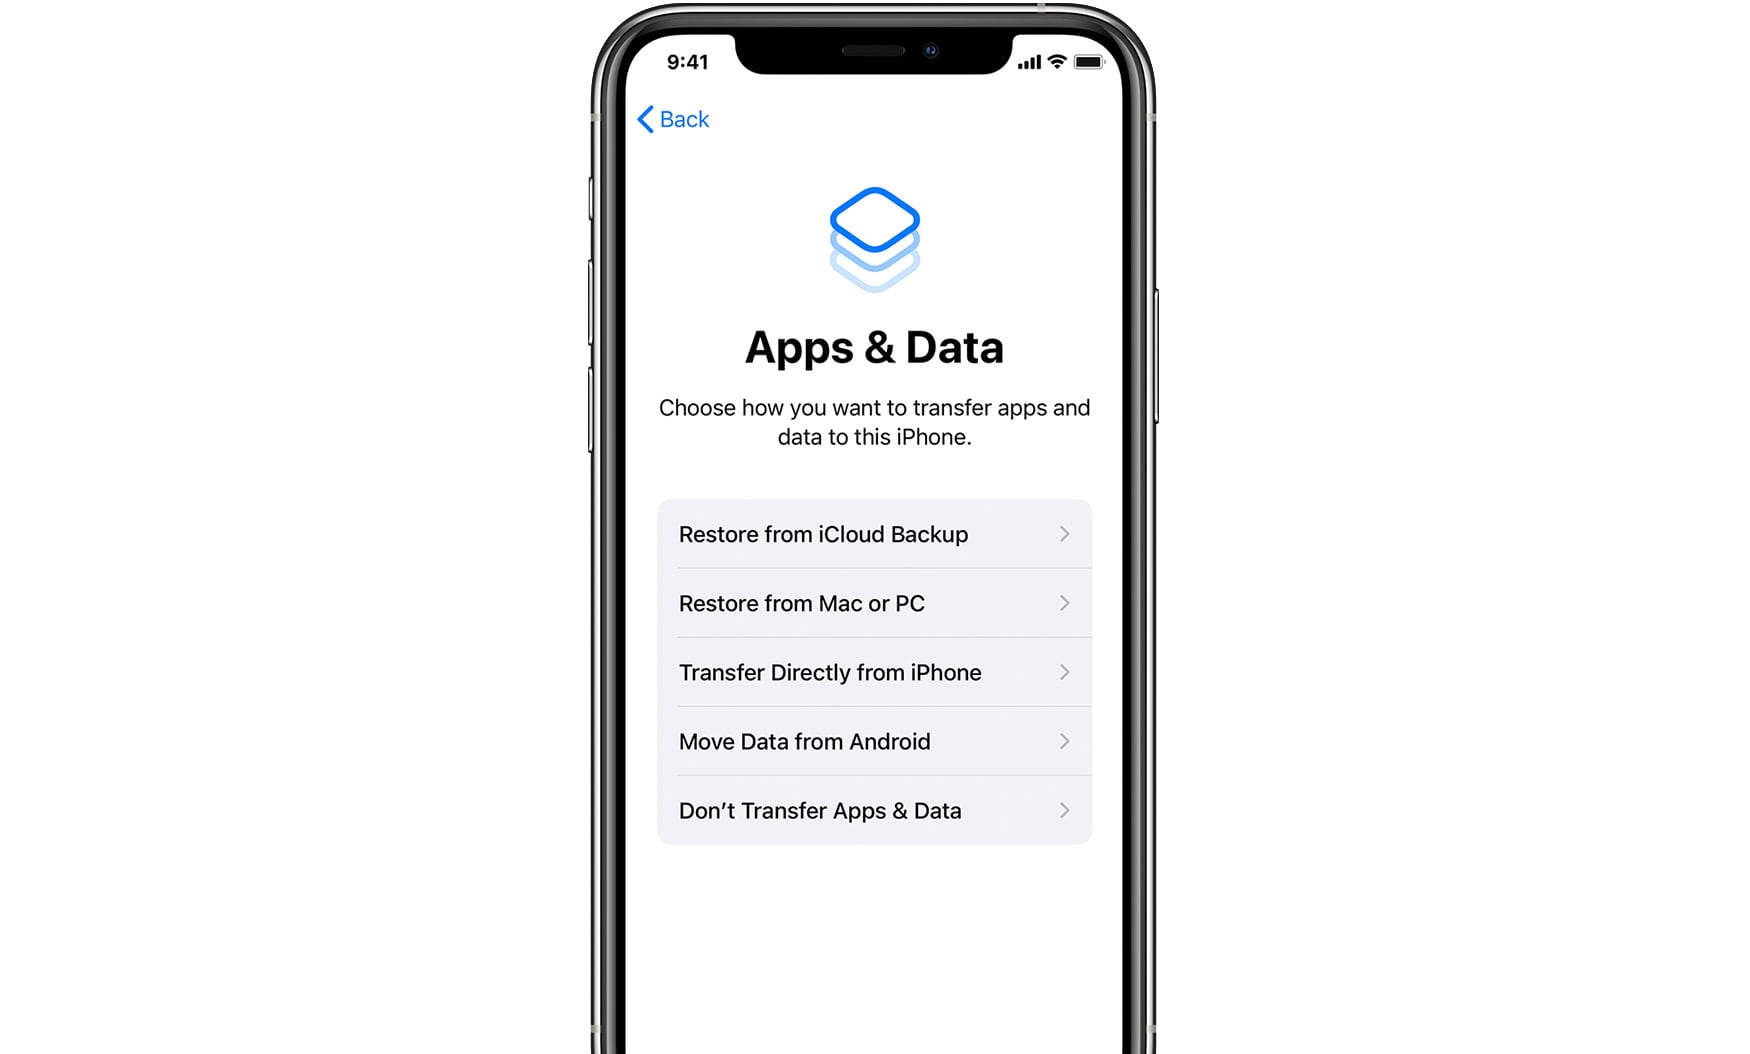
As mentioned earlier, your iPhone will ask if you have a backup. So, in this step, you’ll have many options related to precisely that. Among those, the easiest option would be to pick 'Restore from iCloud Backup,' which applies to those who rely on iCloud.
When it comes to other options, you can restore from your Mac or PC (via iTunes), transfer your data from your old iPhone (if you have it nearby), or move data from Android (for which you’ll need to use the Move to iOS app).
Of course, if you don’t want to use a backup (if you’d like to start from scratch with your data), you can also go with 'Don’t Transfer Apps & Data.'
Step #7: Access Your Apple ID
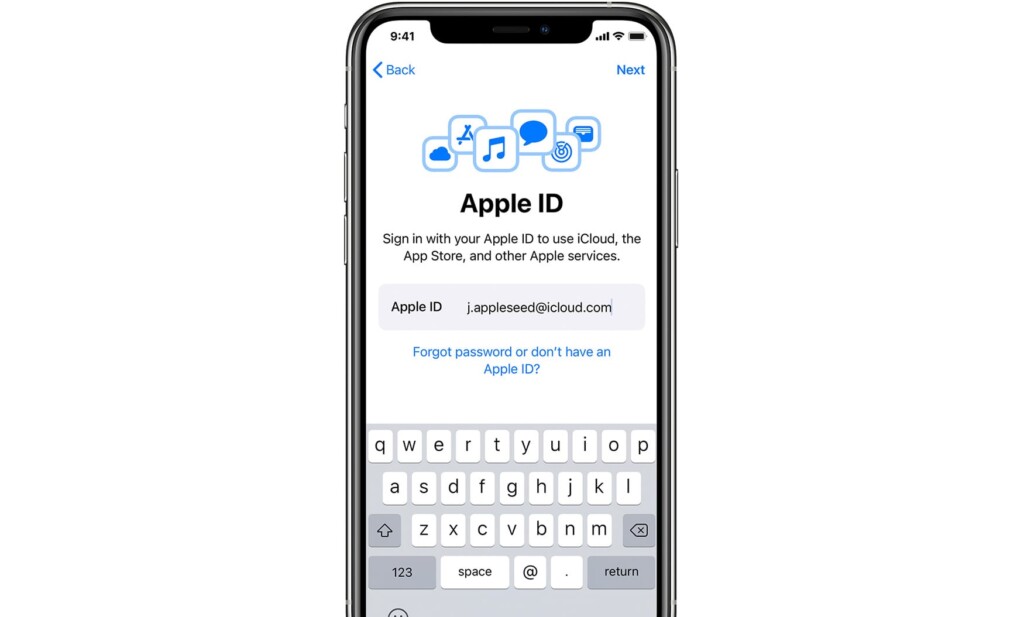
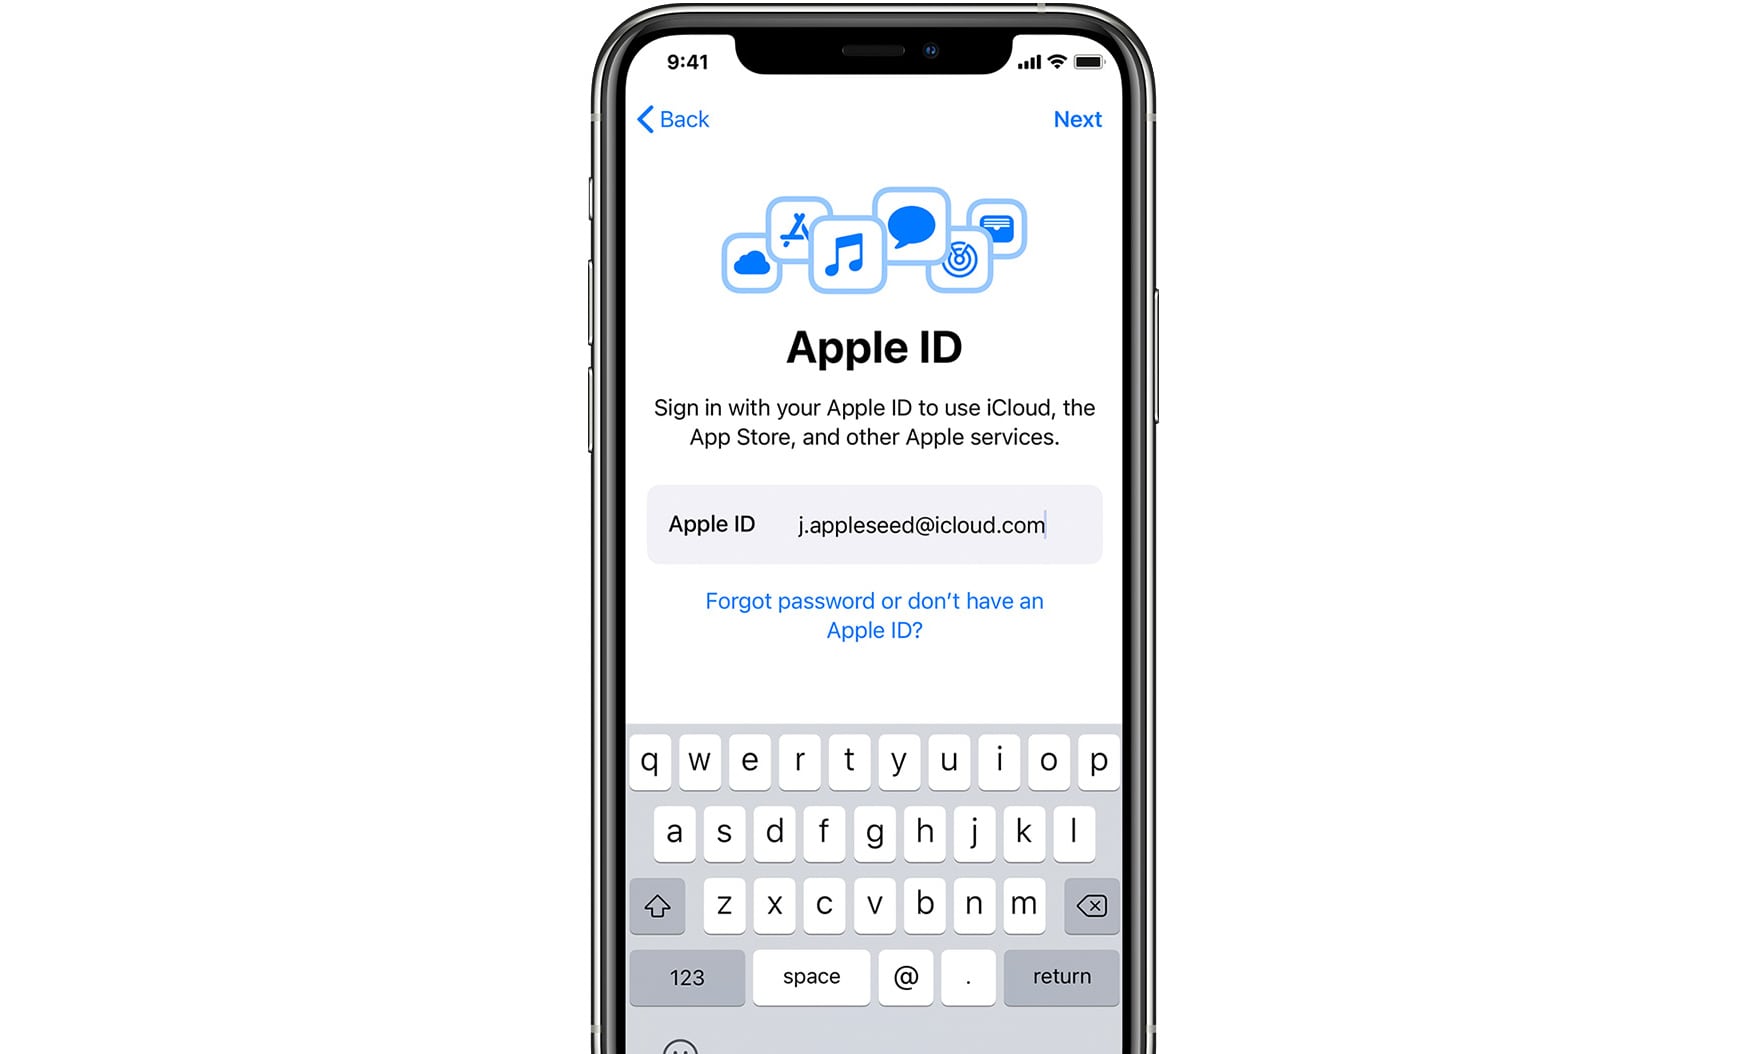
To gain access to Apple’s huge range of digital services, you’ll need to access your Apple ID. That means that you need to know your Apple ID email and password. In case you can’t remember your login information, you’ll see options to recover your Apple ID or password.
If you have more than a single active Apple-made device, your iPhone might ask you for a verification code. Of course, if you don’t have that option, you’ll get to use other ways to verify your identity.
Step #8: Update iOS
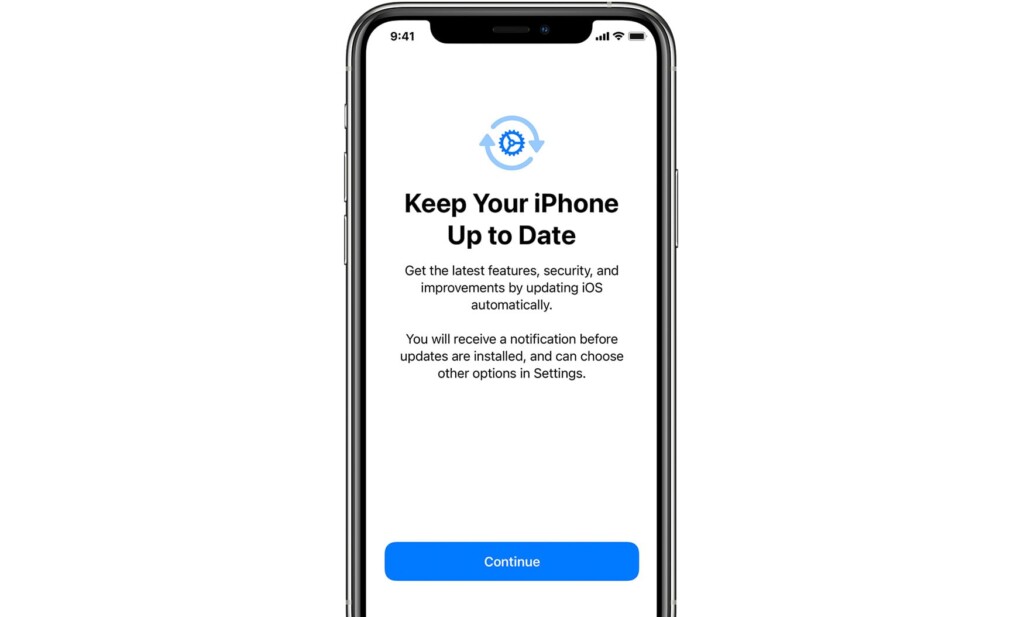
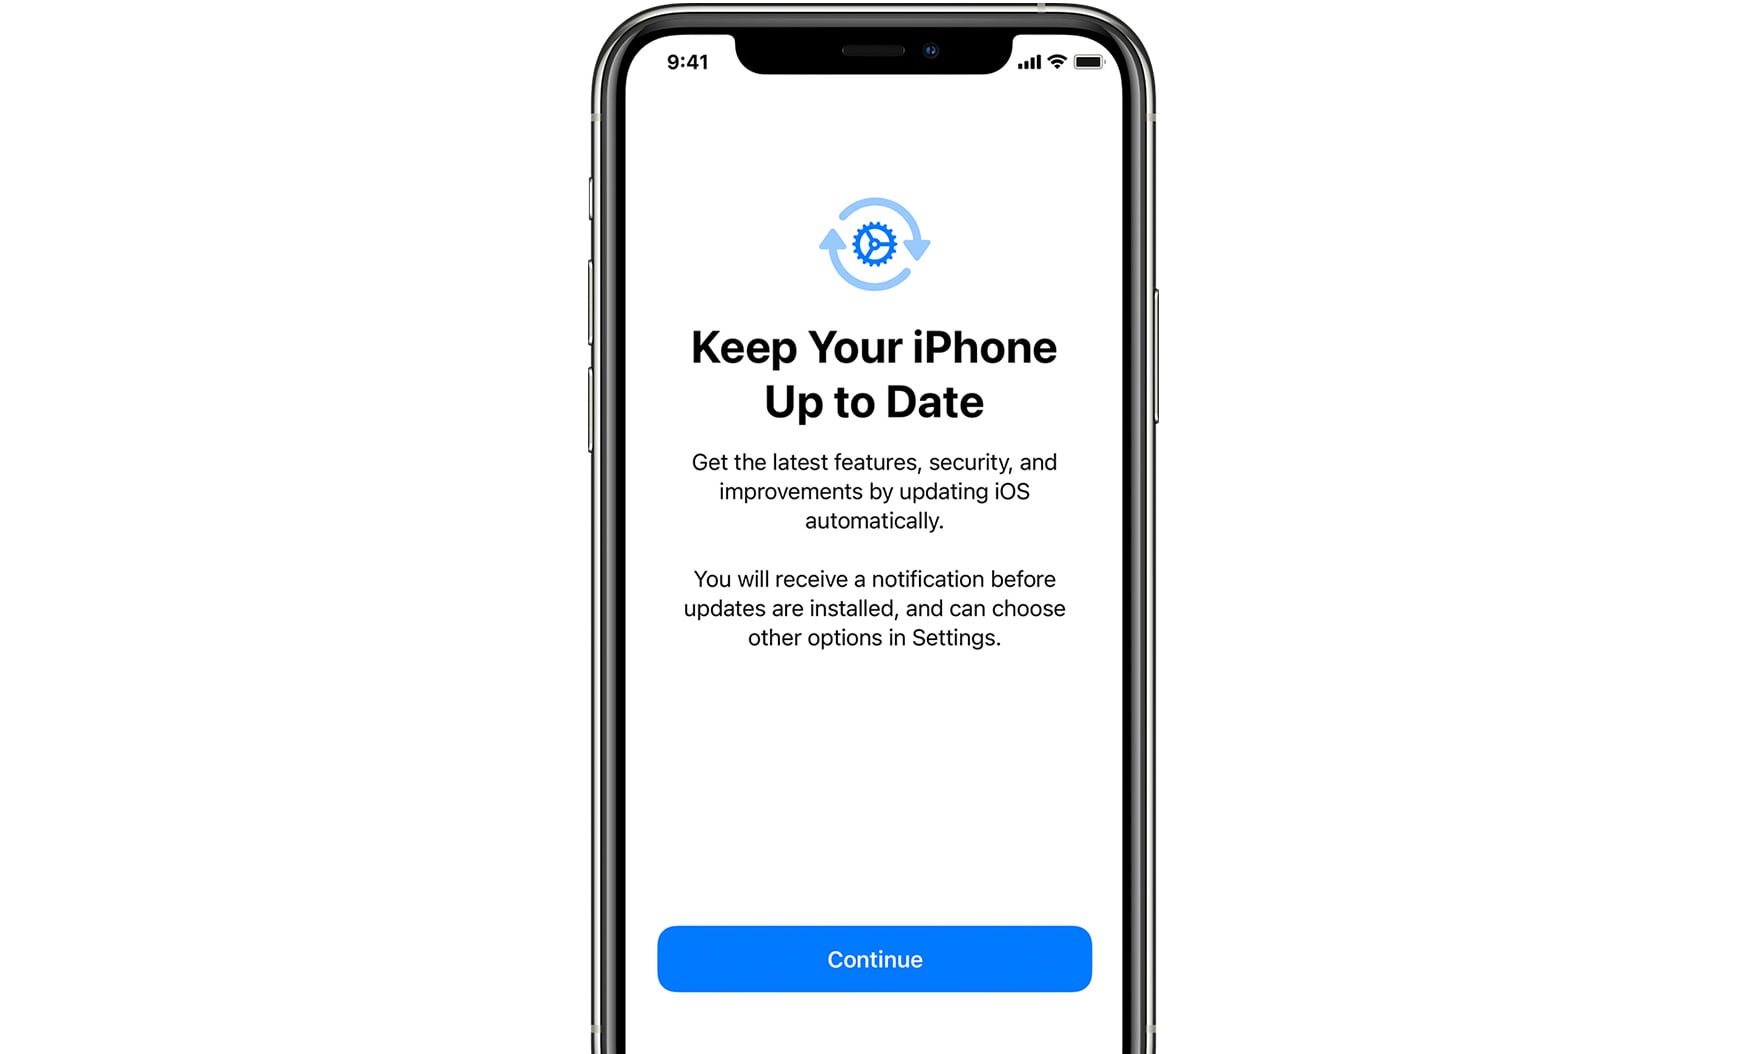
During this step, you'll need to go through several screens asking about software updates. First, you'll need to choose if you'd like to update your phone automatically. And then, you can decide whether to share anonymous data with Apple and developers.
To stay on top of that latest features, we recommend enabling automatic updates. When it comes to sharing your data with Apple and third parties, keep in that we’re talking about analytics, diagnostics, and usage information.
Step #9: Set Up Siri & Other Services
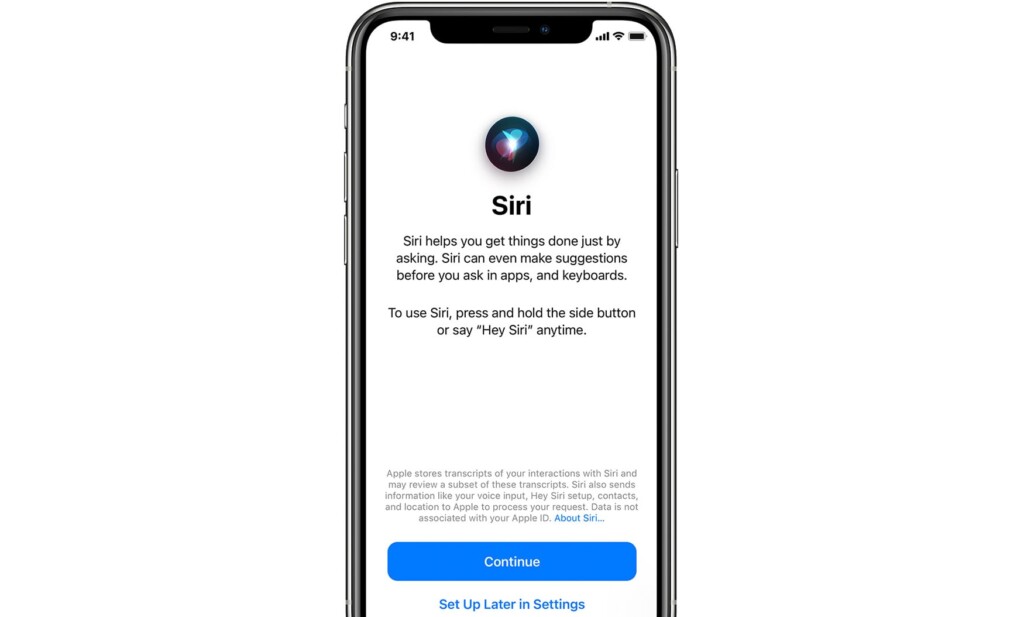

When it comes to the latest iPhone lineup, you can use Siri with or without voice commands. However, when it comes to this step of setting up your iPhone 13, you'll get to enable Siri and its 'Hey Siri' trigger command. To learn more, we highly recommend checking our guide on how to use Siri on iPhone 13.
Aside from Siri, your iPhone will ask whether you want to use additional services, such as Apple Pay and iCloud Keychain. You can enable them one by one – but know that you can also enable them via the Settings app at a later time.
Step #10: Set Up 'Screen Time' & Display Options
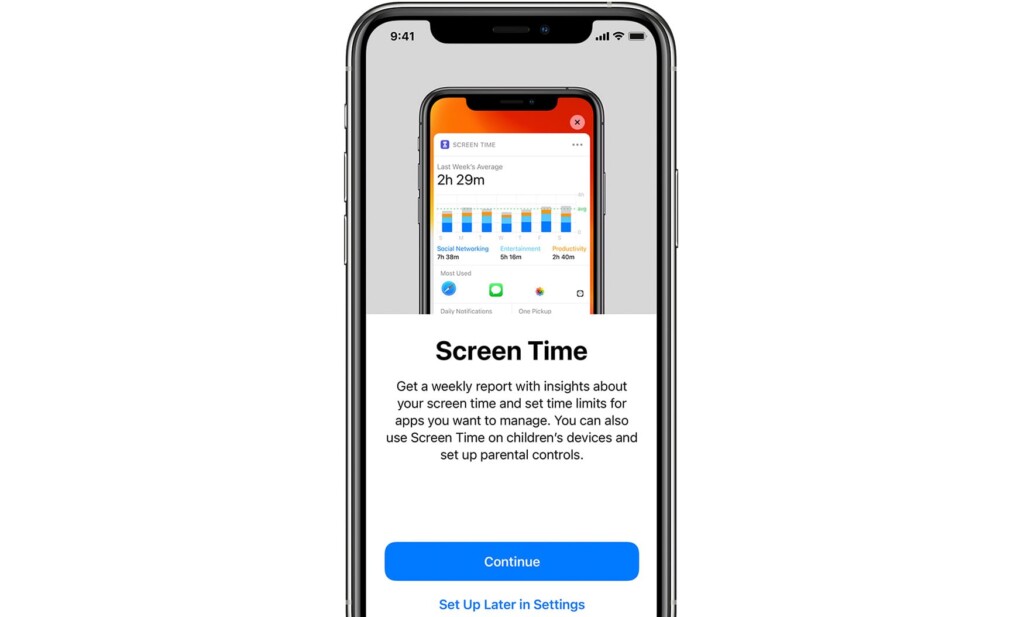

And finally, you’ll go through a couple of steps asking you to set up 'Screen Time.' That feature gives you insight into how much time your spend using your iPhone. It’s useful especially if you have children, as you can control their interaction with iOS.
Once you set up 'Screen Time,' the final round of optional features will present. That includes setting up 'True Tone,' which optimizes the colors and brightness of your screen, as well as 'Display Zoom,' which adjusts the size of icons and text.
That would be all on how to set up your iPhone 13. If you have any doubts or questions, share them via the comments section below. And finally, thanks for reading!
Related


Get expert insights on threats, breaches, scams, and security trends — delivered every Monday.
Most Popular

Get expert insights on threats, breaches, scams, and security trends — delivered every Monday.
Most Popular