
When you purchase through links on our site, we may earn an affiliate commission. Here’s how it works.
Video Devil Kodi Addon: How to Install It on Kodi
Last updated February 5, 2025

We don’t have too many Kodi adult addons at our disposal, but the selection we have caters to a wide range of users. Among those is the Video Devil addon for Kodi, perhaps one of the oldest porn addons, which has recently transitioned to a new repository.
Video Devil is an unofficial Kodi addon, but it's legal and safe to use. It scrapes its content from 50+ sites serving content for mature audiences. That said, you'll find thousands of video clips here, with new arrivals reaching the addon daily.
And if you’re wondering about its video quality, know that Video Devil doesn’t host any of its content. It scrapes it from external sources, so you’ll be limited to 720p in most cases.
In this guide, we'll show you the quickest way to install the Video Devil Kodi addon, reveal the latest URL of its repository, and provide screenshots along the way.
How To Install Video Devil Addon on Kodi
Ready to jump in? Here are the steps to take to install the Video Devil Kodi addon:
1. Once you launch Kodi, click on the cogwheel icon in the top-left corner.

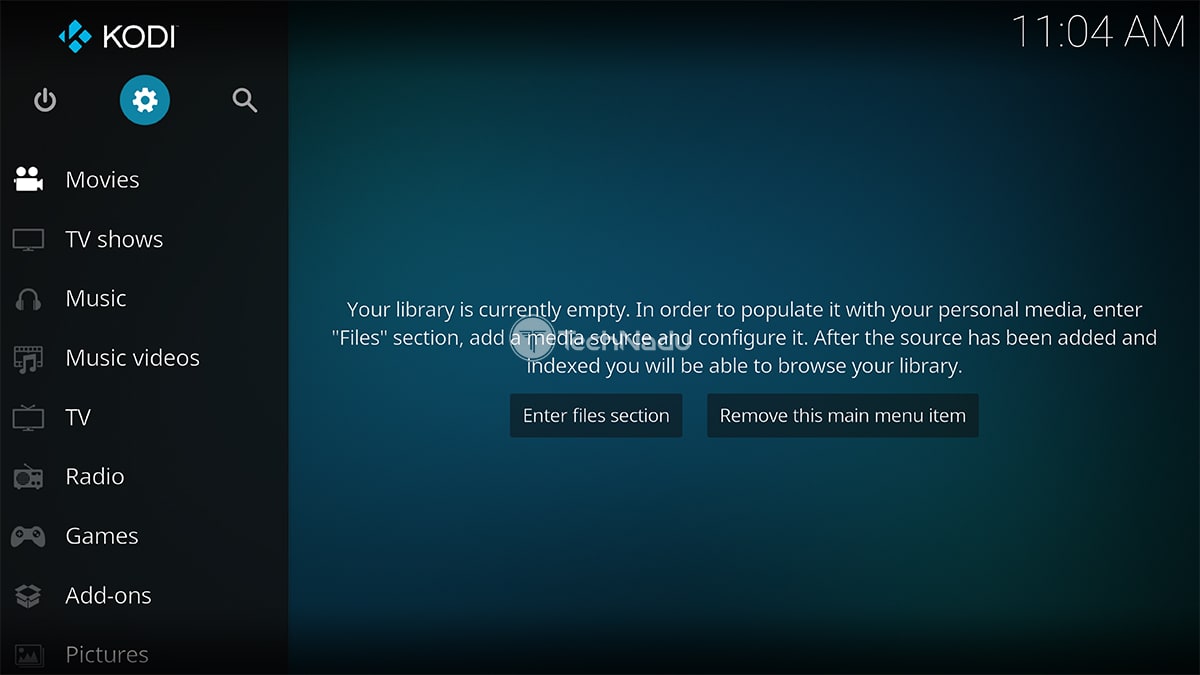
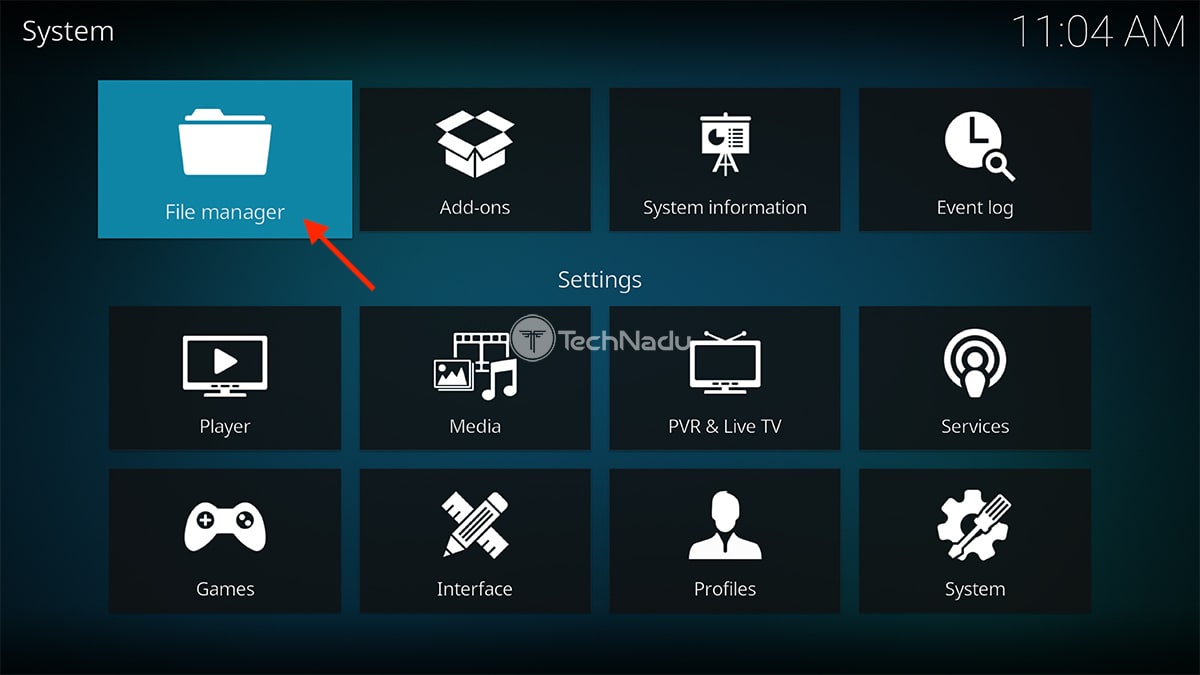
2. Once you reach Kodi’s settings, pick 'File Manager' (on the left).

3. Double-click on 'Add Source,' and a pop-up window should appear.
4. Select '<None>,' and input this URL: https://mrgsi.github.io/dirtyg/.


5. Don’t forget to name your new source ('dirtyg'), and then select 'OK.'
6. Return to Kodi’s home screen and pick 'Add-ons' using the main menu.
7. Now, click on the open box icon, which you’ll find in the top-left corner.
8. Pick 'Install from ZIP File,' and then make sure to read the following tip.
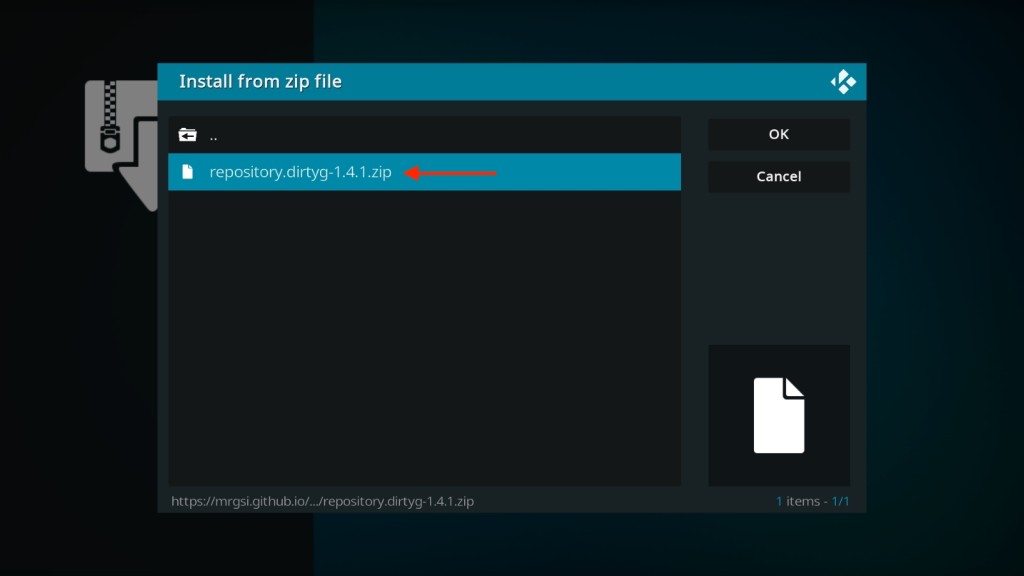
9. Once you select 'Install from ZIP File,' a pop-up will appear. Select 'dirtyg.'
10. You should now see a single ZIP file (repository.dirtyg-X.X.X.zip), so click on it.

11. Once you install the 'DirtyG' repository, select 'Install from Repository.'
12. Now, go to Dirty-G Repository > Video Add-ons > Video Devil.

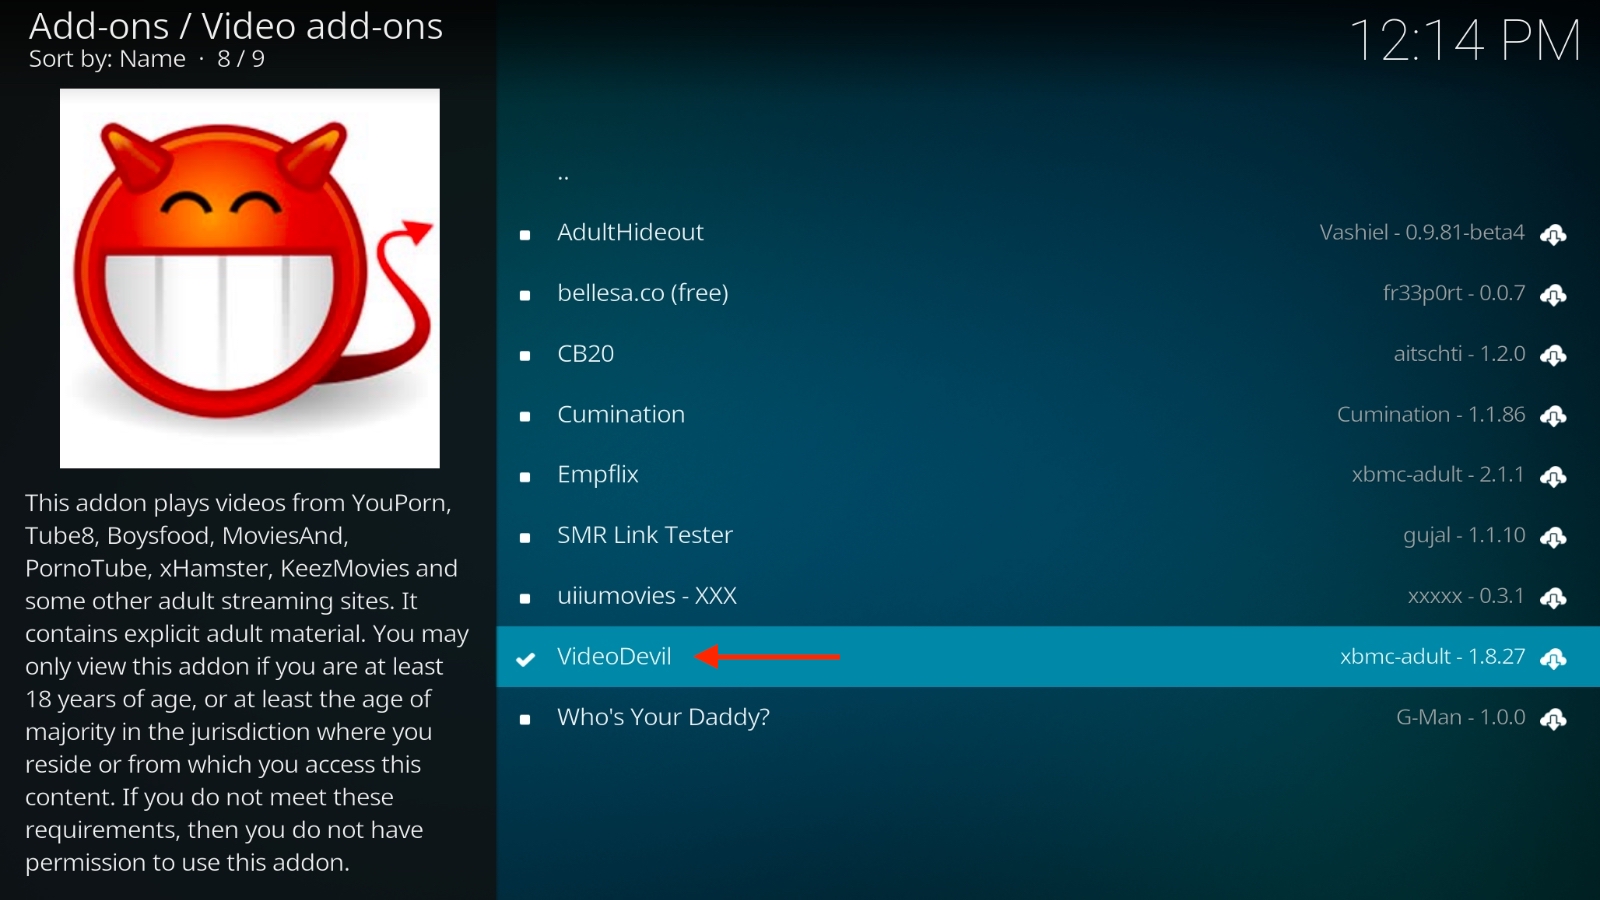
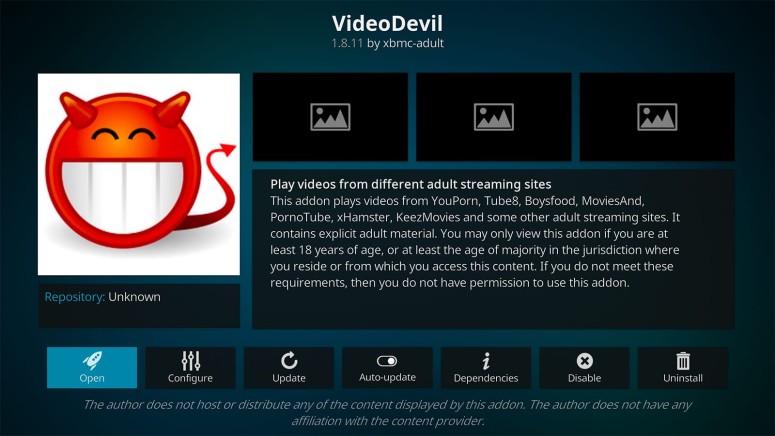
13. You should now see the addon’s overview. Click on the button that says 'Install.'
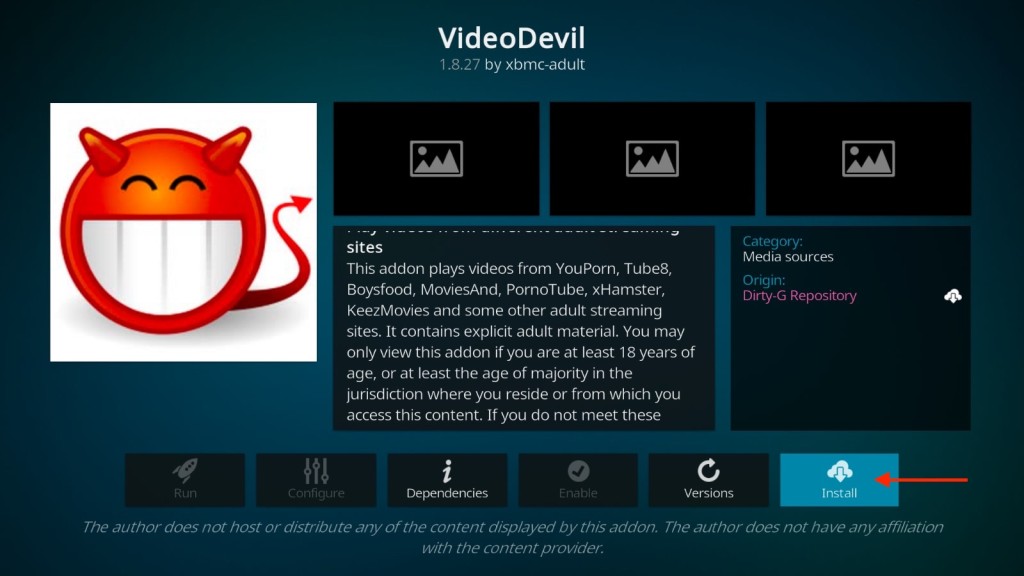

14. A list of dependencies will now appear. Feel free to click on 'OK.'
15. Wait for a notification on the right, saying that you’ve installed Video Devil.

16. Return to Kodi’s start screen and pick 'Add-ons' once again.
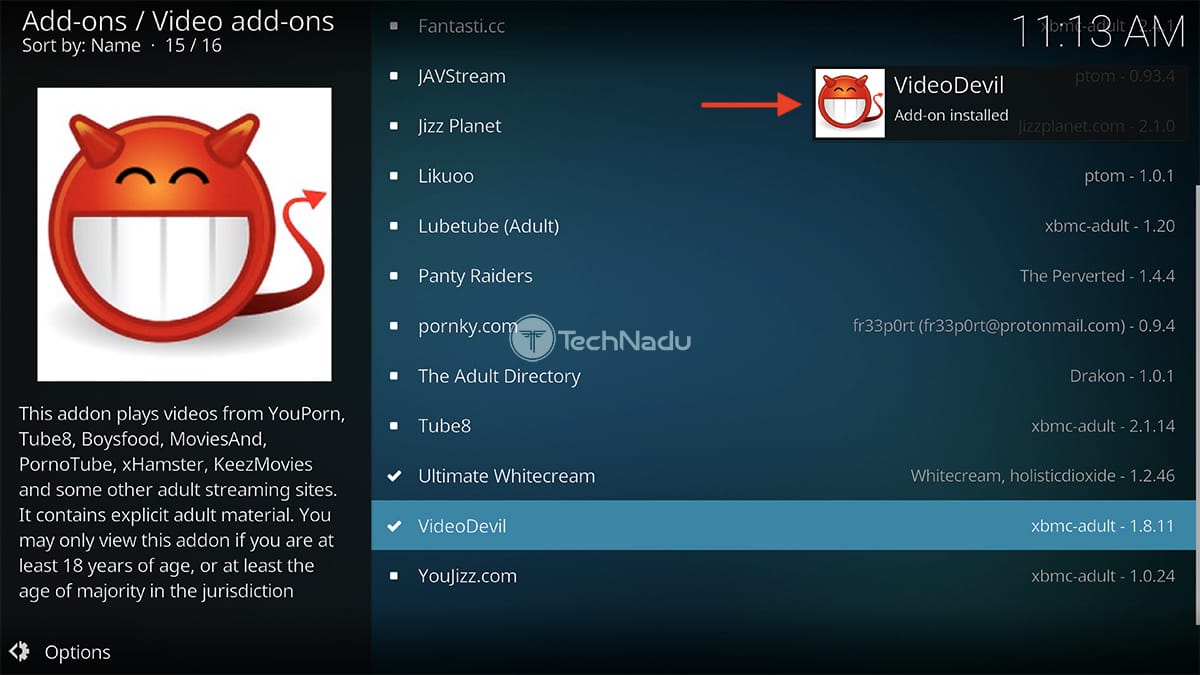
17. Navigate to 'Video Add-ons,' and you should see Video Devil there.
18. Select 'Video Devil,' and the addon will launch. That’s it!
That would be all on how to install the Video Devil Kodi addon. In case you have any questions or doubts, share them with us via the comments below. And finally, thanks for reading!
Related


Get expert insights on threats, breaches, scams, and security trends — delivered every Monday.
Most Popular
Get expert insights on threats, breaches, scams, and security trends — delivered every Monday.
Most Popular