
When you purchase through links on our site, we may earn an affiliate commission. Here’s how it works.
Crackle Kodi Addon: How To Install It on Kodi
Last updated January 17, 2022

The Crackle Kodi addon comes free of charge, has a library of interesting movies and TV shows, and even offers some interesting originals. With that said, we're sure you'll want to try it out. So, let's show you how to install Crackle, as well as what to expect out of this addon.
First, let's go over some basic requirements. You need to know that Crackle isn't available in the entire world. More precisely, its library of movies and TV shows is available only in the United States. However, this doesn't exactly mean that the Crackle Kodi addon is out of your reach, and here's why.
All you need to access Crackle (for free) is a reliable VPN service. With this said, here's how to watch American Crackle outside of the USA. Click on the provided link to learn about the best VPN services for this specific task. And then, keep on reading to learn how to get Crackle on your Kodi.
How to Install Crackle Addon on Kodi
So, let's talk about how to expand your Kodi library with a sizeable list of TV shows and movies. Here's how to get Crackle on your Kodi:
- Open Kodi and wait for a few seconds until it loads fully.
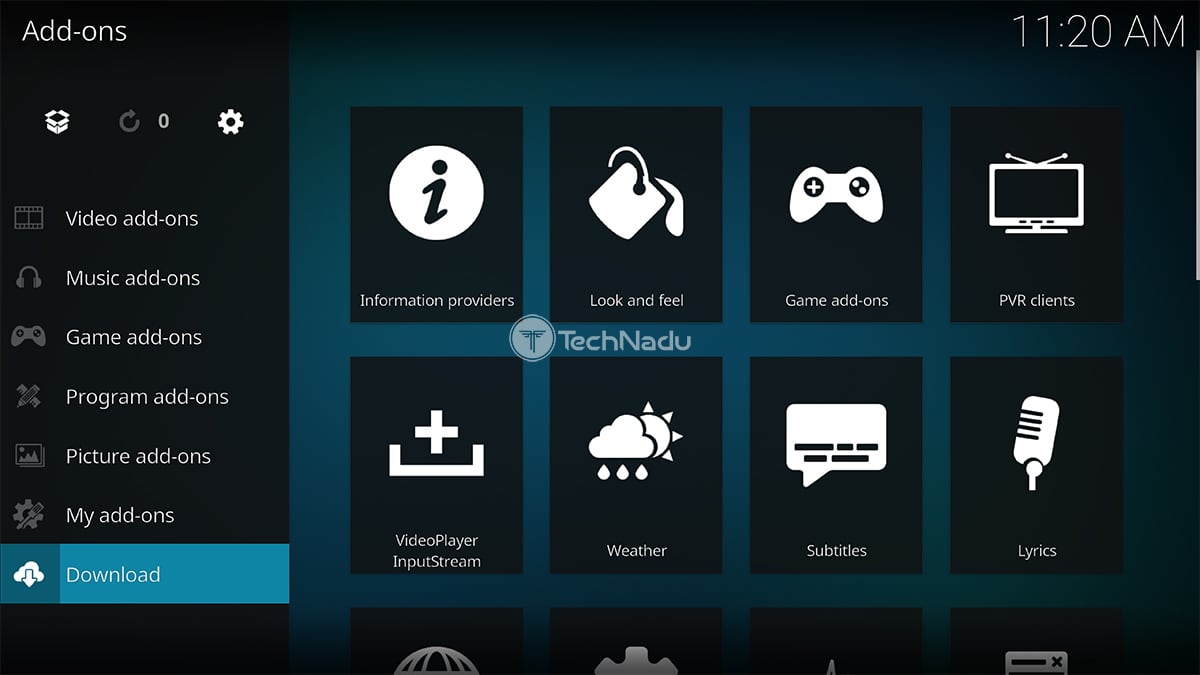
- Then, click on 'Add-ons' found on the left-placed main menu.
- After that, select 'Download'.
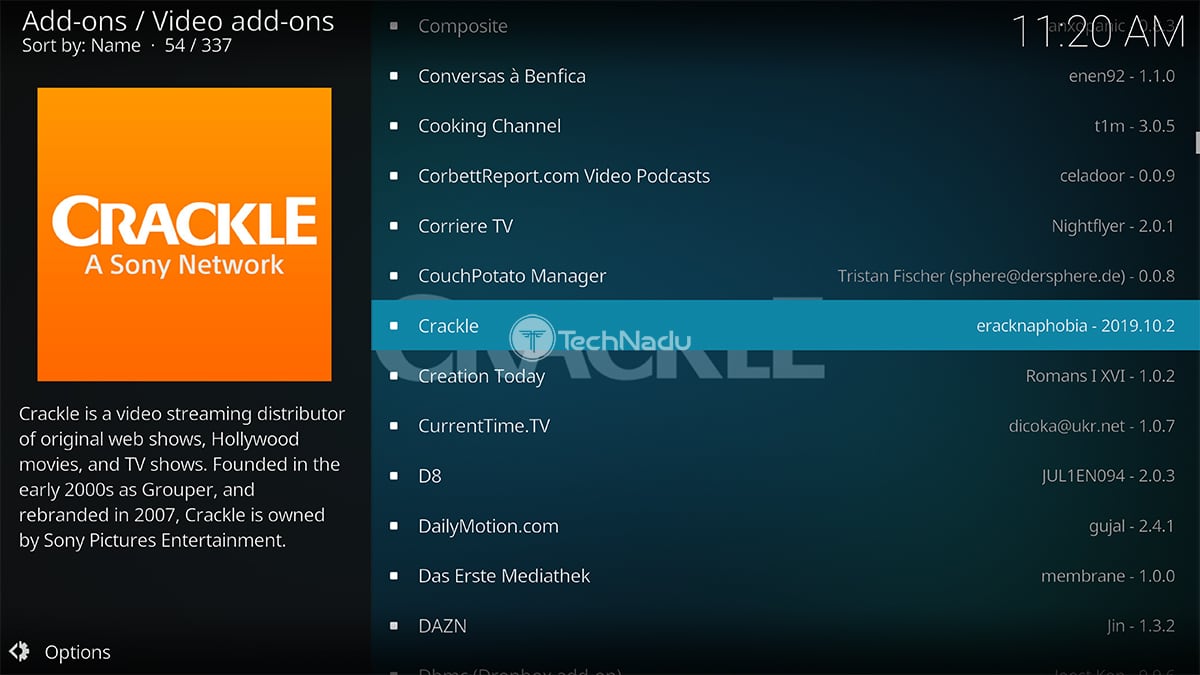
- On the left, pick 'Video Add-ons.'
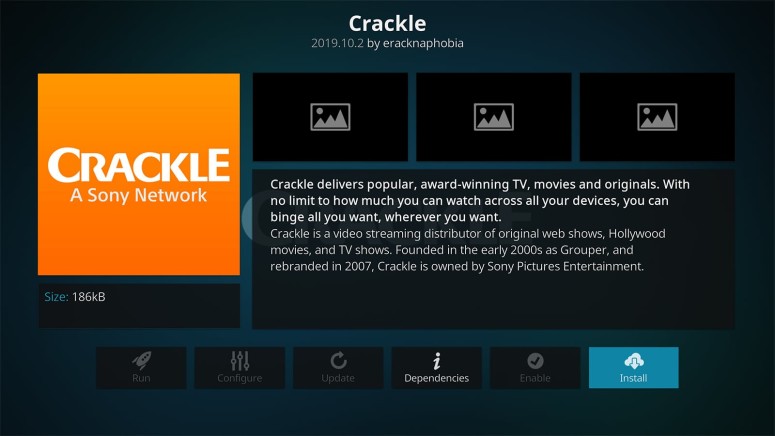
- You'll now see a list of addons. Navigate to 'Crackle' and select the addon's name.
- To finalize this process, click on the 'Install' button (found on the right side of the screen).
- You will be asked to install dependencies as well, so just click on 'OK'.
- Finally, return to Kodi's home screen and click on 'Add-ons' once again.
- At this moment, you should see Crackle on your screen. That's it!
Before we let you go, we'd like to offer another piece of advice. In case you have third-party repositories, it can be hard to navigate to Crackle - as Kodi can list thousands of addons. So, here's an even quicker way to install/update the Crackle Kodi addon.
- Open Kodi and click on the search icon (in the top-left corner).
- Select 'Search Add-ons' and then type in 'Crackle'.
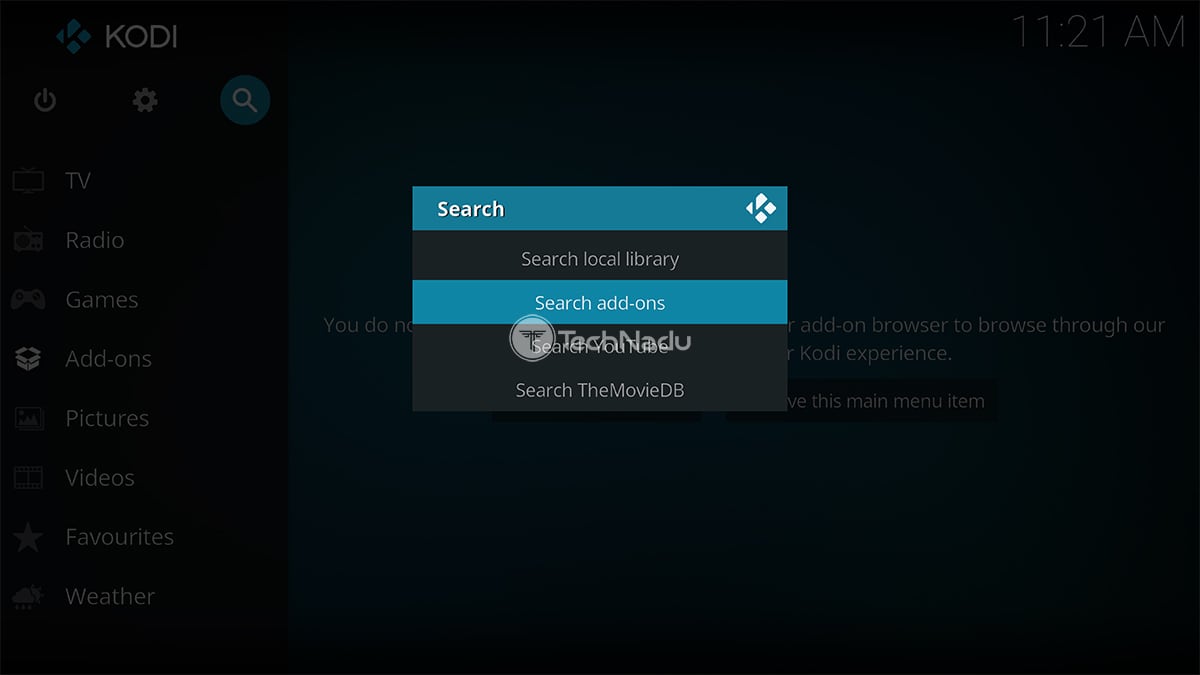
- At this moment, a list of results should appear on the screen.
- Go ahead and click on the addon's name to open its overview.
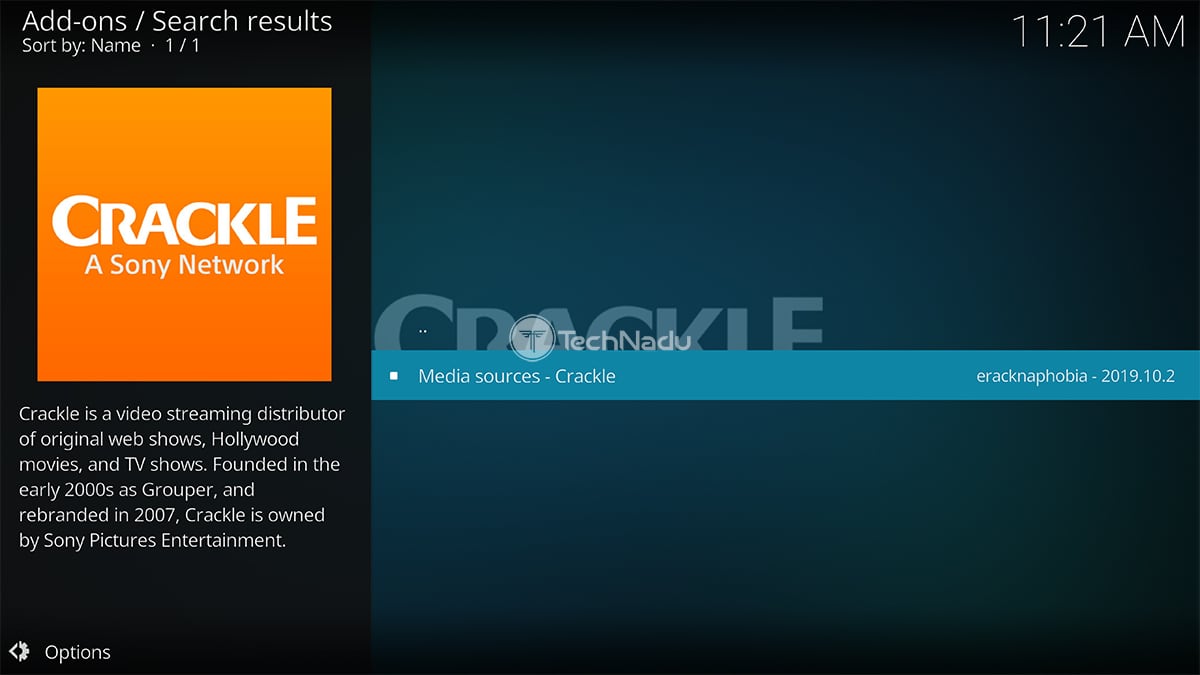
- This is where you can install or update your new addon. That's it!
We hope that you've managed to install this interesting addon. However, in case you've encountered any issues, make sure to let us know via the comments section below. Lastly, enjoy using the Crackle Kodi addon!
Read Next: 60+ Best Kodi Addons You Should Try Right Now
Related


Get expert insights on threats, breaches, scams, and security trends — delivered every Monday.
Most Popular

Get expert insights on threats, breaches, scams, and security trends — delivered every Monday.
Most Popular