How to Cancel Auto-Renewal of Mullvad VPN
Aside from bringing in one-time payments, Mullvad VPN lets you pay every month using a recurring subscription. However, you’re reading this article because you want to cancel your subscription's auto-renewal of Mullvad VPN, right? Doing so will prevent the VPN from charging you in the future - without restricting your access to the VPN for a little while.
Before we jump in, a slight detour - remember that, unlike any other VPN, Mullvad VPN offers monthly subscriptions only, so you’ll continue to use Mullvad for the rest of your billing period if you turn off the VPN's auto-renewal. With that said, here are the steps you need to take.
Step #1: Access Your Online Dashboard (via Mullvad’s Website)
The first step requires you to access your online account dashboard, using which you can make payment-related changes to your subscription. So, do the following:
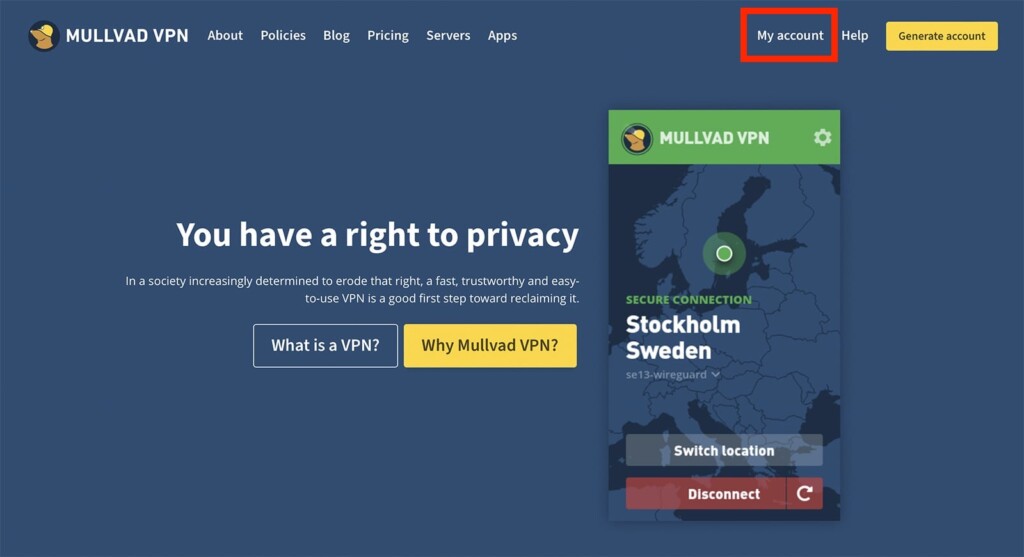
1. Using any Web browser (on any device), visit Mullvad’s website.
2. Check the top-right corner and select 'My Account.'
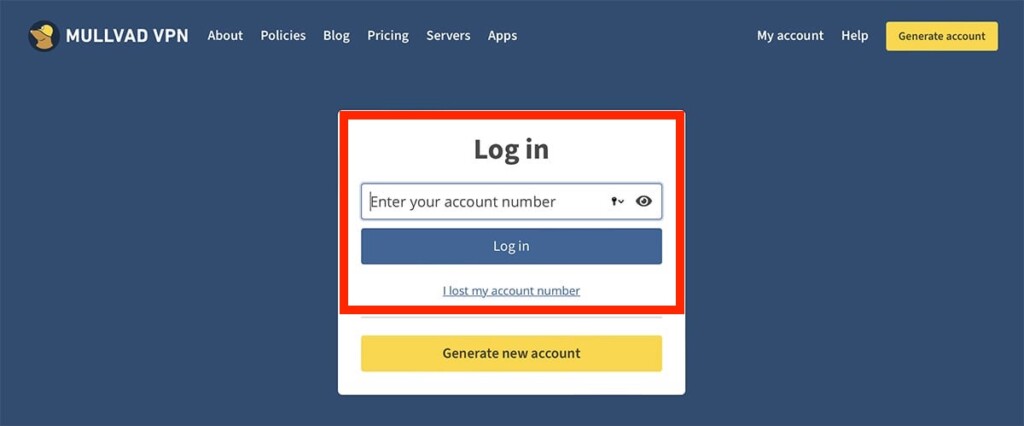
3. At this moment, the website will ask for your account number. So, type it in (or paste it).
4. If you can’t remember your account number, select 'I lost my account number.'
5. Then, follow the steps you’ll see on your screen.
6. Finally, you should reach your account’s dashboard.
Step #2: Turn Off the Auto-Renewal of Your Mullvad Subscription
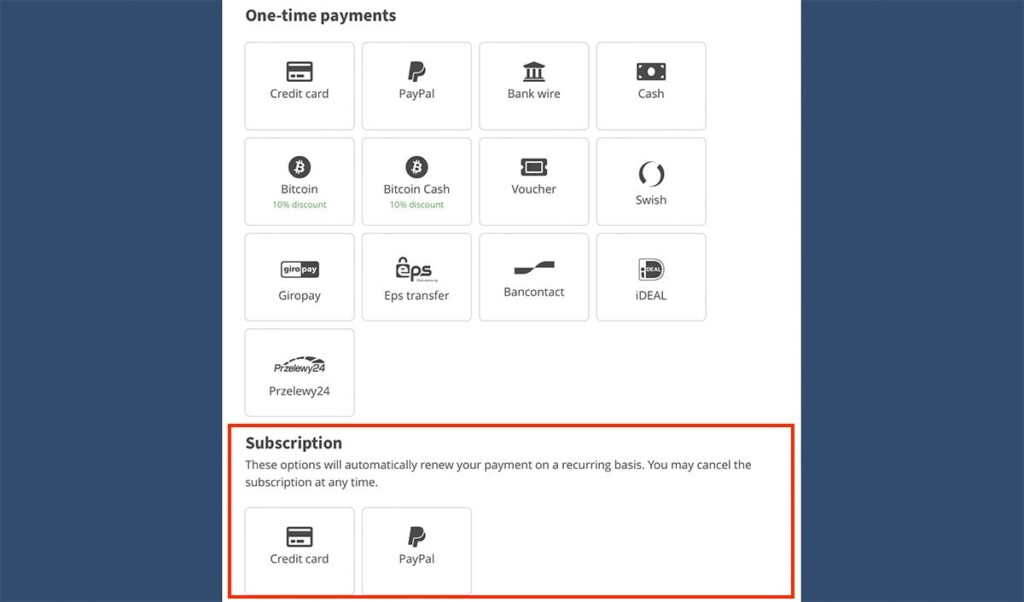
At the moment, recurring payments for Mullvad are available via credit cards and PayPal. So, here are the final steps on how to turn off Mulvad’s auto-renewal for both of those payment options.
1. At this moment, you should be looking at your online dashboard on Mullvad’s site.
2. Scroll to the bottom until you see the 'Subscription' section.
3. Based on the payment method you used before, select 'Credit Card' or 'PayPal.'
4. You should see an option to unsubscribe from Mullvad VPN.
5. Follow the steps you’ll see on your screen to finalize the procedure. That’s it!
We also must add that PayPal gives you another way to control recurring subscriptions, which applies to Mullvad as well. With that said, make sure to learn how to turn off auto-renewal via PayPal’s website.
That would be all on how to cancel your subscription's auto-renewal of Mullvad VPN. If you have any questions for us, let us know via the comments section below. Thank you for reading!

